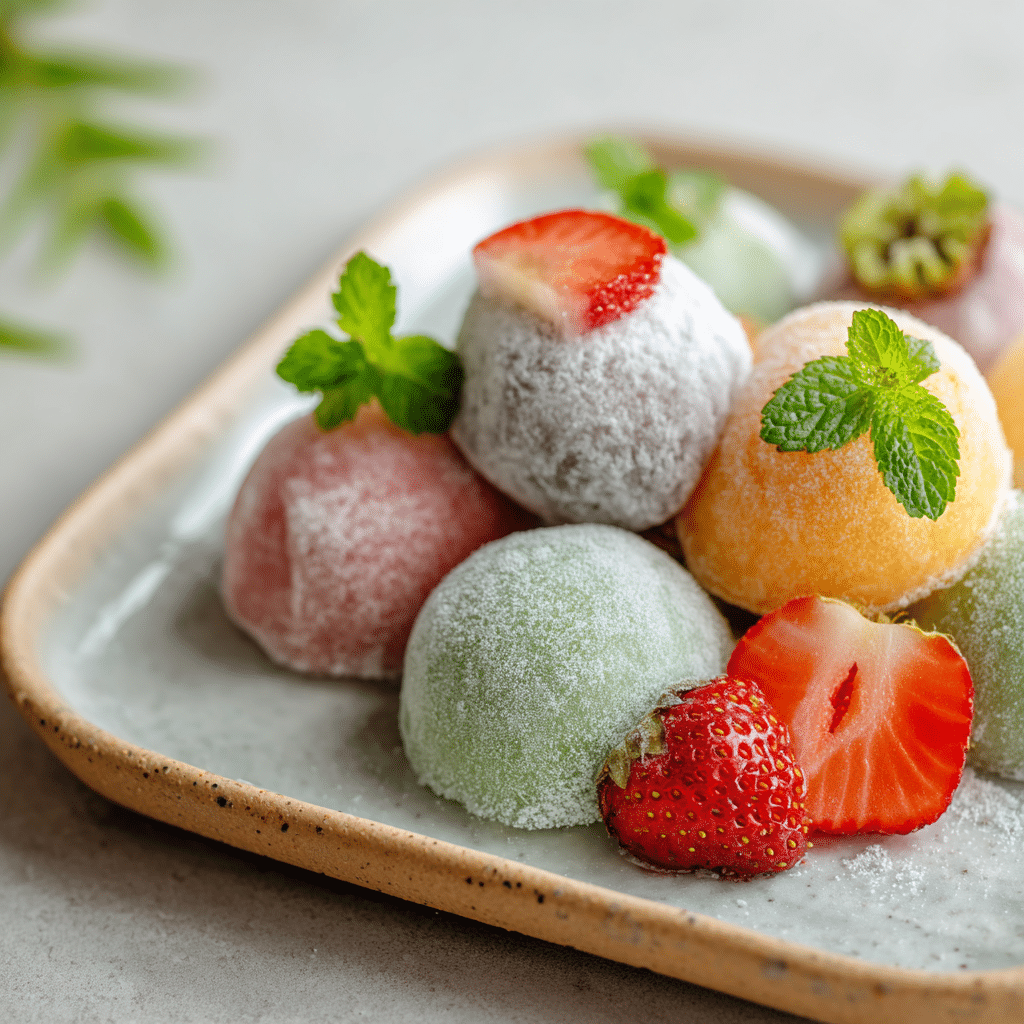
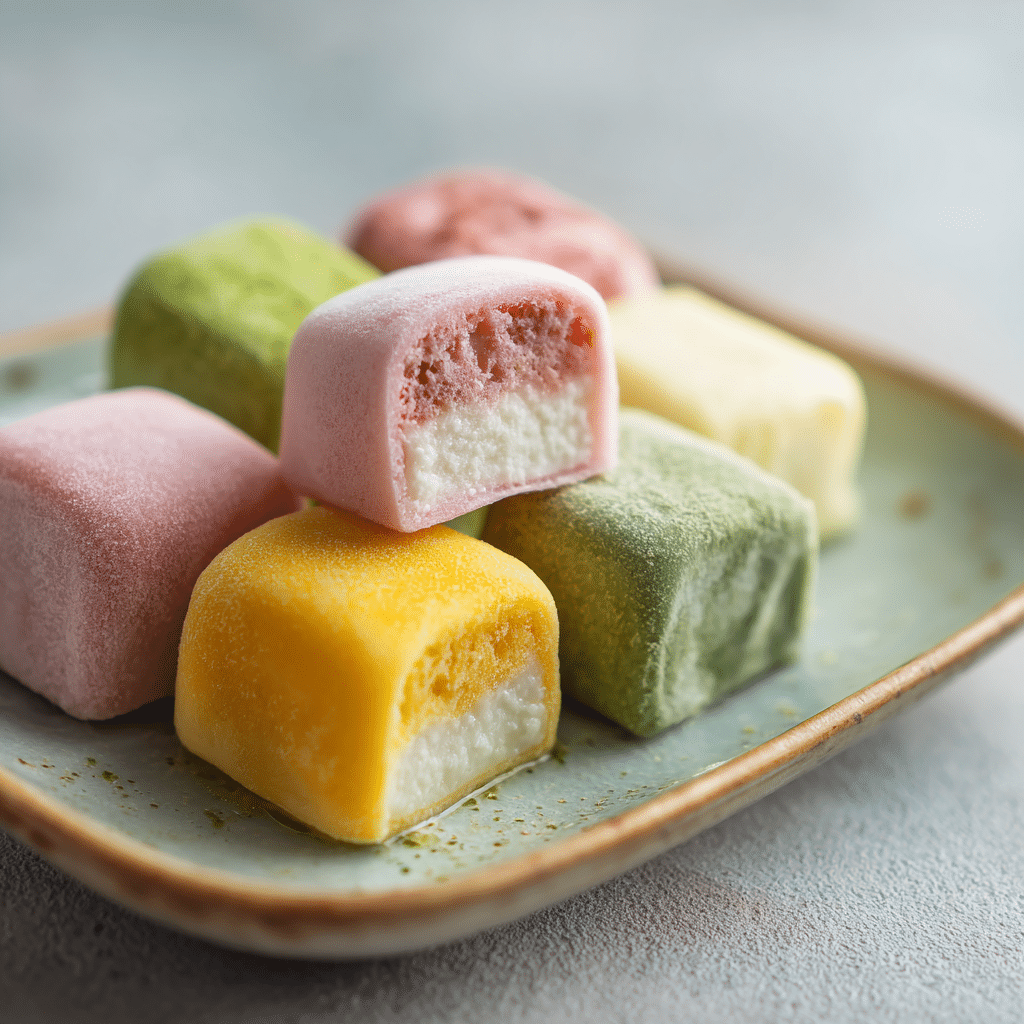
Mochi Ice Cream Bites Recipe
If you love the delightful contrast between chewy and creamy textures wrapped in a sweet, subtle exterior, you’re about to fall head over heels for this Mochi Ice Cream Bites Recipe. These little gems are soft, pillowy mochi dough hugging irresistibly smooth ice cream centers that melt in your mouth. They’re a perfect treat for any time you crave something refreshing yet satisfyingly sweet, and making them at home is easier than you might think. This recipe captures all that wonder in every bite, making dessert time a joyful experience.
Ingredients You'll Need
The beauty of this Mochi Ice Cream Bites Recipe lies in its simplicity—each ingredient plays a key role in creating that perfect balance of flavors and textures. The mochi dough offers a tender chew, the ice cream brings cool creaminess, and the touches of cornstarch, sugar, and food coloring elevate the final look and feel.
- Mochi dough: The star of the show, this sweet rice dough provides the soft, chewy exterior.
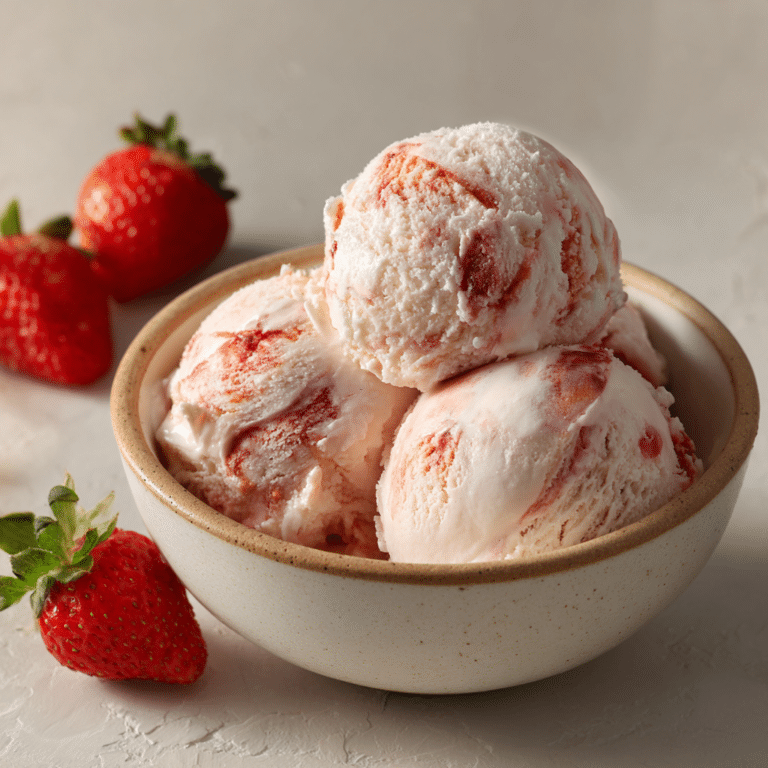
- Ice cream: Choose your favorite flavors for the creamy center; vanilla, matcha, or mango work beautifully.
- Cornstarch: Essential for dusting your work surface and preventing stickiness without altering taste.
- Sugar: Adds the perfect touch of sweetness to the mochi dough for that irresistible flavor.
- Food coloring: Optional but fun for creating vibrant, eye-catching mochi bites.
How to Make Mochi Ice Cream Bites Recipe
Step 1: Prepare the Mochi Dough
Start by mixing your mochi dough ingredients until you achieve a smooth, elastic texture. This dough is delicate, so be gentle as you knead it to build that characteristic chewiness without toughness. Don't forget to include sugar and your chosen food coloring here if you want your mochi to pop with color!
Step 2: Shape the Mochi Sheets
After preparing the dough, roll it out on a cornstarch-dusted surface until it’s about a quarter-inch thick. The cornstarch will keep the dough from sticking and make handling much easier. Cut the dough into small rounds or squares, sized just right to wrap around a scoop of ice cream.
Step 3: Scoop and Freeze Your Ice Cream
Use a small scoop or spoon to portion out your ice cream into bite-sized balls, then place them on a parchment-lined tray and freeze until very firm. This step is critical because the firmer your ice cream, the easier it will be to wrap without melting.
Step 4: Wrap the Ice Cream in Mochi
Quickly but gently, place an ice cream ball onto each mochi round and bring the edges up to fully enclose the ice cream. Pinch the seams tightly to seal the bite completely. Don’t worry about perfect shapes; these handmade treats have charming rustic appeal!
Step 5: Freeze Mochi Ice Cream Bites
Place the wrapped mochi ice cream bites back into the freezer for at least a few hours to ensure they firm up properly and the flavors meld beautifully.
How to Serve Mochi Ice Cream Bites Recipe
Garnishes
Serving your Mochi Ice Cream Bites Recipe with a sprinkle of toasted sesame seeds or finely shredded coconut adds a lovely textural contrast and an extra pop of flavor. Or dust with matcha powder for a sophisticated twist that enhances the sweetness with a subtle earthiness.
Side Dishes
Pair these bites with a refreshing cup of green tea to balance the creamy richness, or serve alongside fresh fruit slices like mango or kiwi for a tropical flair. They also work wonderfully as a playful dessert course after an Asian-inspired meal.
Creative Ways to Present
For a party or special occasion, arrange your mochi ice cream bites on a decorative platter interspersed with edible flowers or colorful edible glitter. Alternatively, serve each bite on small spoons for an elegant single-serving touch that doubles as eye candy.
Make Ahead and Storage
Storing Leftovers
If you have any leftover mochi ice cream bites, keep them tightly wrapped in plastic wrap and store in an airtight container in the freezer to maintain freshness and prevent freezer burn.
Freezing
These treats were meant to be kept cold! Store your finished Mochi Ice Cream Bites Recipe in the freezer for up to two weeks. Just be sure to keep them well sealed so they don’t absorb any unwanted odors or become icy.
Reheating
Since mochi ice cream is best enjoyed frozen, it’s not recommended to heat these bites. Instead, allow them to sit at room temperature for a minute or two before enjoying to soften slightly without melting the ice cream inside.
FAQs
Can I use any flavor of ice cream for mochi ice cream bites?
Absolutely! One of the joys of this Mochi Ice Cream Bites Recipe is its versatility. Feel free to experiment with classic, fruity, or even sorbet varieties to find your perfect combo.
How do I prevent the mochi dough from sticking to my hands and surfaces?
Use plenty of cornstarch as a dusting powder on your work surface and hands. This keeps the sticky mochi dough manageable and makes wrapping around the ice cream much easier.
Is it necessary to freeze the mochi ice cream bites before serving?
Yes, freezing ensures the mochi holds its shape and the ice cream remains firm. Without freezing, the bites will be too soft and messy to enjoy properly.
Can I prepare mochi dough in advance?
You can prepare the mochi dough a day ahead and keep it wrapped tightly to prevent drying out. Just remember to bring it to room temperature and dust well with cornstarch before shaping.
What if the mochi dough tears while wrapping the ice cream?
Don’t worry if this happens! Just pinch the edges together as best as possible or use a small patch of extra dough to seal. Mochi is forgiving and still tastes amazing even if it’s not perfectly sealed.
Final Thoughts
Now that you know how to create these delightful Mochi Ice Cream Bites Recipe treats at home, I hope you give it a try and enjoy every chewy, creamy bite. They’re a wonderful blend of textures and flavors that make dessert both fun and special. Share these with friends and family—you’ll quickly see why they become everyone’s favorite!