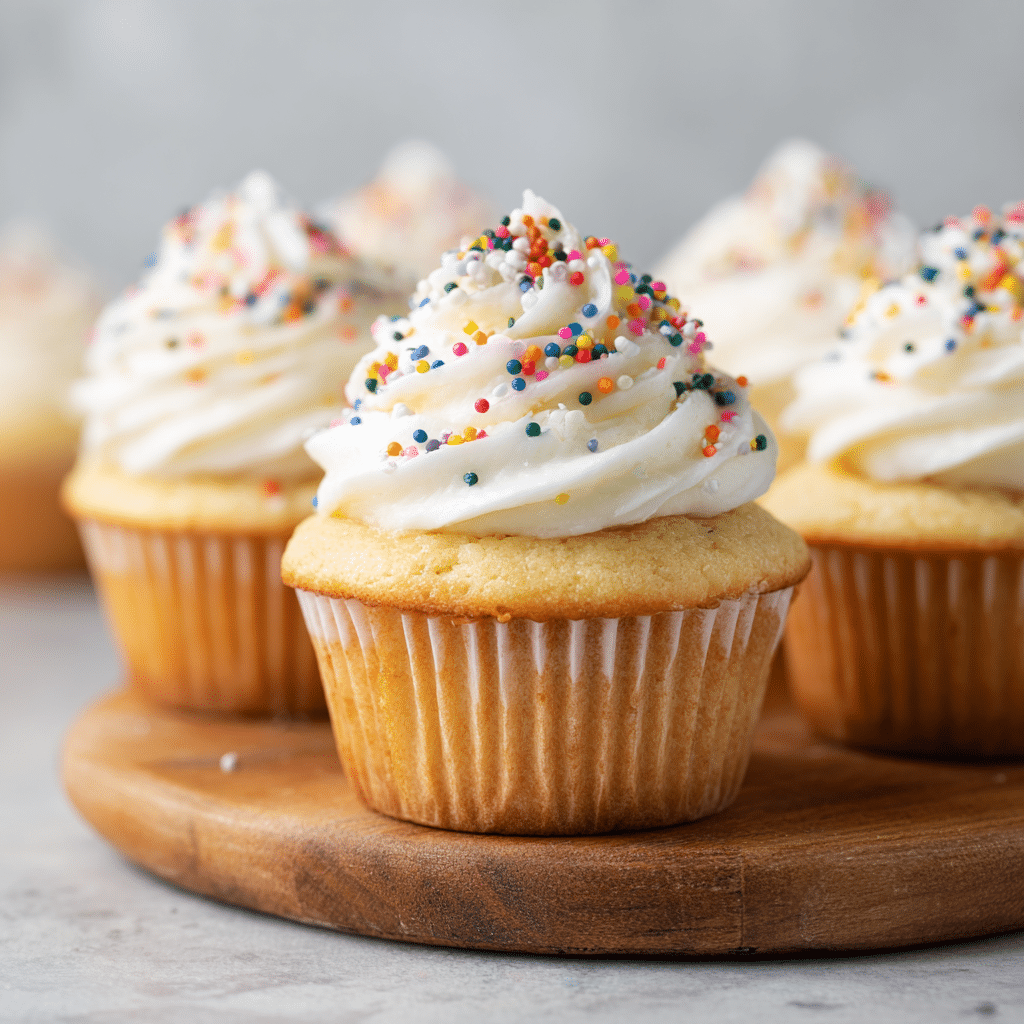
Vanilla Cupcakes Recipe
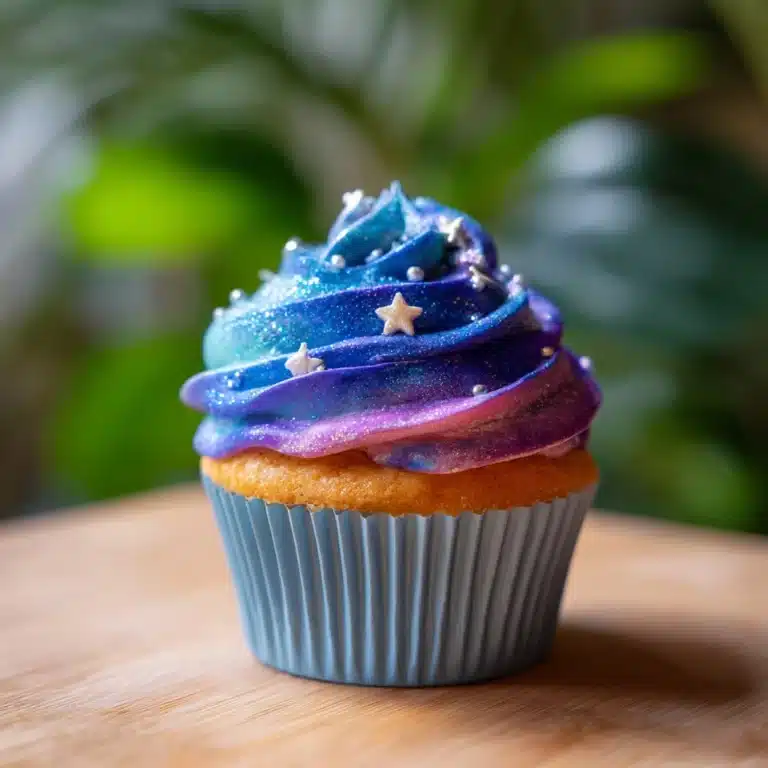
If you’re craving a classic treat that never goes out of style, these Vanilla Cupcakes are exactly what you need. They’re soft, fluffy, and bursting with rich vanilla flavor that feels like a warm hug in cupcake form. With a perfectly tender crumb and a creamy frosting that complements every bite, these cupcakes are an absolute crowd-pleaser whether you’re celebrating a special occasion or simply want a sweet indulgence at home.
Ingredients You’ll Need
Creating such delightful Vanilla Cupcakes is all about using simple, quality ingredients that work together beautifully. Each component plays a crucial role in achieving that ideal texture, sweetness, and mouthwatering aroma.
- Flour: The foundation for the cupcakes, providing structure and a light, airy crumb.
- Sugar: Adds sweetness and helps tenderize the cupcakes for moistness.
- Eggs: Bind the ingredients and give the cupcakes their rich texture and rise.
- Butter: Brings a luscious richness and buttery flavor that enhances the taste.
- Vanilla Extract: The star of the show, infusing each cupcake with that warm, comforting vanilla essence.
How to Make Vanilla Cupcakes
Step 1: Preparing Your Batter
Start by creaming the butter and sugar together until the mixture is pale and fluffy—this step is key for lightness. Then, add the eggs one at a time, mixing well after each addition so the batter becomes smooth and slightly thickened. Fold in the vanilla extract for that signature flavor boost. Gradually sift in the flour to ensure there are no lumps, blending everything gently to keep the batter airy but well combined.
Step 2: Filling the Molds
Line your cupcake tin with paper liners and fill each about two-thirds full with the batter. This helps them bake evenly, rising nicely without overflowing. Using an ice cream scoop or spoon makes this step quick and mess-free. Don’t forget to give your pan a gentle tap on the countertop to release any air bubbles!
Step 3: Baking to Perfection
Bake your Vanilla Cupcakes in a preheated oven at 350°F (175°C) for around 18-20 minutes, or until a toothpick inserted into the center comes out clean. Keep an eye on them towards the end—the tops should be golden, springy to the touch, and smelling absolutely heavenly.
Step 4: Cooling and Frosting
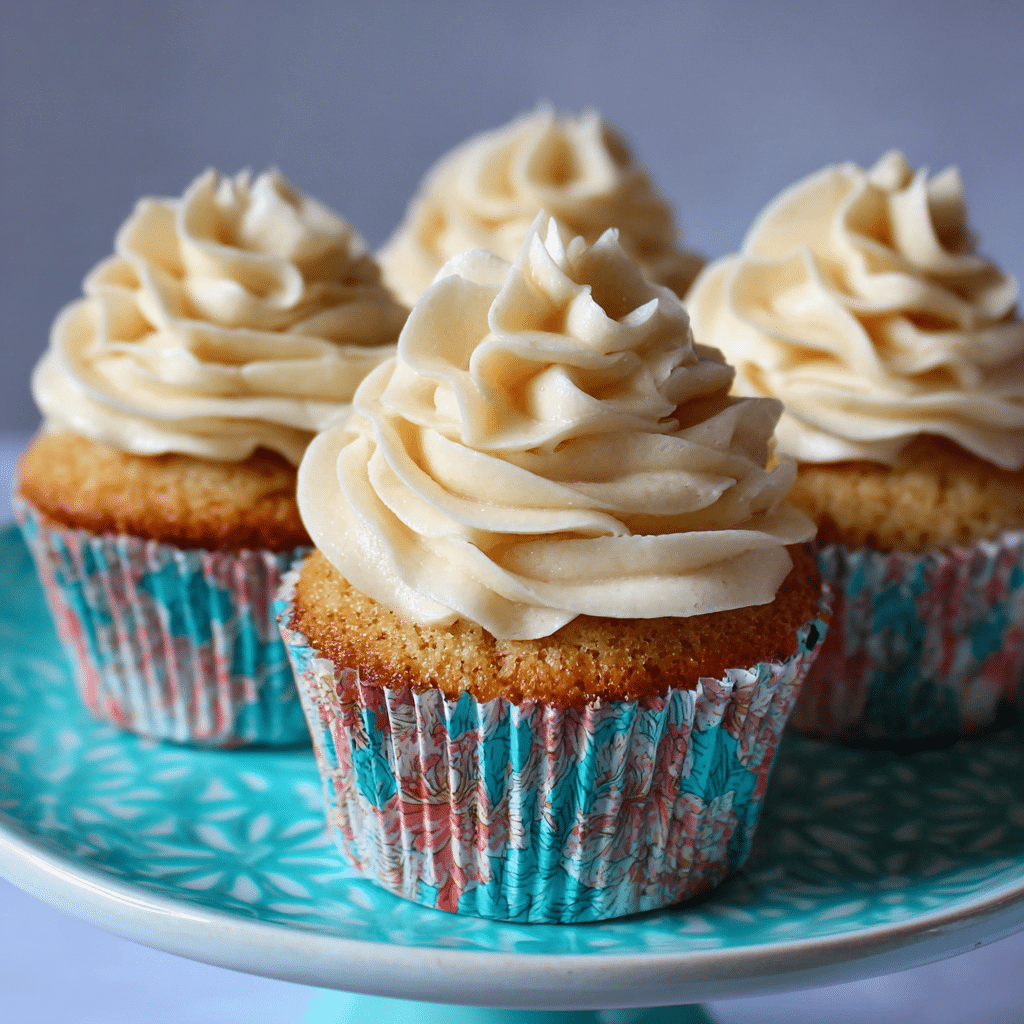
Once baked, allow the cupcakes to cool in the tin for about 5 minutes before transferring to a wire rack to cool completely. Frosting a warm cupcake can cause melting, so patience here really pays off. Once cool, generously top them with your favorite creamy frosting—vanilla buttercream or cream cheese frosting are fantastic choices that enhance the cupcake’s sweetness and texture.
How to Serve Vanilla Cupcakes
Garnishes
Sprinkles, fresh berries, or a dusting of edible glitter can add a cheerful pop of color and a touch of whimsy to your Vanilla Cupcakes. For a more sophisticated twist, try topping them with finely chopped nuts or a drizzle of chocolate sauce. These little flourishes not only make your cupcakes look irresistible but also add layers of flavor and texture.
Side Dishes
Pair your Vanilla Cupcakes with a scoop of vanilla bean ice cream or a dollop of freshly whipped cream for a dessert experience that feels indulgent without being too heavy. A cup of fragrant tea or a bold coffee also complements the vanilla flavor beautifully, making your treat feel a little more special and café-worthy.
Creative Ways to Present
Transform your Vanilla Cupcakes into charming mini desserts by serving them in clear glass jars layered with frosting and sprinkles or fresh fruit. Another fun idea is creating a cupcake tower for parties—stacking them on tiered stands makes for a stunning presentation that guests will love. Personalizing each cupcake with edible name tags or themed toppers can add a delightful, thoughtful touch.
Make Ahead and Storage
Storing Leftovers
Vanilla Cupcakes keep best stored in an airtight container at room temperature for up to 2 days, maintaining their moisture and softness. If your kitchen tends to be warm, refrigeration is okay, but keep in mind that this can sometimes dry out the cupcakes unless they are properly sealed.
Freezing
You can freeze unfrosted Vanilla Cupcakes by placing them on a baking sheet to freeze until solid, then transferring to a freezer-safe bag or container. They’ll keep for up to 3 months. For frosted cupcakes, it’s best to freeze the cupcakes and frosting separately to maintain the ideal texture of both elements.
Reheating
To bring back the fresh-baked warmth, reheat your cupcakes in a microwave for about 10-15 seconds. This quick moment warms the cake and frosting slightly, making each bite irresistibly soft and cozy—just like they came fresh out of the oven.
FAQs
Can I substitute butter with oil in Vanilla Cupcakes?
Yes, you can substitute butter with oil for a more moist cupcake, but keep in mind that butter adds a rich flavor and tender crumb that oil may not replicate as fully.
How do I prevent my Vanilla Cupcakes from sinking in the middle?
Make sure not to overmix your batter and bake the cupcakes immediately after mixing. Also, avoid opening the oven door during baking to maintain a consistent temperature.
Can I use almond or another flavored extract instead of vanilla?
Absolutely! While vanilla is classic, almond or other flavored extracts can add an interesting twist—but use sparingly so it doesn’t overpower the delicate cupcake base.
What kind of frosting works best with Vanilla Cupcakes?
Classic buttercream, cream cheese frosting, or even whipped cream are fantastic options. Each complements the vanilla base beautifully, so choose according to your taste preference.
How long do Vanilla Cupcakes stay fresh?
When stored properly in an airtight container, they remain fresh for about 2-3 days at room temperature. Refrigeration can extend this to about a week.
Final Thoughts
These Vanilla Cupcakes are truly a timeless delight that’s easy to make and sure to brighten any day. Whether you’re baking for a special event or just treating yourself, their tender crumb and luscious vanilla flavor never disappoint. I can’t wait for you to try this recipe and create your own batch of sweet smiles with these classic cupcakes!