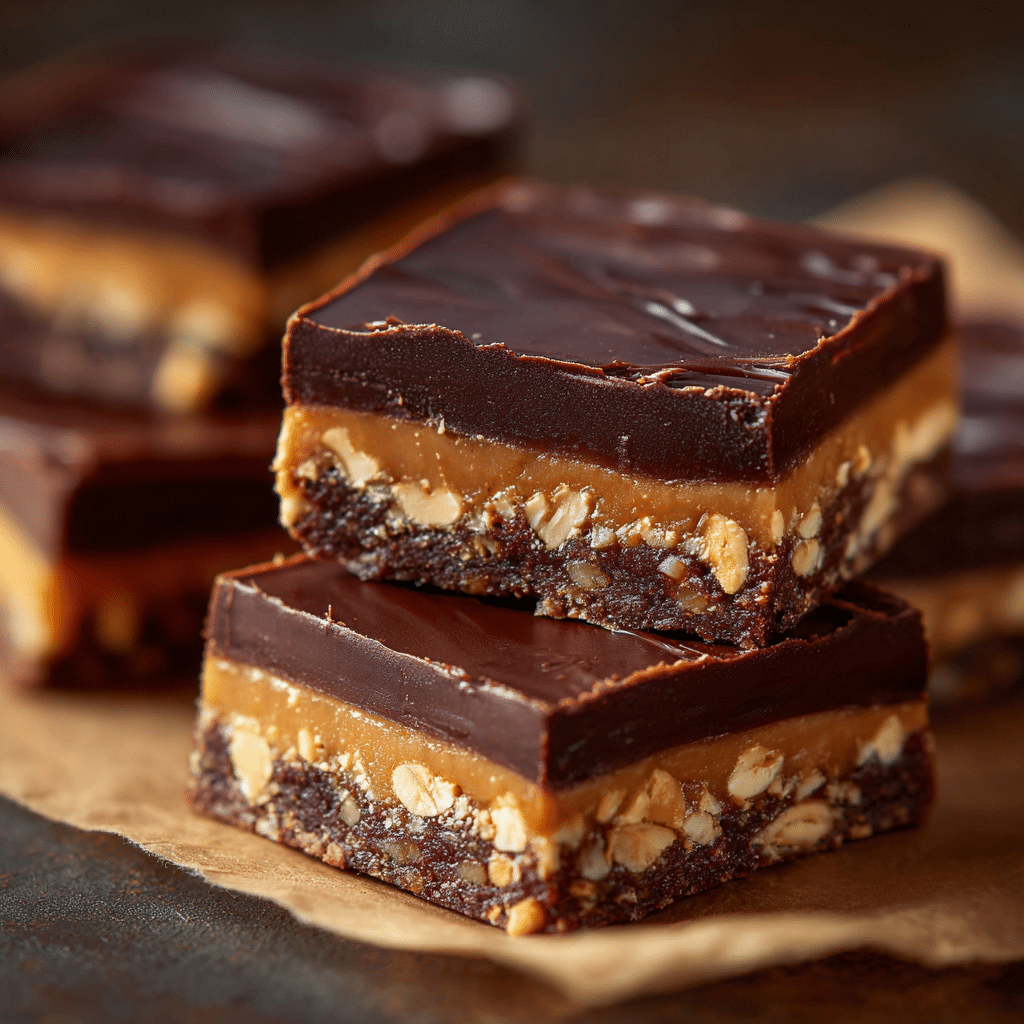
No-Bake Chocolate Peanut Bars Recipe
If you’re craving a treat that’s as delightful to make as it is to eat, let me introduce you to these vibrant No-Bake Chocolate Peanut Bars. With their luscious combination of crunchy biscuits, creamy peanut butter, smooth melted chocolate, and a whisper of honey’s sweetness, these bars come together without any oven time at all. Perfect for when you want something indulgent without the fuss, they effortlessly balance rich chocolatey goodness with a satisfying peanut punch. Once chilled, each bite delivers a perfect harmony of texture and flavor that’s hard to resist. Trust me, these No-Bake Chocolate Peanut Bars will become your go-to dessert for quick gatherings or a cozy afternoon pick-me-up.
Ingredients You’ll Need
Every ingredient here is carefully chosen to bring the right balance of flavor, texture, and sweetness without complicating the process. You don’t need a pantry full of fancy items—just a handful of staples that work beautifully together.
- 1 cup crushed biscuits: Provides a crunchy base and a wonderful texture contrast to the smooth layers above.
- ½ cup peanut butter: Adds a creamy, nutty richness that perfectly complements chocolate’s bittersweet notes.
- ½ cup melted chocolate: The star player that coats the bars with glossy, silky decadence and that irresistible chocolate flavor.
- ¼ cup honey: Acts as a natural sweetener and binder, bringing a subtle floral sweetness and helping everything stick together.
How to Make No-Bake Chocolate Peanut Bars
Step 1: Combine the Base Ingredients
Start by mixing the crushed biscuits, peanut butter, and honey in a bowl. This step is where the magic begins—making sure the peanut butter and honey evenly coat the biscuits is key to that luscious, chewy texture you want in every bite.
Step 2: Press the Mixture into a Pan
Once your mixture is uniform, transfer it into a lined pan and press it down firmly. This firm pressing ensures the bars hold their shape nicely and prevents any crumbling once chilled. A lined pan makes the final removal effortless.
Step 3: Add the Chocolate Layer
Pour the melted chocolate over the biscuit-peanut layer and spread it evenly with a spatula. This glossy top layer not only beautifies your bars but adds a rich chocolate crunch that contrasts perfectly with the soft interior.
Step 4: Chill Until Set
Pop the pan into the fridge and let the bars chill until the chocolate hardens and the base sets firmly. This chilling step lets the flavors meld and gives the bars their signature firm but tender bite. Once set, slice into squares, and they’re ready to enjoy!
How to Serve No-Bake Chocolate Peanut Bars
Garnishes
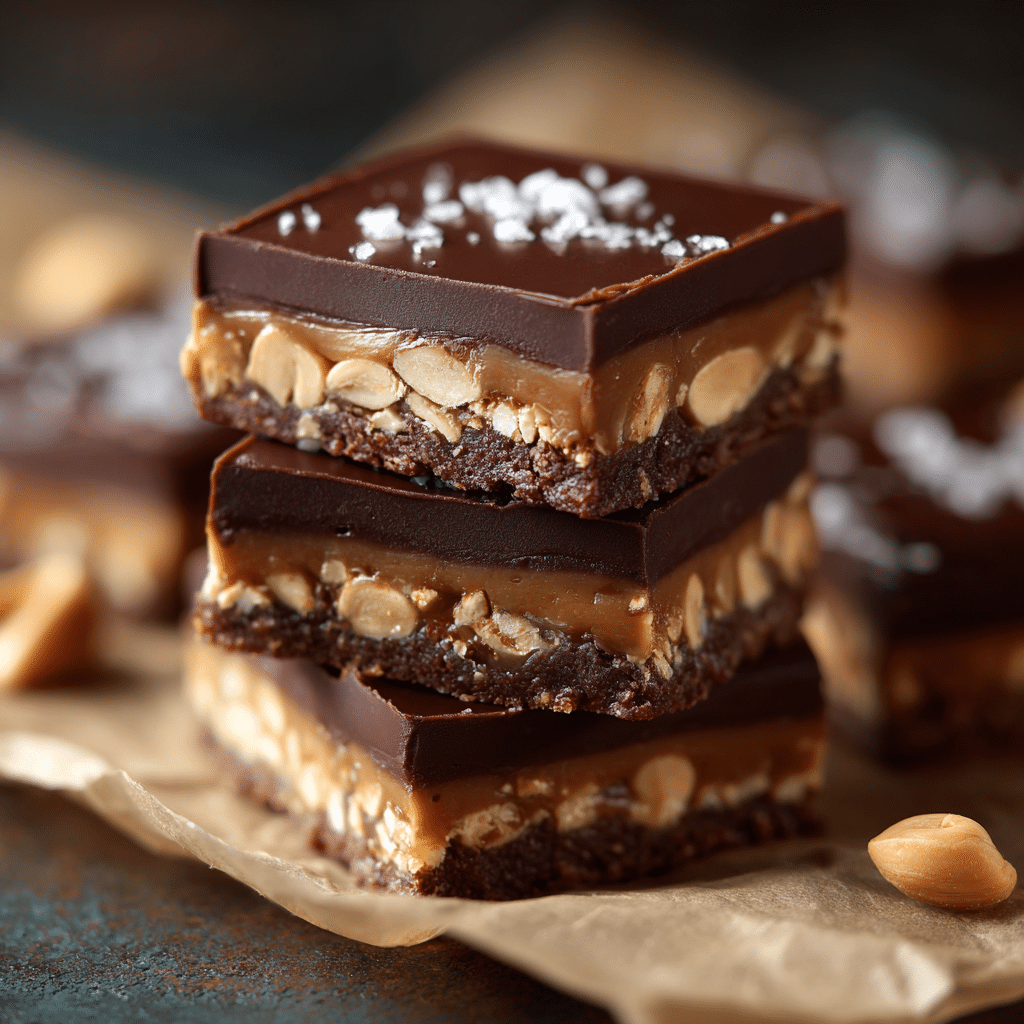
Elevate your bars with a sprinkle of crushed peanuts or a light dusting of cocoa powder on top. A few flakes of sea salt can also add an exciting contrast to the sweetness and enhance the peanut butter flavor.
Side Dishes
Pair these bars with a cup of strong coffee, creamy latte, or even a glass of cold milk for a simple yet satisfying snack experience. Fresh berries or sliced bananas on the side add a refreshing fruity touch that brightens the rich flavors.
Creative Ways to Present
Serve the bars on a rustic wooden board alongside bowls of chopped nuts and mini chocolate chips to create a casual dessert platter. For a party, wrap individual bars in parchment paper and tie with twine for a charming homemade gift vibe.
Make Ahead and Storage
Storing Leftovers
Store your No-Bake Chocolate Peanut Bars in an airtight container in the refrigerator. They’ll stay fresh and maintain their perfect texture for up to a week, so you can enjoy them throughout the week without losing any of their charm.
Freezing
If you want to keep them longer, wrap the bars individually with plastic wrap and freeze in a sealed container. They freeze well and can be taken out to thaw naturally at room temperature or in the fridge when you’re ready for a sweet treat.
Reheating
Since these bars are meant to be enjoyed chilled, reheating isn’t necessary. However, if you prefer them slightly softer, leave them at room temperature for 10–15 minutes before indulging—this subtle warmth releases the flavors beautifully without melting the chocolate out of hand.
FAQs
Can I use a different type of biscuit?
Absolutely! Digestive biscuits, graham crackers, or even crushed pretzels can work well, each bringing a slightly different flavor and texture to the bars.
Is it possible to substitute peanut butter?
Yes, you can swap peanut butter with almond butter or cashew butter for a different nutty twist or to accommodate allergies.
Can I add nuts or dried fruits?
Feel free to mix in chopped nuts or dried fruits into the base mixture for added texture and bursts of flavor—just make sure it doesn’t become too loose when chilling.
What type of chocolate is best?
Use good quality milk, dark, or semi-sweet chocolate depending on your sweetness preference. High-quality chocolate melts smoothly and enhances the overall taste.
How long do these bars last?
When stored properly in the fridge, the bars stay fresh for about a week. If frozen, they can last up to a month while retaining their delicious texture.
Final Thoughts
There’s something truly comforting and satisfying about No-Bake Chocolate Peanut Bars that makes them an instant favorite in any kitchen. They combine ease, flavor, and that nostalgic homemade feel all in one simple recipe. Whether you’re an experienced baker or just looking for a no-fuss sweet fix, these bars invite you to enjoy the perfect chocolate-peanut harmony with very little effort. So go ahead, whip up a batch and share the joy—they’re sure to be loved by everyone lucky enough to try them!