Garlic Butter Shrimp Recipe
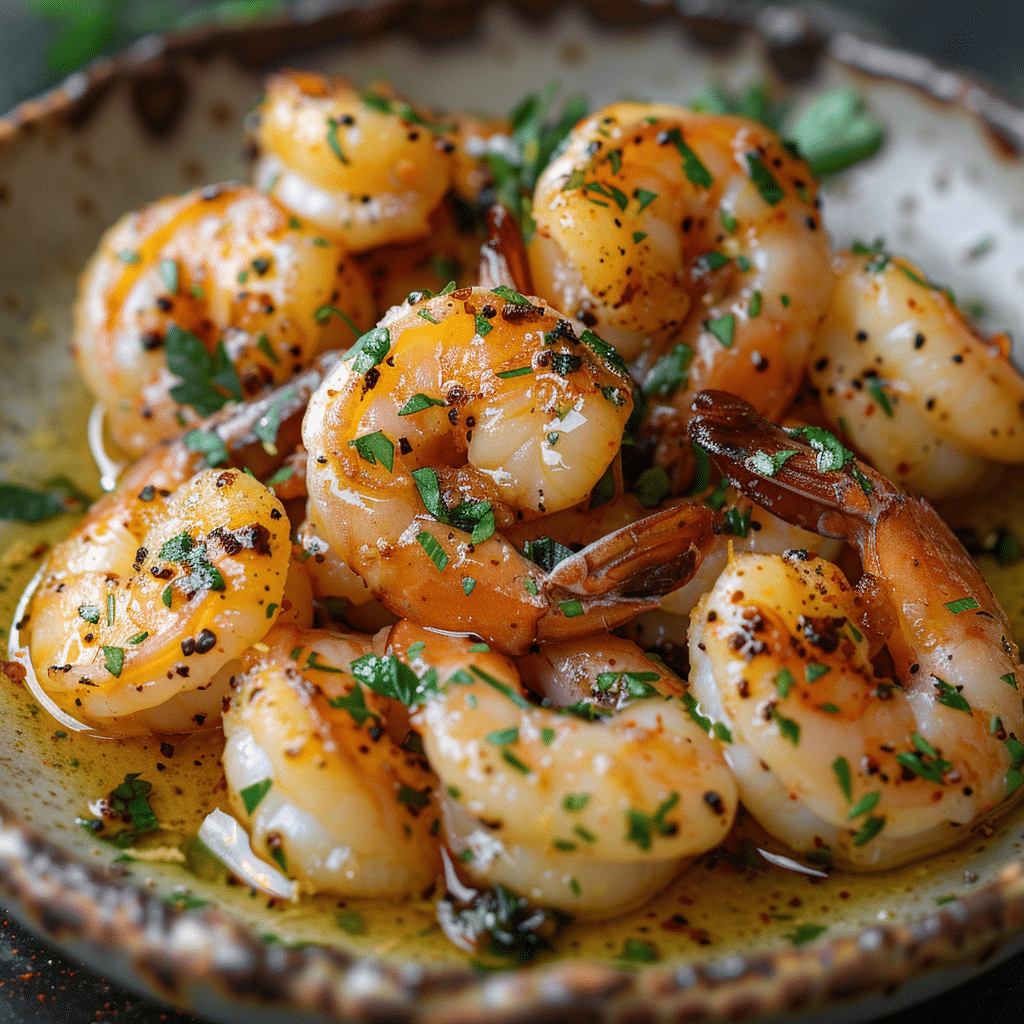
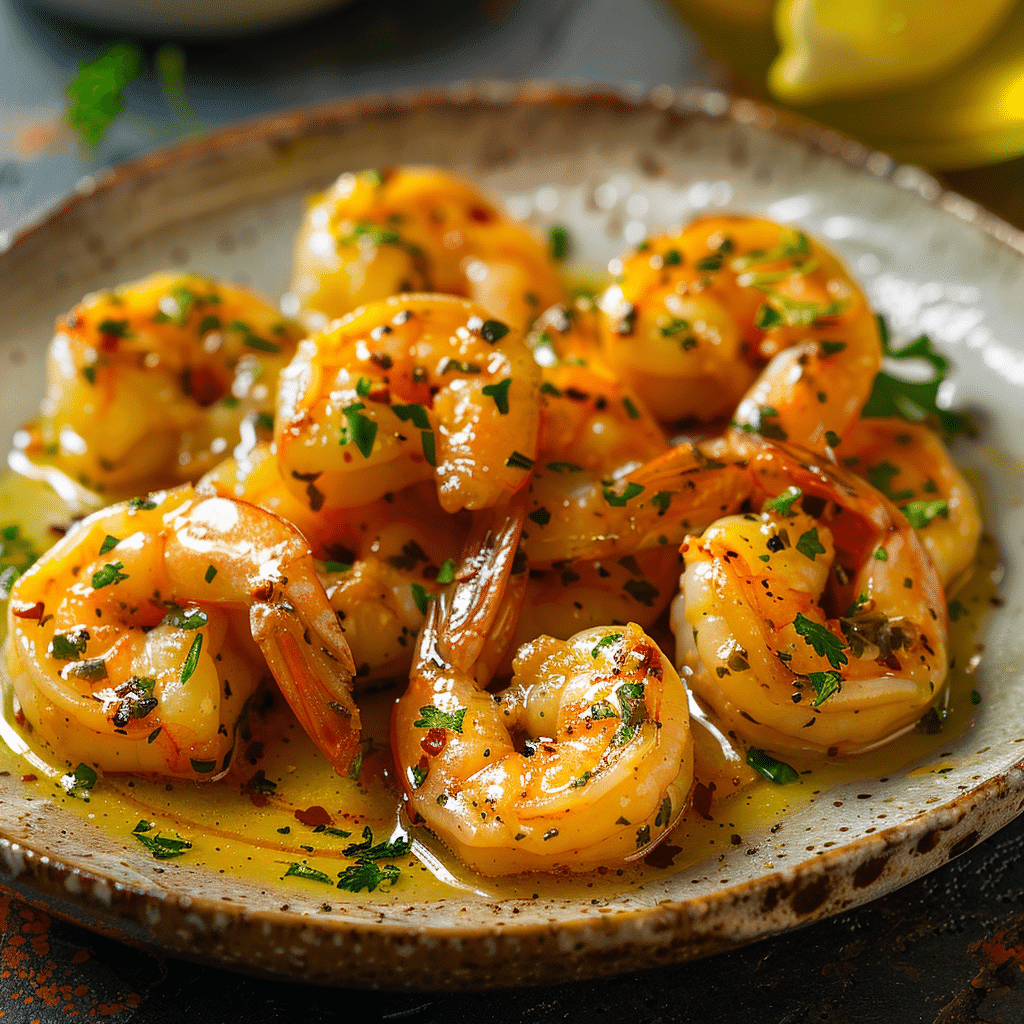
There is nothing quite as delightful as the rich, savory goodness of Garlic Butter Shrimp, a dish that bursts with flavor and brings a touch of elegance to any meal. This recipe combines succulent, juicy shrimp cooked in golden, fragrant garlic butter, resulting in a warm and irresistible treat that is as simple to prepare as it is impressive to serve. Whether you’re looking for a quick weeknight dinner or a charming dish to impress guests, Garlic Butter Shrimp offers the perfect blend of buttery richness, garlicky aroma, and fresh brightness that will have everyone asking for seconds.
Ingredients You’ll Need
The beauty of Garlic Butter Shrimp lies in its simplicity. Each ingredient plays a crucial role in building layers of flavor and texture, making the dish memorable with just a handful of staples you likely already have in your kitchen.
- Shrimp (250 g): The star protein that should be fresh or thawed, providing a tender, juicy texture when cooked properly.
- Butter (2 tablespoons): Acts as the luscious cooking fat, lending a silky smooth base and rich flavor to the shrimp.
- Garlic (2 cloves): Finely minced, it infuses the butter with aromatic, savory goodness that elevates every bite.
- Lemon juice (from ½ lemon): Adds bright acidity to balance the richness and give the shrimp a lively freshness.
- Parsley: Chopped fresh parsley brings a pop of green color and a subtle herbaceous note to finish the dish beautifully.
How to Make Garlic Butter Shrimp
Step 1: Prepare Your Ingredients
Start by peeling and deveining your shrimp if they aren’t already cleaned, then pat them dry. Mince the garlic finely to ensure it cooks evenly and doesn’t overpower your dish. Chop the parsley roughly and have your lemon ready to juice. A little prep here goes a long way toward streaming a smooth cooking process.
Step 2: Sauté Garlic in Butter
Heat 2 tablespoons of butter in a skillet over medium heat until it’s melted and starting to gently bubble. Add the minced garlic and sauté for about 1 minute, stirring constantly to avoid burning. This step releases the garlic’s wonderful aroma and flavors into the butter, creating that signature richness of Garlic Butter Shrimp.
Step 3: Cook the Shrimp
Increase the heat slightly and add your shrimp to the pan in a single layer. Cook for approximately 2 to 3 minutes on each side until the shrimp turn pink and are opaque inside. The beauty here is cooking the shrimp just right for a tender bite without any rubberiness.
Step 4: Finish with Lemon and Parsley
Once the shrimp are cooked, squeeze the juice of half a lemon over them. The citrus cuts through the buttery richness and brightens the overall flavor. Toss in the parsley, stirring briefly so everything is coated and the herb’s freshness shines through.
How to Serve Garlic Butter Shrimp
Garnishes
Fresh garnishes can truly elevate Garlic Butter Shrimp. Sprinkle additional chopped parsley or a few thin lemon slices on top for a lovely visual contrast and an extra hint of freshness. A light dusting of cracked black pepper adds subtle depth without overwhelming the dish.
Side Dishes
This dish pairs spectacularly with simple sides that absorb the flavorful butter sauce. Think fluffy steamed rice, creamy mashed potatoes, or warm crusty bread to soak up every last bit of that garlicky goodness. Steamed or roasted vegetables, like asparagus or green beans, also offer a fresh balance to the richness of the shrimp.
Creative Ways to Present
For a fun presentation, serve the Garlic Butter Shrimp over a bed of pasta tossed lightly in olive oil or garlic butter. Alternatively, serve it as a topping for toasted baguette slices to create elegant bruschetta-style appetizers. If you’re feeling adventurous, wrap the shrimp in warm tortillas with fresh slaw for a fusion twist.
Make Ahead and Storage
Storing Leftovers
You can store leftover Garlic Butter Shrimp in an airtight container and refrigerate it for up to two days. Make sure to allow the shrimp to cool before sealing the container to maintain freshness and prevent condensation.
Freezing
While it’s best enjoyed fresh, you can freeze cooked Garlic Butter Shrimp for up to one month. Place the cooled shrimp and sauce in a freezer-safe container or resealable bag. When ready to eat, thaw overnight in the refrigerator for best results.
Reheating
To reheat, gently warm the shrimp in a skillet over low heat just until heated through. Avoid high heat or microwaving for too long, as shrimp can become tough and rubbery. Adding a splash of water or butter during reheating helps retain moisture.
FAQs
Can I use frozen shrimp for Garlic Butter Shrimp?
Absolutely! Just make sure to thaw the shrimp completely and pat them dry before cooking. This prevents excess water from steaming the shrimp, which could dilute the flavors.
How do I avoid overcooking the shrimp?
Shrimp cook very quickly, usually 2-3 minutes per side. As soon as they turn pink and opaque, remove them from the heat to keep them tender and juicy.
Can I add other seasonings to the Garlic Butter Shrimp?
Yes! A pinch of red pepper flakes adds a nice kick, or a dash of smoked paprika can bring smoky complexity. Feel free to tailor the spices to your taste.
Is this dish gluten free?
Garlic Butter Shrimp is naturally gluten free, making it a great choice for anyone avoiding gluten. Just be sure any sides or additional ingredients you add are gluten free as well.
What type of butter should I use?
Use unsalted butter so you can control the salt level in your dish perfectly. If you want a richer flavor, European-style butter with a higher fat content works beautifully.
Final Thoughts
I can’t recommend making Garlic Butter Shrimp enough—this dish effortlessly transforms simple ingredients into a stunningly flavorful meal that feels special every time. Whether you’re cooking for yourself or serving loved ones, it’s quick, delicious, and so satisfying. Give it a try, and enjoy every buttery, garlicky bite!