Red Velvet Cupcakes Recipe
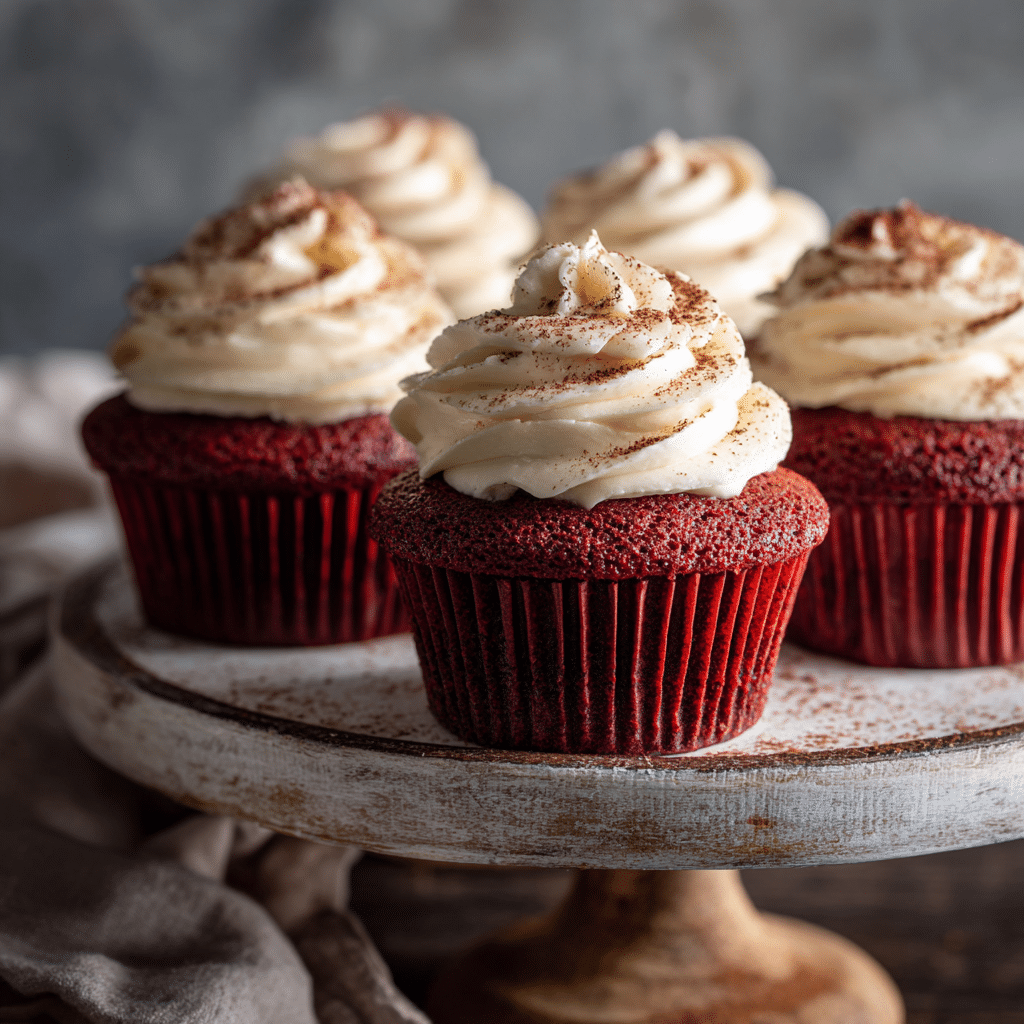
If you have ever dreamed of indulging in a treat that is as visually stunning as it is delicious, Red Velvet Cupcakes are the answer. These little beauties combine a subtle cocoa flavor with a rich, velvety texture and their signature red color that instantly brightens any occasion. Whether you’re baking for a special celebration or simply craving a sweet comfort, these cupcakes deliver that perfect balance of moist crumb and creaminess that feels like a warm hug in every bite. Once you try these Red Velvet Cupcakes, they’re sure to become your go-to dessert for impressing friends and family with effortless charm.
Ingredients You’ll Need
Creating Red Velvet Cupcakes requires a handful of simple, reliable ingredients that each play a crucial role in producing that classic taste and texture. From flour providing structure to buttermilk adding tenderness, these pantry staples come together beautifully to craft cupcakes that are both soft and satisfyingly rich.
- 1 cup flour: The foundation that gives the cupcakes structure and a tender crumb.
- 1/2 cup sugar: Adds sweetness to balance the subtle cocoa and enhances moisture retention.
- 1/2 cup buttermilk: Brings moisture and a slight tang that keeps the cupcakes soft and luscious.
- 1 egg: Acts as a binding agent while lending richness and stability to the batter.
- 1 tsp cocoa powder: Provides that unmistakable hint of chocolate flavor without overpowering the red velvet signature.
- Red food coloring: The star ingredient for achieving Red Velvet Cupcakes’ vibrant and inviting look.
How to Make Red Velvet Cupcakes
Step 1: Mix Dry Ingredients
Begin by combining your flour, sugar, and cocoa powder in a large bowl. Mixing these dry components first ensures that the cocoa powder is evenly distributed, which contributes to uniform flavor and color throughout each cupcake. This simple step sets the stage for flawless Red Velvet Cupcakes.
Step 2: Add Wet Ingredients and Food Coloring
Next, make a well in the center of the dry ingredients and pour in the buttermilk, egg, and red food coloring. Mixing wet and dry ingredients together gently but thoroughly will give you a smooth batter without overworking it. The buttermilk keeps the cupcakes wonderfully moist, while the red food coloring transforms the batter into that signature blush everyone loves.
Step 3: Pour Batter and Bake
Line a cupcake pan with liners and evenly distribute the batter, filling each about two-thirds full to allow room for rising. Bake in a preheated oven at 180°C for 20 minutes. The result will be a batch of beautifully risen cupcakes with a delicate crumb and that irresistible velvety appearance.
How to Serve Red Velvet Cupcakes
Garnishes
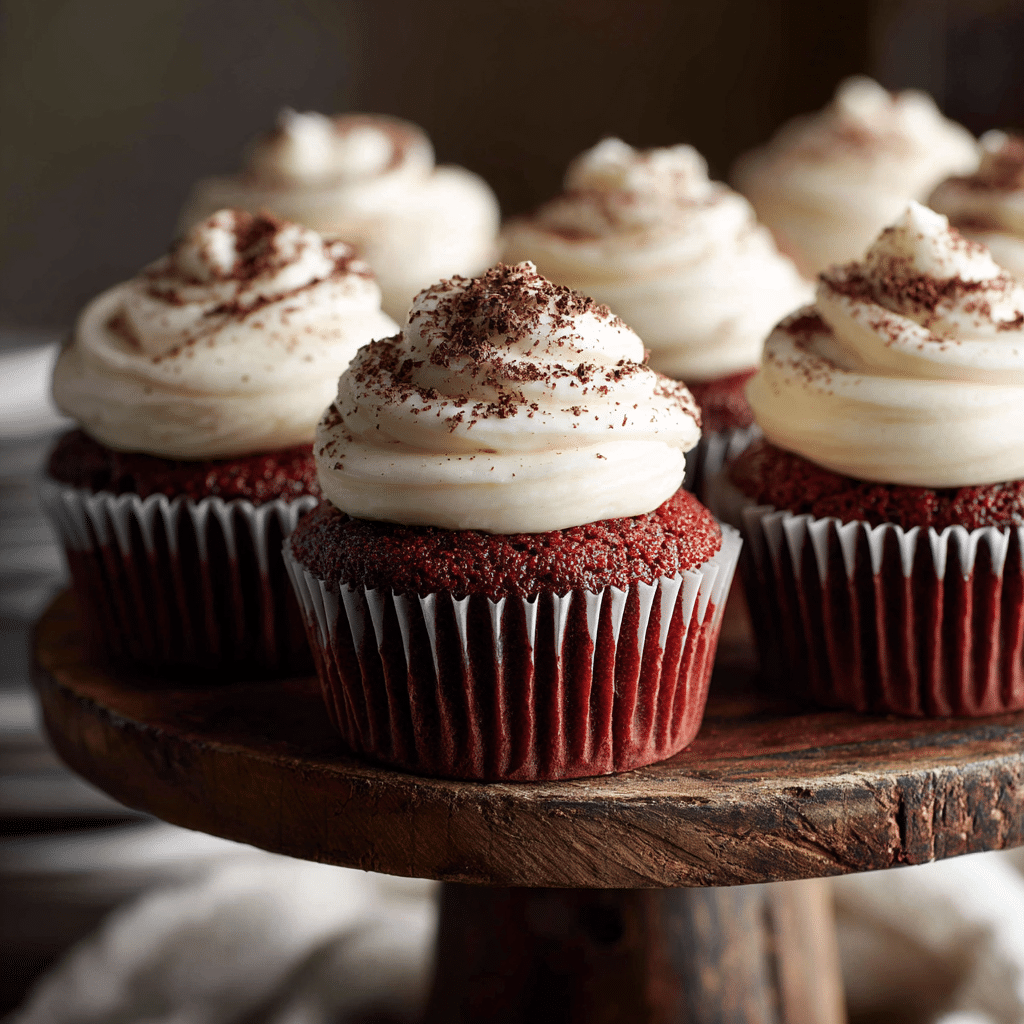
Top your Red Velvet Cupcakes with a swirl of cream cheese frosting for a classic finish. For a touch of elegance, sprinkle some edible glitter or finely chopped nuts on top. Fresh berries or a dusting of cocoa powder can also add a personal flair that elevates the indulgence.
Side Dishes
Red Velvet Cupcakes pair wonderfully with a hot cup of coffee or a rich glass of milk to balance their sweet richness. If you’re serving at a party, consider light, fruity salads or a refreshing sorbet to complement the cupcakes’ velvety texture without overwhelming the palate.
Creative Ways to Present
Try arranging your Red Velvet Cupcakes on a tiered cake stand for a stunning display that instantly becomes the centerpiece of the table. Wrapping each cupcake with decorative ribbons or using themed cupcake liners makes your offering playful and festive. For a fun twist, serve them in mini cake boxes as personalized favors.
Make Ahead and Storage
Storing Leftovers
Store leftover Red Velvet Cupcakes in an airtight container at room temperature for up to two days to keep them soft and moist. For best flavor, avoid refrigeration unless your kitchen is very warm, as it can dry them out.
Freezing
To enjoy your Red Velvet Cupcakes later, freeze them without frosting in a sealed container or freezer bag for up to three months. When ready to eat, thaw at room temperature to preserve their tenderness and color.
Reheating
Warm leftover cupcakes gently in the microwave for about 15 seconds to bring back that fresh-baked softness. Avoid overheating as it can toughen the crumb, but a light warming makes all the difference when eating leftovers.
FAQs
Can I substitute buttermilk in this recipe?
Yes, you can create a buttermilk substitute by adding 1/2 tablespoon of lemon juice or white vinegar to 1/2 cup of milk. Let it sit for 5 minutes before using. This maintains the moisture and slight tang but be mindful of using whole milk for best results.
Can I make Red Velvet Cupcakes without food coloring?
While the food coloring is iconic for Red Velvet Cupcakes’ appearance, you can skip it if you prefer. Your cupcakes will have a more muted color but still retain the tasty balance of cocoa and tangy buttermilk.
How do I prevent the cupcakes from cracking on top?
Ensure you fill the cupcake liners properly—not too full—and bake at the correct temperature. Opening the oven door too early can also cause cracking, so resist temptation until the cupcakes are close to done.
What frosting pairs best with Red Velvet Cupcakes?
Cream cheese frosting is the classic choice, offering a rich tang that complements the subtle cocoa flavor. Buttercream or whipped cream can also work well if you want something lighter or sweeter.
Can I double the recipe for a larger batch?
Absolutely! Just double all ingredients and use two cupcake pans if possible to bake in batches. Make sure to adjust the baking time slightly and keep an eye on the cupcakes to avoid overbaking.
Final Thoughts
Making Red Velvet Cupcakes is a joy that combines baking simplicity with show-stopping results. They are perfect for sharing with loved ones or even treating yourself on a sweet whim. With minimal ingredients and easy steps, you can whip up cupcakes that feel special every time. Give this recipe a try and watch how these cupcakes become a fast favorite in your kitchen!