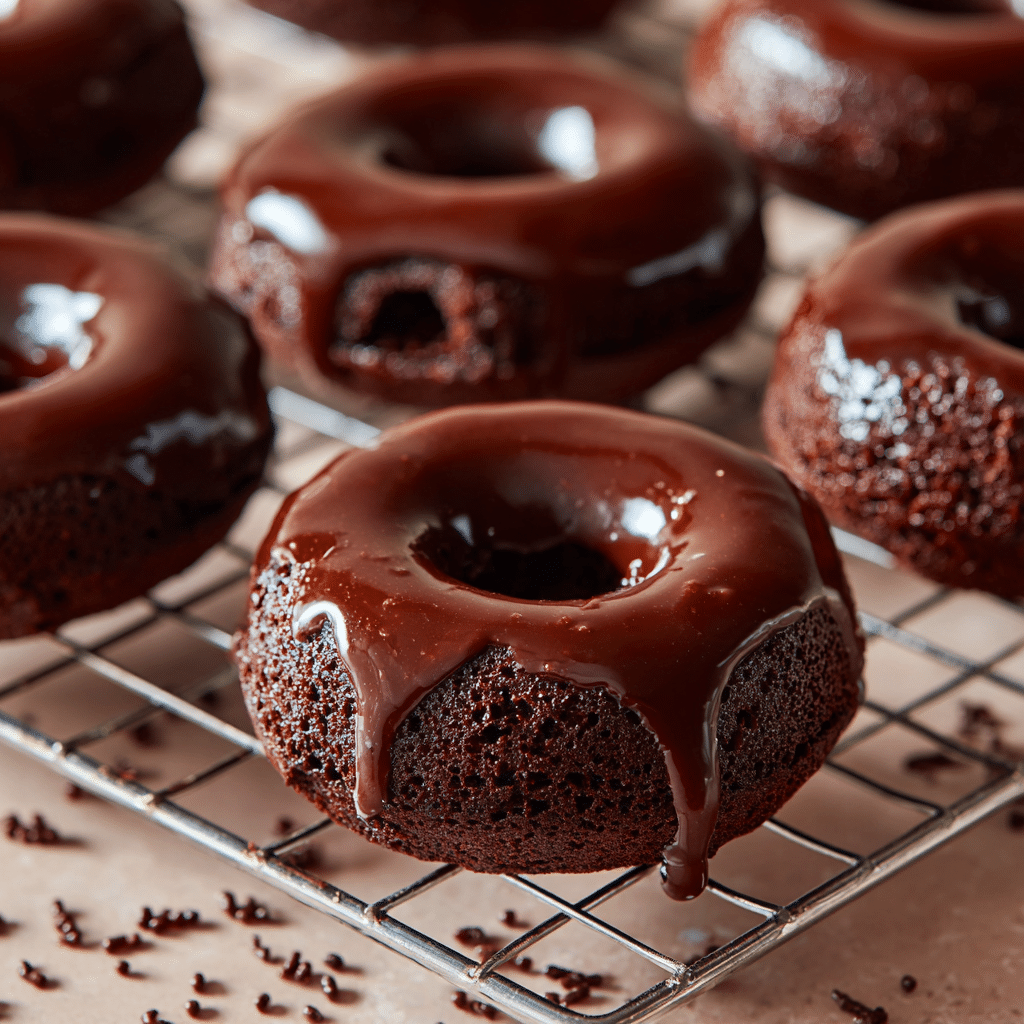
Chocolate Glazed Baked Donuts Recipe
If you’re craving a treat that feels like a warm hug in donut form, let me introduce you to the magic of Chocolate Glazed Baked Donuts. These delightful little rings are wonderfully soft and tender, baked to perfection rather than fried, and crowned with a glossy, rich chocolate glaze that adds just the right amount of indulgence. Whether it’s for breakfast, a cozy brunch, or a sweet afternoon pick-me-up, these donuts effortlessly turn simple ingredients into a charming, irresistible dessert that’ll have everyone asking for seconds.

Ingredients You’ll Need
Getting started with Chocolate Glazed Baked Donuts is a breeze because the ingredient list keeps things simple yet essential. Each item plays a vital role, ensuring your donuts are perfectly tender, lightly sweetened, and beautifully glazed.
- Flour (250 g): Provides the structure and gives your donuts their soft crumb.
- Sugar (70 g): Sweetens just enough to enhance the flavor without overpowering.
- Baking powder (1 tsp): Helps the donuts rise softly and become fluffy.
- Baking soda (1/2 tsp): Works with baking powder to achieve a tender texture.
- Salt (1/4 tsp): Balances the sweetness and deepens the overall flavor.
- Milk (125 ml): Adds moisture to keep the donuts soft and tender.
- Egg (1): Binds everything together and contributes to the rich texture.
- Butter, melted (50 g): Brings a subtle richness and helps with the tender crumb.
- Chocolate (100 g) + Butter (1 tbsp) for the glaze: Creates the shiny, luscious coating that makes each donut irresistible.
How to Make Chocolate Glazed Baked Donuts
Step 1: Prepare Your Oven and Pan
First things first, preheat your oven to 180°C to make sure it’s ready when your batter is mixed. Give your donut pan a good greasing to keep every donut from sticking and to ensure a smooth release after baking.
Step 2: Mix the Dry Ingredients
In a large bowl, whisk together the flour, sugar, baking powder, baking soda, and salt. This blend is the foundation of your donuts’ texture and taste, so mixing these dry ingredients well ensures they’re evenly distributed for a perfectly balanced bite.
Step 3: Combine the Wet Ingredients
In another bowl, whisk the milk, egg, and melted butter until they’re nicely incorporated. This mixture adds moisture and richness, essential for those soft, tender donuts we’re aiming for.
Step 4: Bring Wet and Dry Ingredients Together
Pour your wet ingredients into the bowl with dry ingredients. Stir gently until just combined—be careful not to overmix or the donuts might become dense instead of light and fluffy.
Step 5: Bake to Perfection
Spoon the batter evenly into your greased donut pan. Pop your pan into the preheated oven and bake for 12 to 15 minutes. You’ll know they’re ready when the donuts spring back slightly to the touch and a toothpick comes out clean.
Step 6: Dip in the Chocolate Glaze
While the donuts are still warm, melt your chocolate with the tablespoon of butter until shiny and smooth. Give each donut a quick dip into the glaze to coat the top, then let them rest on a wire rack so the glaze can set to a beautiful, glossy finish.
How to Serve Chocolate Glazed Baked Donuts
Garnishes
Although the chocolate glaze steals the show on its own, you can sprinkle some powdered sugar, colorful sprinkles, crushed nuts, or even a pinch of sea salt to add a little extra excitement and texture to your donuts. These garnishes not only look beautiful but also enhance the flavor sensations with each bite.
Side Dishes
Pair your Chocolate Glazed Baked Donuts with a freshly brewed cup of coffee or a creamy latte for the ultimate cozy combo. For an indulgent brunch, add fresh fruit like berries or a dollop of whipped cream to balance the richness of the donuts.
Creative Ways to Present
Stack your donuts on a beautiful cake stand for a centerpiece that invites everyone to indulge. You can also slide them onto a skewer for a fun donut kabob or serve mini donuts in colorful paper cups for cute, party-ready presentation.
Make Ahead and Storage
Storing Leftovers
Chocolate Glazed Baked Donuts are best enjoyed fresh, but if you have leftovers, store them in an airtight container at room temperature for up to one day to keep their soft texture intact.
Freezing
If you want to save them a bit longer, you can freeze the unglazed donuts in a sealed bag or container. When ready, thaw them at room temperature and dip in fresh glaze before serving for the best experience.
Reheating
To revive your donuts, gently warm them in the oven at a low temperature or pop them into the microwave for about 10 seconds. Then reapply your chocolate glaze if needed to restore that irresistible shine and gooey finish.
FAQs
Can I use gluten-free flour to make Chocolate Glazed Baked Donuts?
Yes, you can substitute with a gluten-free flour blend designed for baking, but be aware the texture might be slightly different—often a bit more crumbly—but still delicious!
What type of chocolate works best for the glaze?
Good quality semi-sweet or dark chocolate melts beautifully and gives a lovely balance to the sweetness of the donut. You can adjust the type depending on your personal taste preferences.
Can I make these donuts vegan?
With a few substitutions like plant-based milk, a flax egg instead of a chicken egg, and vegan butter, you can adapt this recipe to be vegan-friendly while still enjoying those Chocolate Glazed Baked Donuts.
Is it necessary to use a donut pan?
While a donut pan helps achieve the classic shape, you can use muffin tins or even bake the batter in small ramekins if needed. Just keep an eye on baking time as it might vary slightly.
How thick should the chocolate glaze be?
The glaze should be smooth and pourable but thick enough to coat the donuts without dripping off entirely. Adjust butter quantity to achieve this perfect consistency.
Final Thoughts
There’s nothing quite like the joy of homemade Chocolate Glazed Baked Donuts, warm from the oven with that glossy chocolate icing that makes every bite feel special. They’re simple enough to whip up on a whim yet impressive enough to share with friends and family. I truly hope you give this recipe a try and discover just how rewarding it is to make your own bakery-style treats at home.