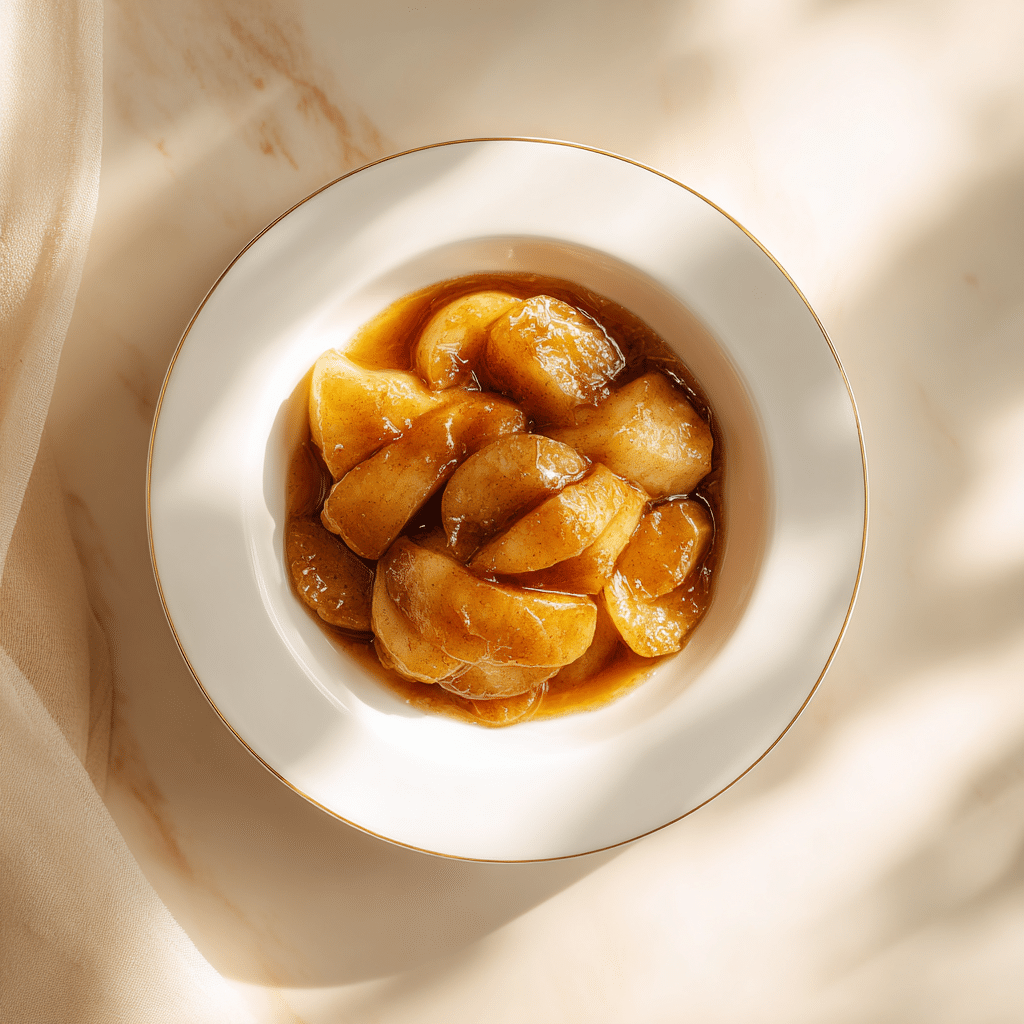
Apple Pie Filling
There’s something incredibly comforting about homemade Apple Pie Filling—it’s like a warm hug in a bowl, bursting with tender, cinnamon-kissed apples and a buttery richness that’s pure magic. Whether you’re planning to bake a classic pie, whip up a flaky tart, or even spoon it over vanilla ice cream for an easy dessert upgrade, this Apple Pie Filling recipe will quickly become your secret culinary weapon. It’s simple, freezer-friendly, and packed with that cozy homemade flavor that store-bought just can’t match.

Ingredients You’ll Need
Gathering a handful of straightforward ingredients is all it takes to create this delicious Apple Pie Filling. Each component plays a vital role in balancing sweetness, spice, and texture, making every spoonful a delight.
- 8 medium apples: Choose firm, tart apples like Granny Smith or a blend for that perfect balance of sweet and tangy flavors.
- 1 tablespoon lemon juice freshly squeezed: This brightens the flavors and keeps your apples from browning.
- ¼ cup unsalted butter: Adds luscious richness and helps the apples soften beautifully.
- 2 teaspoons cinnamon: The warm spice that brings everything together with a classic fall aroma.
- ½ cup packed brown sugar: Offers deep molasses sweetness that caramelizes slightly during cooking.
- ¼ cup water: Helps cook the apples evenly without making the filling too watery.
- ¼ teaspoon salt: Balances the sweetness and enhances all the other flavors.
- 2 tablespoons cornstarch: Mixed with water to thicken the juices into a luscious, spoonable filling.
How to Make Apple Pie Filling
Step 1: Prep the Apples
Start by peeling, coring, and slicing your apples so they’re all about the same size—this ensures even cooking. Toss the slices with the freshly squeezed lemon juice right away to prevent them from turning brown and to add a subtle zing that lifts the whole filling.
Step 2: Cook the Apples with Cinnamon and Butter
In a large skillet, melt the butter over medium heat and sprinkle in the cinnamon. The moment the cinnamon hits the buttery base, your kitchen will feel cozy and inviting. Add your apple slices along with the brown sugar, water, and a pinch of salt. Stir everything together and cover the pan. Let the apples gently cook for about 5 minutes until they start to soften but still hold their shape—this step is where the magic truly begins.
Step 3: Thicken the Filling
Mix the cornstarch with 2 tablespoons of water until smooth, then pour it into your skillet. Stir continuously while cooking for another minute or so, until the liquid thickens and coats the apples. The filling should be soft but still have a little texture, never mushy. Once thick and glossy, remove it from heat and allow it to cool completely before transferring to storage or using in your favorite recipes.
How to Serve Apple Pie Filling
Garnishes
Sprinkle a touch of extra cinnamon or a few chopped toasted pecans on top for that lovely crunch and added warmth. A dollop of whipped cream or a scoop of vanilla ice cream makes for a heavenly finish that takes this filling from simple to spectacular.
Side Dishes
This luscious Apple Pie Filling pairs beautifully with flaky biscuits or buttery scones for an impromptu dessert or afternoon snack. You can also spoon it atop pancakes or waffles to bring classic apple pie flavors to your breakfast table.
Creative Ways to Present
If you want to think outside the pie, try layering your Apple Pie Filling with vanilla yogurt and granola for a delicious parfait. Another fun idea is stuffing it inside puff pastry pockets or folding it into crepes for a quick and delightful treat that’s sure to impress family and friends.
Make Ahead and Storage
Storing Leftovers
Your Apple Pie Filling can be stored in airtight glass jars or containers in the refrigerator for up to 5 days. Keeping it chilled helps maintain that fresh, bright apple taste and the luscious texture.
Freezing
This filling is wonderfully freezer friendly! Spoon it into freezer-safe bags or containers and freeze for 3 to 4 months. This way, you can make a double batch without worrying about it going to waste, making future desserts a breeze whenever the craving hits.
Reheating
When you’re ready to enjoy your Apple Pie Filling, thaw it overnight in the fridge. Warm gently on the stove over low heat or in the microwave, stirring occasionally until heated through. This helps revive the silky texture without breaking down the tender apple pieces.
FAQs
Can I use other types of apples for the Apple Pie Filling?
Absolutely! While tart and firm apples like Granny Smith are ideal, mixing in sweeter varieties like Fuji or Gala can add a lovely depth of flavor. Just make sure to choose apples that hold their shape well.
Is it necessary to use cornstarch for thickening?
Cornstarch is great for giving the filling a thicker consistency, but if you prefer a looser texture, you can omit it. Keep in mind the filling will firm up slightly as it cools, even without thickening agents.
Can I add other spices besides cinnamon?
Yes! Adding a pinch of fresh nutmeg, ground cloves, or allspice can elevate the warm flavors in your Apple Pie Filling and add a more complex aroma that perfectly complements the apples.
How do I prevent the apples from browning before cooking?
Simply toss your peeled and sliced apples with freshly squeezed lemon juice right after cutting. The acid in the lemon juice slows oxidation and keeps your apples looking fresh and appetizing.
What can I do with leftover Apple Pie Filling?
Beyond pies and tarts, leftover filling is fantastic on pancakes, as a topping for oatmeal, stirred into yogurt, or even eaten straight from the jar—there are so many delicious ways to enjoy it!
Final Thoughts
I can’t recommend making this Apple Pie Filling enough—it’s seriously one of those kitchen treasures that elevates any dessert or snack with minimal fuss. Once you try this recipe, you’ll never want to go back to store-bought because homemade just tastes better, feels cozier, and fills your home with an irresistible aroma. So go ahead, whip up a batch, and savor that comforting, buttery apple goodness anytime you want!