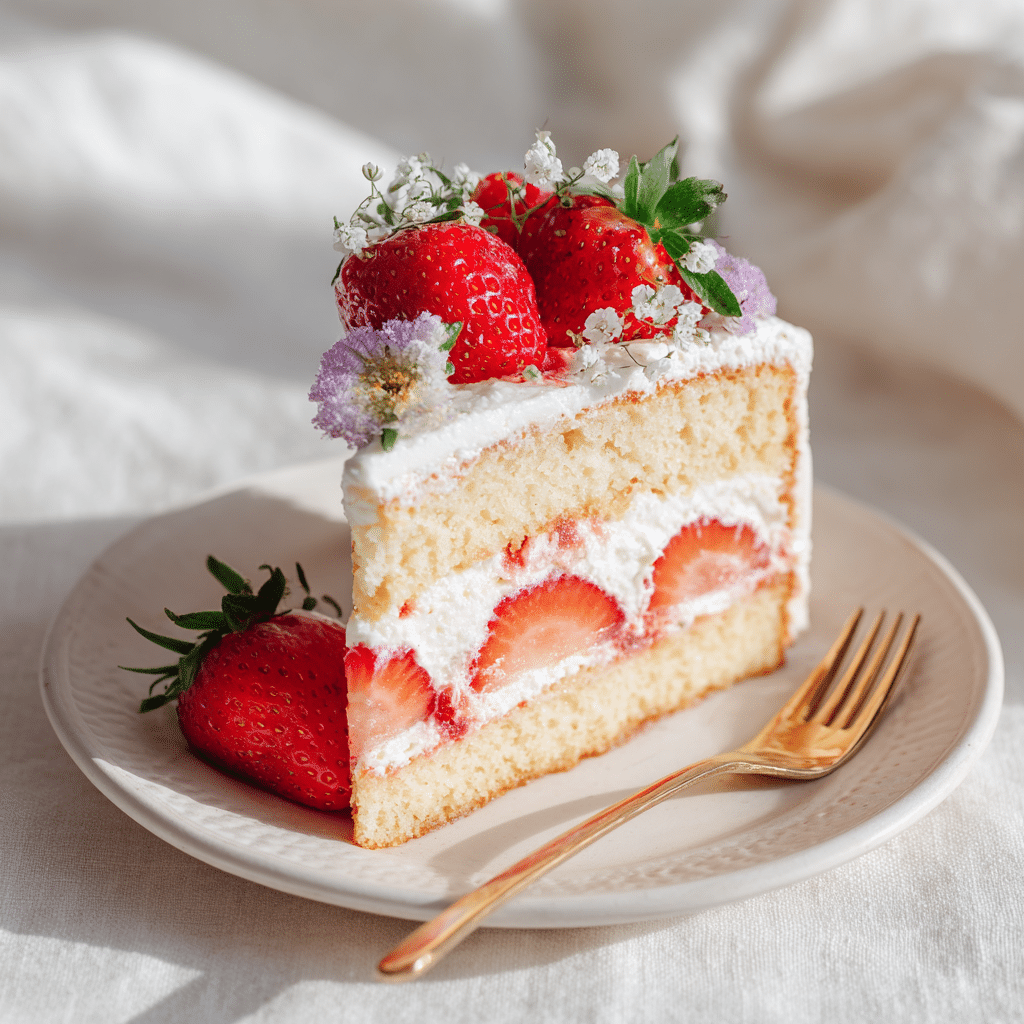
Strawberry Layer Dream Cake Recipe
If you have a special occasion coming up or simply want to treat yourself to something spectacular, the Strawberry Layer Dream Cake is an absolute must-bake. This delightful dessert combines fluffy vanilla sponge layers with luscious whipped strawberry cream and fresh berry bursts that create a heavenly experience with every bite. It’s as beautiful as it is scrumptious, making it the perfect centerpiece for your dessert table. Once you try this Strawberry Layer Dream Cake, you’ll wonder how you ever enjoyed a cake without it.
Ingredients You’ll Need
Gathering the right ingredients is key to bringing this cake to life. Each component is simple but essential, working together to give you a beautifully textured cake with perfect sweetness and fresh strawberry brightness.
- 2 cups flour: The foundation for your tender vanilla sponge, providing just the right structure.
- 1½ cups sugar: Sweetness that balances the tartness of the strawberries perfectly.
- 2 teaspoons baking powder: This makes your cake rise beautifully and remain fluffy.
- 4 eggs: Eggs add moisture and richness for that melt-in-your-mouth texture.
- 1 cup milk: Adds softness and keeps the sponge from drying out.
- ½ cup butter, softened: Brings richness and a subtle buttery flavor to every bite.
- 1 teaspoon vanilla extract: A warm, sweet aroma that enhances all the flavors.
- 2 cups strawberries, sliced: Fresh, juicy, and naturally sweet, these are the heart of your cake.
- 1½ cups heavy cream: Whipped to perfection, this cream is the fluffy dream layer that ties everything together.
- 2 tablespoons powdered sugar: Sweetens the whipped cream gently while keeping it silky and smooth.
How to Make Strawberry Layer Dream Cake
Step 1: Prepare the Cake Batter
Start by preheating your oven to 350°F (175°C). In a bowl, mix the flour, baking powder, and a pinch of salt to get your dry ingredients ready. In a separate large bowl, beat the softened butter and sugar until it becomes light and fluffy—this step is where your cake’s crumb starts to take shape! Add the eggs one at a time, making sure they are fully incorporated before moving to the next. Now alternate adding the vanilla and milk with the dry ingredients, mixing gently to avoid overworking the batter but enough to have it fully combined.
Step 2: Bake the Vanilla Sponge Layers
Divide the batter evenly between two greased cake pans. Slide them into your preheated oven and bake for 30 to 35 minutes or until a toothpick comes out clean. That golden color and springy texture will signal your cake is perfectly done. Once baked, let them cool completely on wire racks. The cooling period is crucial because warm cake layers can cause your whipped cream to melt and turn the assembly messy.
Step 3: Whip the Strawberry Cream
In a chilled bowl, whip the heavy cream with powdered sugar until you get thick, stiff peaks. This whipped cream will make your cake light and airy. Next, gently fold in your sliced strawberries, mixing just enough to distribute them evenly throughout the cream without deflating its fluffiness.
Step 4: Assemble the Strawberry Layer Dream Cake
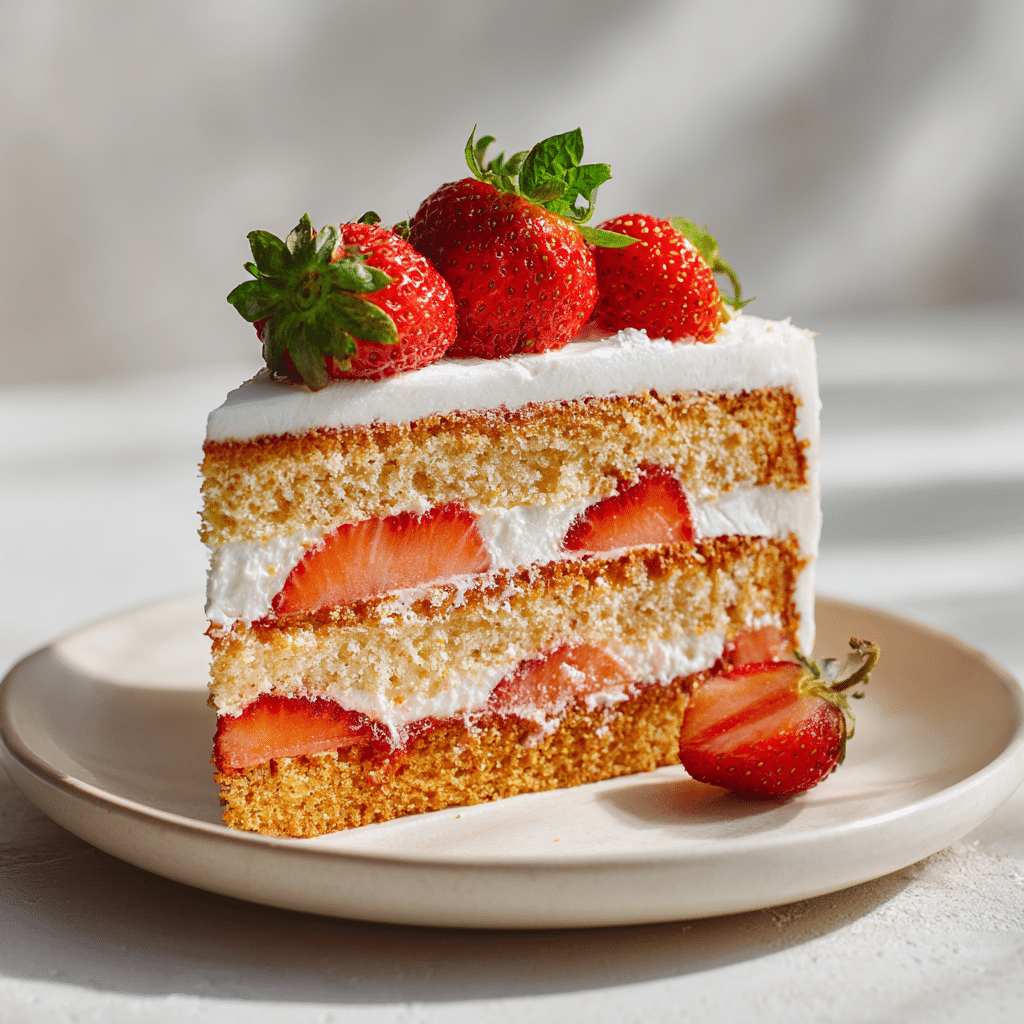
Now comes the fun part! Place one cake layer on your serving plate and spread a generous layer of the whipped strawberry cream on top. Add a handful of fresh strawberry slices for extra texture and flavor. Place the second cake layer over this, and repeat the cream and strawberry layering on top. Finish with a luscious layer of whipped cream crowned beautifully with whole or halved strawberries. This classic layering step is where your Strawberry Layer Dream Cake truly earns its dreamy title.
Step 5: Chill Before Serving
Cover your cake lightly with plastic wrap and let it chill in the refrigerator for at least an hour. This resting time lets the flavors meld together and the cream set perfectly, making every slice hold its shape and taste divine.
How to Serve Strawberry Layer Dream Cake
Garnishes
Enhance the visual beauty of your cake by adding a few fresh mint leaves or edible flowers atop the strawberry crown. You could also sprinkle a dusting of powdered sugar for a snowy, elegant finish. These small touches make every serving a feast for the eyes and the palate.
Side Dishes
While the Strawberry Layer Dream Cake is delightful all on its own, pairing it with a scoop of vanilla bean ice cream or a drizzle of homemade strawberry coulis will elevate the experience. For coffee or tea lovers, a bold espresso or a fruity herbal tea complements the cake’s sweetness beautifully.
Creative Ways to Present
If you want to wow your guests even further, try serving individual mini Strawberry Layer Dream Cakes in cute glass jars or pretty dessert glasses. Layer a small piece of sponge, strawberry cream, and fresh berries repeatedly for an elegant and portable treat.
Make Ahead and Storage
Storing Leftovers
Once assembled, the Strawberry Layer Dream Cake is best enjoyed within two to three days. Keep it covered in the refrigerator to maintain its freshness and prevent the cake from drying out. The whipped cream holds up nicely, but the berries will be at their peak flavor early on.
Freezing
Freezing this cake is a bit tricky because of the fresh strawberries and whipped cream layers. If you need to freeze it, wrap the cake tightly in plastic wrap and then foil, freezing it for up to one month. Thaw it in the fridge overnight, but know some texture loss in the cream and berries is possible.
Reheating
Since this is a cream-filled cake with fresh fruit, reheating is not recommended. Serve it chilled for best texture and flavor—this dessert truly shines when cool and creamy.
FAQs
Can I use frozen strawberries instead of fresh ones?
Fresh strawberries are best for the Strawberry Layer Dream Cake because they hold their texture and flavor better. Frozen strawberries can be watery when thawed, which might make the cream soggy.
Is there a way to make this cake dairy-free?
You can substitute butter with a plant-based alternative and use a dairy-free whipped cream for the frosting. Choose fresh strawberries as usual, and follow the same assembly instructions for a delicious dairy-free version.
How do I make sure the cake layers are even?
Using a kitchen scale to divide your batter evenly between pans helps a lot. Also, smooth the batter gently in the pan before baking to avoid high spots.
Can this cake be turned into a gluten-free dessert?
Absolutely! Replace the all-purpose flour with a quality gluten-free baking blend. Just be sure the blend contains xanthan gum or another binder for the best texture.
What’s the best way to slice the cake cleanly?
Use a sharp serrated knife and wipe it clean between each cut. Chilling the cake before slicing also makes it easier to get neat, even slices without your cream layers smushing out.
Final Thoughts
The Strawberry Layer Dream Cake is one of those magical desserts that taste as lovely as it looks. Its light sponge, fluffy whipped strawberry cream, and fresh berries come together like a dream, perfect for celebrations or simply when you want to spoil yourself. I can’t wait for you to try this recipe and make your own Strawberry Layer Dream Cake memories—it truly is a slice of happiness on a plate!