Peanut Brittle Recipe
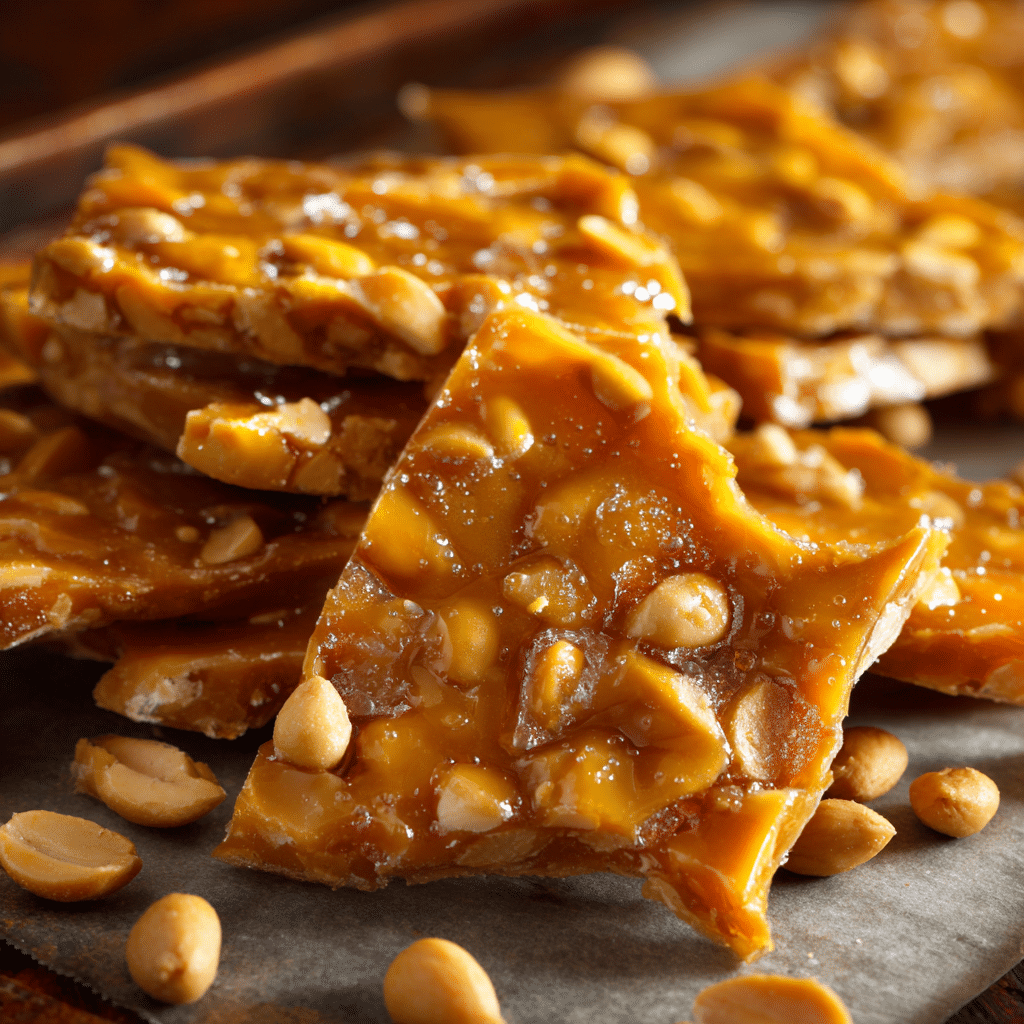
If you love a sweet treat that’s both crunchy and packed with a rich, nutty flavor, Peanut Brittle is the perfect indulgence to have on hand. This classic candy combines caramelized sugar with roasted peanuts, creating a satisfyingly crunchy texture that melts in your mouth. It’s one of those nostalgic snacks that bring back warm memories and make any moment a little more special. Making Peanut Brittle at home is surprisingly simple, and once you master the basics, you’ll find yourself reaching for this delightful candy anytime you want a sweet, crunchy pick-me-up.
Ingredients You’ll Need
The beauty of Peanut Brittle lies in its simplicity. Each ingredient is essential, contributing uniquely to the flavor, texture, and appearance of this candy. From the deep caramel color of melted sugar to the buttery richness and that satisfying crunch from roasted peanuts, every component counts.
- Sugar (200 g): The foundation for caramel, it’s crucial to melt it slowly to achieve the perfect amber color and rich flavor.
- Butter (2 tbsp): Adds a creamy smoothness and helps bind the brittle together with a subtle richness.
- Baking soda (1 tsp): Creates tiny bubbles in the candy, giving the brittle a light, airy crunch instead of being too dense.
- Roasted peanuts (1 cup): The star ingredient, bringing a nutty, salty balance that complements the sweetness beautifully.
How to Make Peanut Brittle
Step 1: Melt the Sugar
Begin by heating the sugar gently in a heavy-bottomed pan over medium heat. It’s important to stir continuously and patiently as the sugar melts down and transforms from granules into a smooth, amber-colored caramel. This is a crucial step that sets the flavor tone—don’t rush it or walk away, as burnt sugar will give your brittle a bitter edge.
Step 2: Stir in Butter and Peanuts
Once your sugar is beautifully caramelized, immediately stir in the butter. Its richness will melt into the caramel, creating an inviting glossy texture. Then quickly add the roasted peanuts, folding them in to ensure every piece is coated with that luscious caramel glaze. The peanuts bring the crunch and flavor balance that make Peanut Brittle so irresistible.
Step 3: Add Baking Soda and Pour
With the mixture still hot, stir in the baking soda right away. This step is magical—it causes the candy to foam and bubble up slightly, resulting in a brittle that isn’t overly dense but has a delightful lightness. Once it’s thoroughly mixed, pour the bubbling concoction onto a greased or parchment-lined tray—try to spread it evenly as it starts to set quickly.
Step 4: Cool and Break
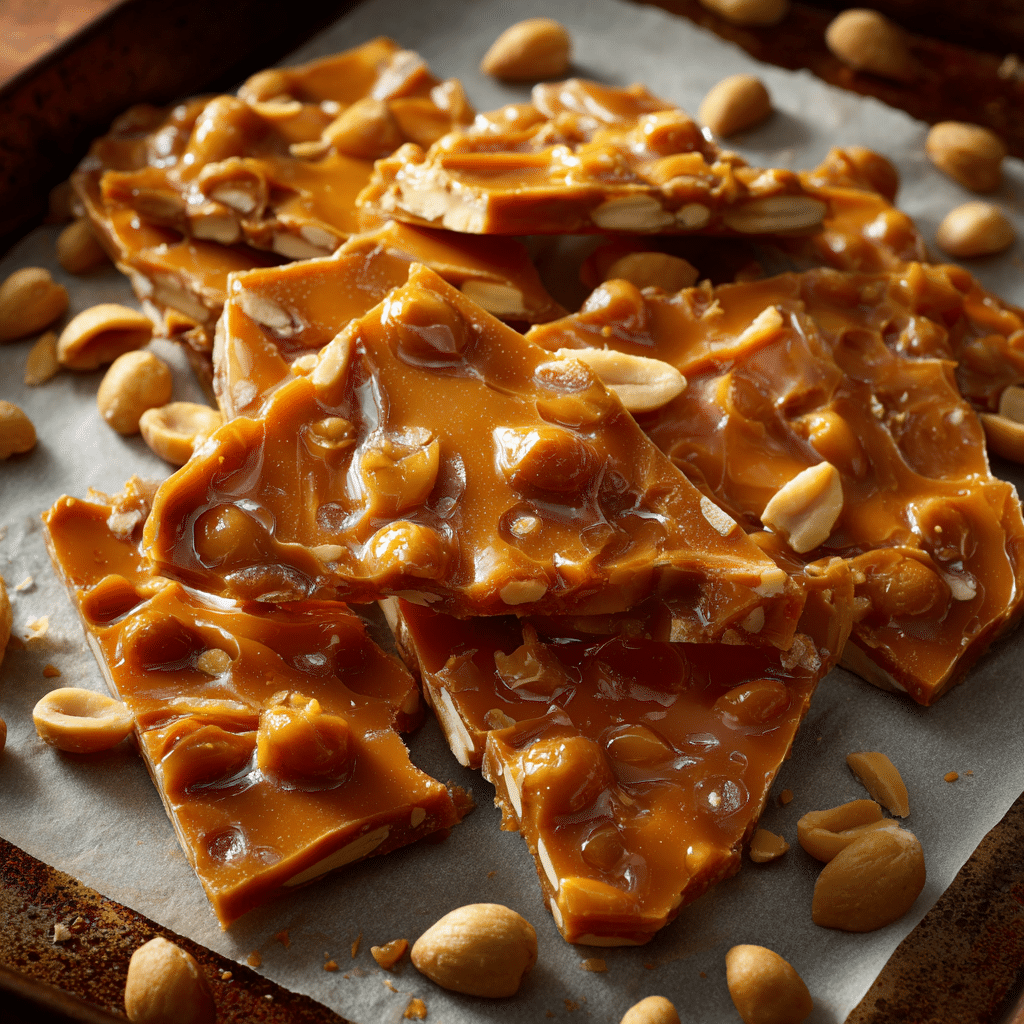
Allow your Peanut Brittle to cool at room temperature until it hardens completely. This usually takes about 30 minutes. Once set, break it into bite-sized pieces or whatever shapes you prefer. The satisfying snap as you break your homemade brittle is just as rewarding as eating it!
How to Serve Peanut Brittle
Garnishes
While Peanut Brittle is fantastic on its own, you can sprinkle a pinch of flaky sea salt on top just after pouring it onto the tray to enhance the sweet-savory combo. For a festive touch, a light dusting of cinnamon or chili powder adds an exciting twist without overwhelming the classic taste.
Side Dishes
Peanut Brittle pairs wonderfully as an accompaniment to simple desserts like vanilla ice cream or a creamy cheesecake, where its crunchy texture cuts through the smoothness. It also shines when served alongside a warm cup of coffee or rich hot chocolate, making a cozy treat session.
Creative Ways to Present
For parties or gift-giving, package your Peanut Brittle in pretty tins or clear cellophane bags tied with rustic twine. You can even crush some pieces and sprinkle them over cupcakes or brownies for an added crunch boost. It’s a versatile treat that’s as delightful to share as it is to eat.
Make Ahead and Storage
Storing Leftovers
Keep your Peanut Brittle fresh by storing it in an airtight container at room temperature. Avoid humid environments to preserve that crispy texture. Properly stored, it will stay delicious for up to two weeks, making it an excellent make-ahead snack or gift.
Freezing
If you want to keep your Peanut Brittle longer, freezing is an option. Wrap the pieces tightly in plastic wrap and place them in a freezer bag or airtight container. When you’re ready to enjoy them again, simply thaw at room temperature; the texture will remain delightfully crunchy.
Reheating
Reheating Peanut Brittle isn’t typically necessary or recommended, as it tastes best fresh or at room temperature. However, if it feels slightly sticky, a few minutes in a low oven (around 150°C/300°F) on a baking sheet can help restore its crispness. Just keep an eye on it to prevent melting or burning.
FAQs
Can I use raw peanuts instead of roasted?
While you can use raw peanuts, roasting them enhances their flavor and crunch, which is key to making great Peanut Brittle. If using raw, roast them lightly beforehand for best results.
Why is my Peanut Brittle sticky or soft?
Sticky brittle usually means the sugar didn’t caramelize enough or the candy was exposed to moisture. Ensure you melt the sugar fully to amber and store the brittle in a dry place to avoid softness.
Can I substitute the peanuts with other nuts?
Absolutely! Cashews, almonds, or pecans work wonderfully and bring their unique flavors, but keep in mind peanuts have a natural balance of saltiness that perfectly complements the caramel.
Is baking soda necessary in the recipe?
Yes, baking soda creates bubbles in the candy, giving Peanut Brittle its characteristic airy crunch and preventing it from being too dense or hard. It’s a small but important ingredient.
How thin or thick should I spread the mixture on the tray?
Spread it evenly but not too thin—about 1/4 inch thickness is ideal to give a good balance between crunch and ease of breaking into pieces without crumbling.
Final Thoughts
Making Peanut Brittle at home may seem a little intimidating at first, but with just a few simple ingredients and clear steps, you’ll create a spectacular treat that embodies warmth and nostalgia in every bite. It’s a perfect snack to share, gift, or simply savor on your own—so don’t hesitate to whip up a batch and enjoy the magic of homemade candy with all its crunchy, caramelized goodness.