homemade vanilla custard Recipe
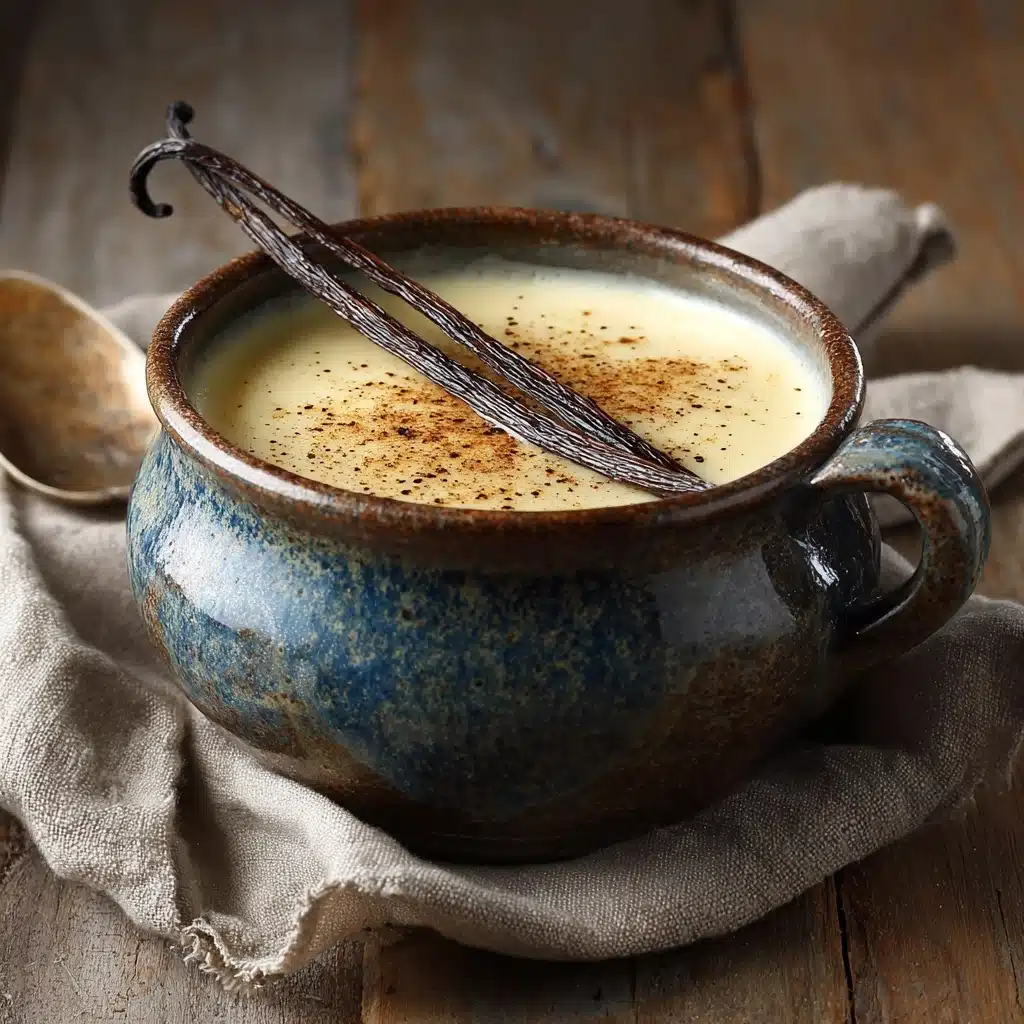
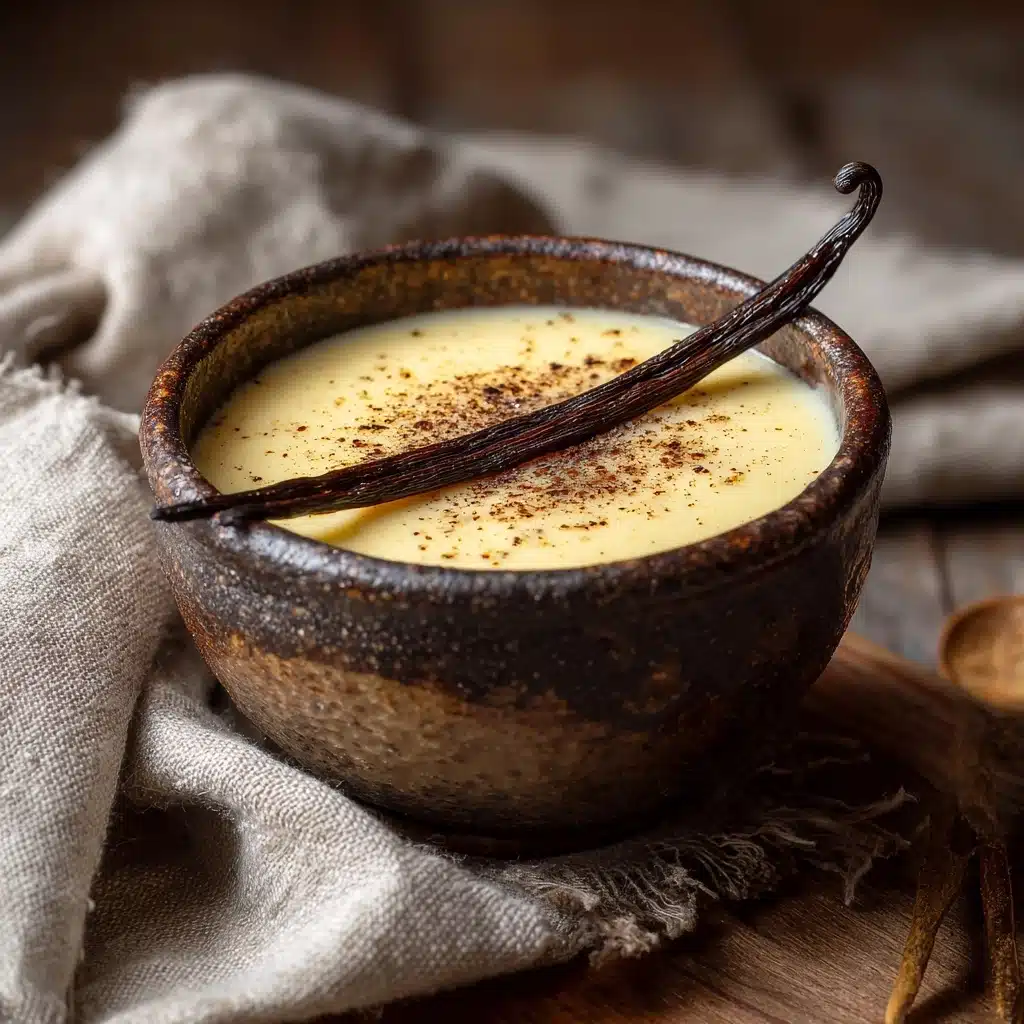
If you’ve ever dreamed of crafting a rich, silky dessert right in your own kitchen, this homemade vanilla custard recipe is your new best friend. This luscious custard boasts a creamy texture and a deep, comforting vanilla flavor that elevates any dessert experience. Whether you’re spooning it over fresh berries, using it as a filling for tarts, or enjoying it on its own, this homemade vanilla custard is a timeless classic that’s incredibly satisfying to make from scratch and even more delightful to eat.
Ingredients You’ll Need
The magic of this homemade vanilla custard lies in its simplicity. Each ingredient plays a crucial role in building that perfect balance of richness, smoothness, and flavor that custard lovers crave.
- Whole milk: Provides a creamy base with natural richness that makes the custard smooth and velvety.
- Granulated sugar: Sweetens the custard without overpowering the delicate vanilla flavor.
- Large egg yolks: The key to the custard’s luscious texture and natural thickening power.
- Cornstarch: Ensures the custard thickens perfectly without becoming grainy or curdled.
- Unsalted butter: Adds a silky finish and shines bright with richness.
- Pure vanilla extract: Infuses the custard with its warm, classic flavor that makes it utterly irresistible.
- Pinch of salt: Balances sweetness and enhances all the flavors beautifully.
How to Make homemade vanilla custard
Step 1: Warm the milk gently
Begin by heating your whole milk in a heavy-bottomed saucepan over medium heat until it starts to steam. It’s crucial not to let it reach a boil, as overheating can affect the custard’s silky texture. Once it’s steaming, remove it from the heat to keep it warm and ready for the next steps.
Step 2: Whisk together the eggs, sugar, and cornstarch
In a separate bowl, combine the egg yolks, granulated sugar, cornstarch, and a pinch of salt. Whisk these ingredients until the mixture is pale and slightly thickened. This step is important to build the structure of your custard and to help it thicken smoothly.
Step 3: Temper the eggs with warm milk
Slowly pour about half a cup of the warm milk into the egg yolk mixture, whisking constantly. This gentle tempering process is the secret to preventing scrambled eggs and ensures your custard stays creamy and smooth.
Step 4: Combine and return to heat
Gradually whisk in the remaining warm milk, then pour the entire mixture back into your saucepan. Set your heat to low or medium-low; this gentle cooking will coax the custard to thicken slowly and perfectly.
Step 5: Cook until thickened
Stir the custard constantly with a wooden spoon or heat-safe spatula. Patience now pays off—keep the heat moderate so your custard thickens gradually and coats the back of the spoon without any lumps or curdling.
Step 6: Finish with butter and vanilla
Once thickened, remove the pan from heat. Stir in the unsalted butter and pure vanilla extract until the custard becomes glossy and indulgently smooth. These last touches round out the flavor and texture beautifully.
Step 7: Strain and chill
For an ultra-silk custard, pour it through a fine-mesh sieve into a clean bowl to remove any bits of cooked egg. Press plastic wrap directly onto the surface of the custard to prevent a skin from forming. Let it cool at room temperature before refrigerating for at least a few hours to chill completely.
How to Serve homemade vanilla custard
Garnishes
A sprinkle of freshly grated nutmeg or a dusting of cinnamon adds a warm spice that pairs wonderfully with the vanilla notes. For a pop of color and freshness, top your custard with fresh raspberries or sliced strawberries. A few mint leaves make a pretty, fragrant addition that invites your guests to dive in.
Side Dishes
Homemade vanilla custard shines alongside seasonal fruits like poached pears or caramelized bananas. It’s also fantastic served with buttery shortbread cookies or crisp ladyfingers for dipping — the creamy custard and crunchy cookies form a perfect harmony of textures.
Creative Ways to Present
Turn this custard into an elegant dessert by layering it with fruit compote in individual parfait glasses. Or use it as a filling for tarts and éclairs for an extra homemade touch. For a cozy treat, drizzle warm caramel sauce over a bowl of chilled custard to wow any dessert table.
Make Ahead and Storage
Storing Leftovers
Your homemade vanilla custard will keep beautifully in an airtight container in the refrigerator for up to three days. Just make sure the plastic wrap stays pressed against the surface to keep it silky without forming a skin.
Freezing
While custard freezes well, the texture might change slightly upon thawing, occasionally becoming a bit grainy. If you choose to freeze it, store in a freezer-safe container for up to one month and thaw overnight in the fridge for best results.
Reheating
To enjoy your homemade vanilla custard warm, gently reheat it on the stove over very low heat while stirring constantly. Avoid using high heat or the microwave to prevent curdling. Warm slowly until just heated through, and serve immediately.
FAQs
Can I use milk alternatives to make homemade vanilla custard?
While whole milk gives the best creamy texture, you can use alternatives like almond or oat milk, keeping in mind that the flavor and consistency will vary. For a custard-like texture, a richer alternative like full-fat coconut milk works better than watery options.
Why is cornstarch used in this recipe?
Cornstarch is a gentle thickener that helps the custard set without curdling or becoming too eggy. It creates a smooth texture that holds well whether chilled or gently warmed.
How do I prevent lumps in homemade vanilla custard?
The key is slow, steady stirring and not overheating the mixture. Tempering the eggs with warm milk gradually and cooking over low to medium heat helps keep the custard silky and lump-free.
Can I add flavors other than vanilla?
Absolutely! While vanilla is classic, you can infuse the milk with spices like cinnamon or cardamom, or add a splash of coffee or citrus zest after cooking to make the recipe your own.
Is homemade vanilla custard safe to eat immediately after cooking?
Technically yes, but it tastes best and firms up beautifully after chilling in the fridge for at least a few hours. Cooling also enhances the flavors and gives that luscious custard texture everyone loves.
Final Thoughts
There’s something truly special about making homemade vanilla custard—the way humble ingredients come together to create a silky, flavorful treat that feels both nostalgic and luxurious. Whether you’re serving it as a simple dessert or using it as a base for more elaborate creations, this recipe invites you to slow down and enjoy a sweet moment made by your own hands. Don’t wait to give it a try and discover how wonderfully satisfying homemade vanilla custard can be!