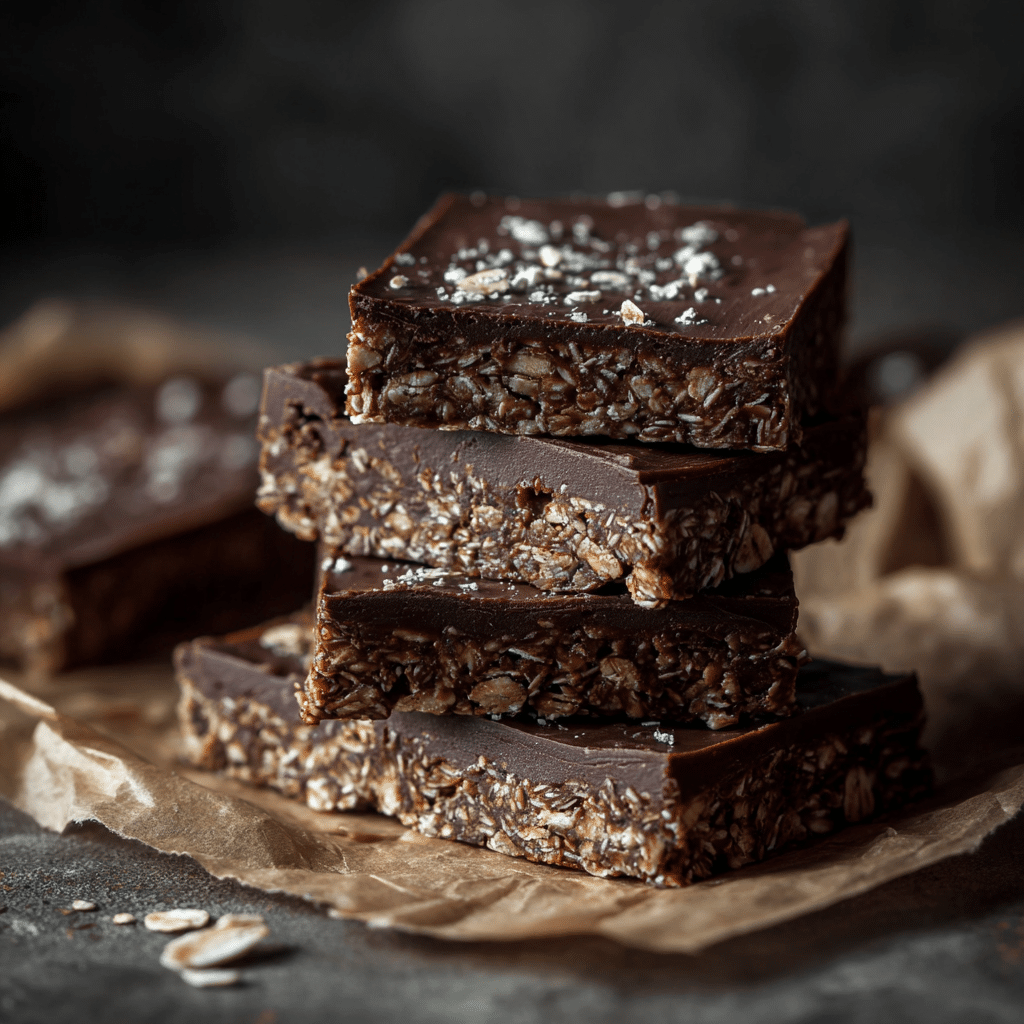
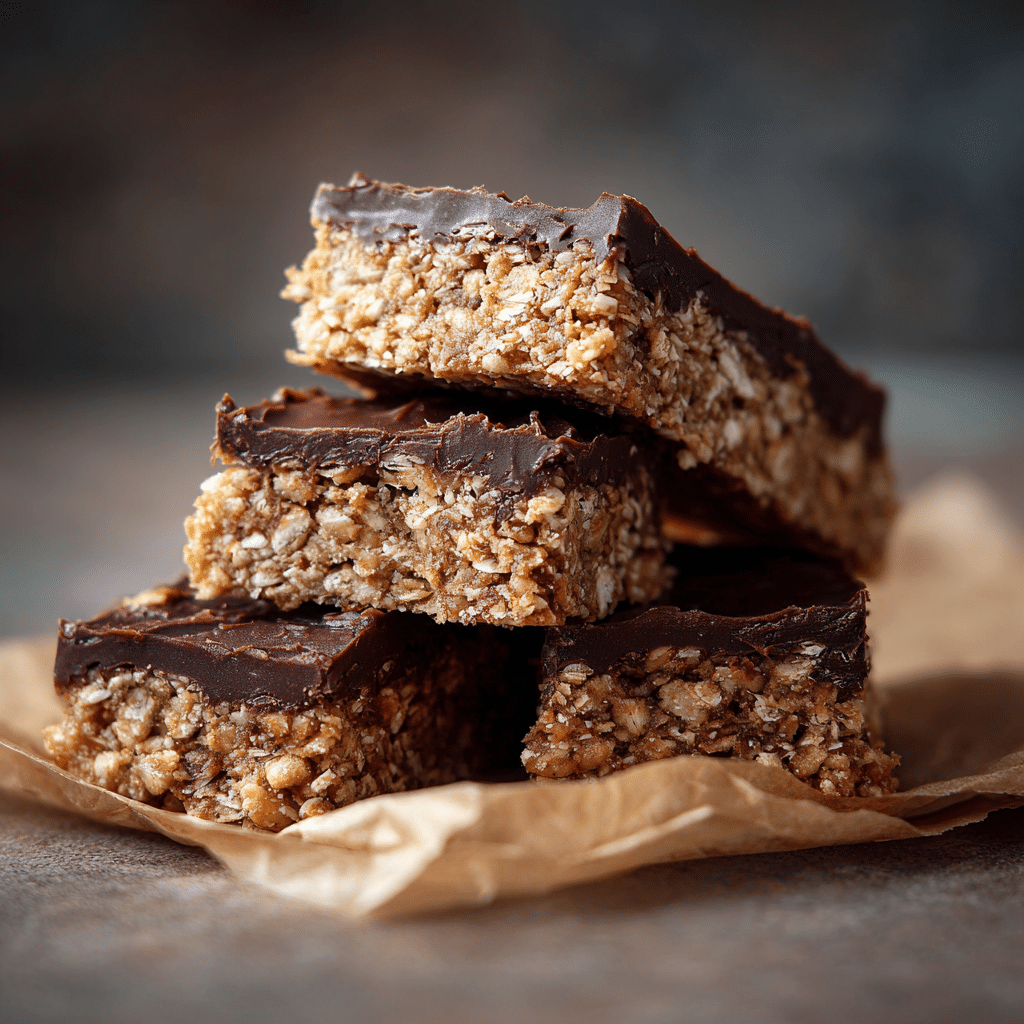
Chocolate Oat Breakfast Bars Recipe
If you are on the hunt for a snack that feels like a warm hug in every bite, these Chocolate Oat Breakfast Bars are exactly what you need. They are perfectly chewy with slightly crisp edges, offering just the right balance between wholesome oats and rich chocolate flavor. Whether you’re rushing out the door or looking for a satisfying treat to power through the morning, these bars deliver on taste and convenience. Plus, they’re sturdy enough to travel well, making them an ideal companion for busy days or meal prep sessions.
Ingredients You’ll Need
These ingredients are delightfully simple yet play a crucial role in creating the perfect texture and flavor for your Chocolate Oat Breakfast Bars. Each component brings something special to the mix, from the wholesome oats to the rich cocoa powder.
- Rolled oats: The foundation of the bars, providing chewy texture and hearty fiber.
- Flour: Helps bind everything together and adds just enough structure.
- Brown sugar: Adds sweetness with a touch of molasses flavor for depth.
- Cocoa powder: Infuses the bars with deep chocolate flavor without extra fat.
- Melted butter: Enhances richness and helps create those crisp edges.
- Milk: Keeps the batter moist and aids in binding the ingredients smoothly.
- Egg: The glue that holds the bars firmly together for easy slicing and eating.
How to Make Chocolate Oat Breakfast Bars
Step 1: Preheat the Oven and Prepare Pan
Start by setting your oven to 350°F to ensure it’s hot and ready. Lightly grease an 8×8-inch baking pan or line it with parchment paper for easy removal of your bars later. This simple prep ensures your bars bake evenly and come out cleanly without sticking.
Step 2: Mix Dry Ingredients
In a large bowl, combine 2 cups of rolled oats, 1 cup of flour, 1/2 cup of brown sugar, and 1/4 cup of cocoa powder. Mixing these dry ingredients well at the start ensures the chocolate flavor is evenly dispersed and the sweetness is balanced throughout every bar.
Step 3: Add Wet Ingredients
Into your dry mix, stir in 1/2 cup of melted butter, 1/2 cup of milk, and 1 egg. The melted butter pools richness throughout the batter, while the milk and egg provide moisture and help everything stick together perfectly.
Step 4: Combine and Spread Batter
Stir all ingredients until just combined. Be careful not to overmix; you want a thick, sticky batter that will hold its shape. Transfer your batter into the prepared pan, spreading it evenly with a spatula to ensure uniform baking and consistent texture.
Step 5: Bake to Perfection
Slide your pan into the oven and bake for about 25 minutes. You’re looking for slightly crisp edges with a chewy, moist center. A toothpick inserted in the middle should come out with just a few crumbs attached, signaling your Chocolate Oat Breakfast Bars are ready to come out and cool.
How to Serve Chocolate Oat Breakfast Bars
Garnishes
Sprinkle a light dusting of powdered sugar or drizzle a little melted chocolate on top for an extra touch of sweetness and visual appeal. Chopped nuts or a small handful of chocolate chips pressed into the top right after baking also add a lovely crunch.
Side Dishes
Enjoy your bars alongside fresh fruit like berries or a sliced banana to balance the richness with natural sweetness. A cup of coffee, tea, or a cold glass of milk makes a perfect beverage pairing to round out your breakfast or snack time.
Creative Ways to Present
Try cutting the Chocolate Oat Breakfast Bars into fun shapes with cookie cutters for kids’ lunches or party platters. You can also sandwich a spoonful of nut butter between two bars for a decadent twist or crumble them over yogurt for a flavorful crunch topping.
Make Ahead and Storage
Storing Leftovers
Keep your bars fresh by storing them in an airtight container at room temperature for up to 3 days. If you want to extend their shelf life, placing them in the refrigerator helps them last about a week while maintaining their texture.
Freezing
Chocolate Oat Breakfast Bars freeze beautifully. Wrap individual bars in plastic wrap or parchment paper, then place them in a freezer-safe bag. They keep well for up to 2 months, making them perfect for bulk prep and future snacking.
Reheating
To bring your frozen bars back to life, thaw them at room temperature or microwave for 15-20 seconds until warm and soft. This quick reheating step revives their chewy, fresh-baked feel and makes them taste just like when you first made them.
FAQs
Can I use quick oats instead of rolled oats?
While rolled oats give that perfect chewy texture, quick oats can work in a pinch but expect the bars to be slightly less chewy and more soft. They’ll still taste great but the texture will be a bit different.
Is it possible to make these bars gluten-free?
Absolutely! Just use a certified gluten-free flour blend and make sure your oats are also labeled gluten-free. This way, the bars will be safe for those with gluten sensitivities without sacrificing flavor or texture.
Can I add nuts or dried fruit to the recipe?
Yes! Feel free to fold in chopped nuts like walnuts, almonds, or your favorite dried fruits. These additions add interesting textures and bursts of flavor that make the bars even more exciting.
How long do the bars keep fresh at room temperature?
Stored properly in an airtight container, the bars stay fresh and chewy for up to 3 days at room temperature. Beyond that, refrigeration is recommended to maintain their quality.
Are these bars suitable for a grab-and-go breakfast?
Definitely! Their firm yet chewy consistency means they hold up well in a bag or lunchbox, making Chocolate Oat Breakfast Bars an ideal quick breakfast or portable snack option.
Final Thoughts
I can’t recommend these Chocolate Oat Breakfast Bars enough. They are simple to make, wonderfully satisfying, and versatile enough to fit any morning routine or snacking craving. Give this recipe a try and I guarantee you’ll find yourself reaching for them again and again. They truly are a little homemade magic you’ll be glad to have in your kitchen.