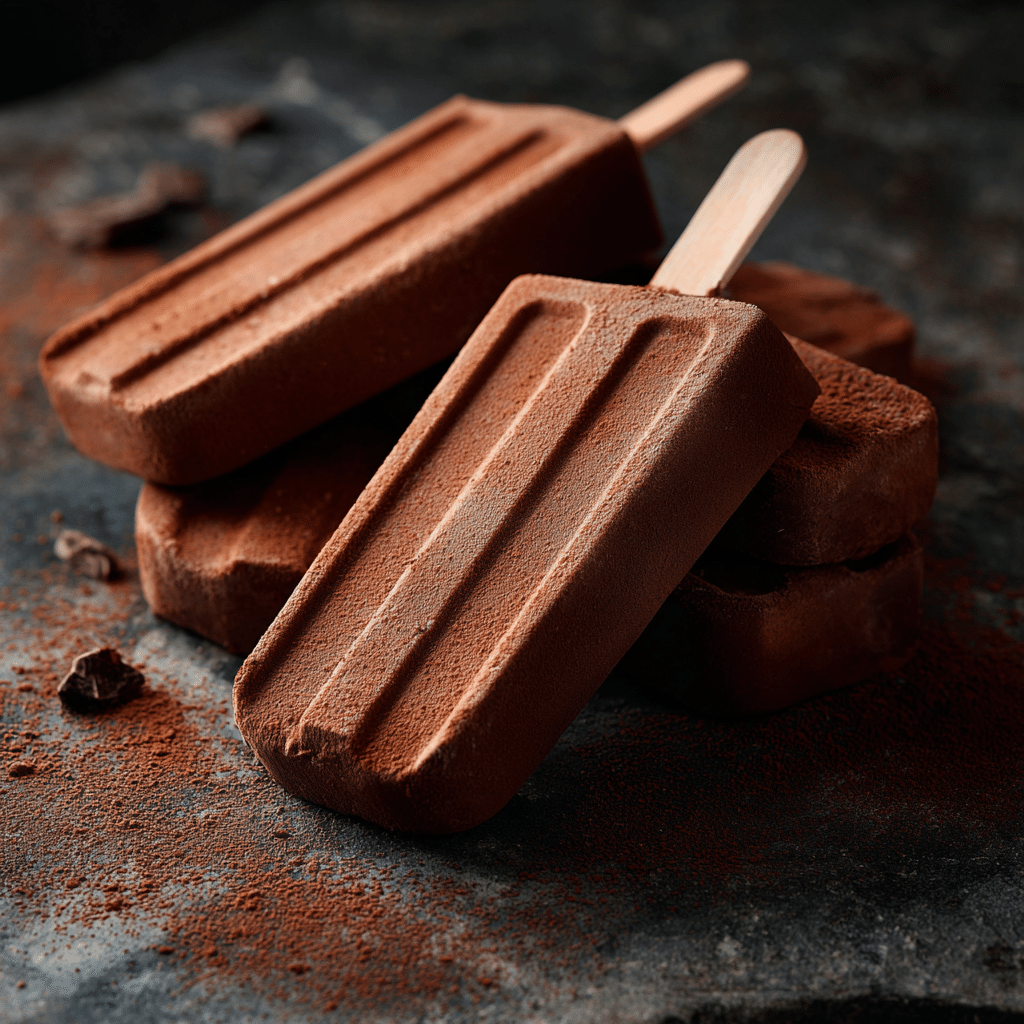
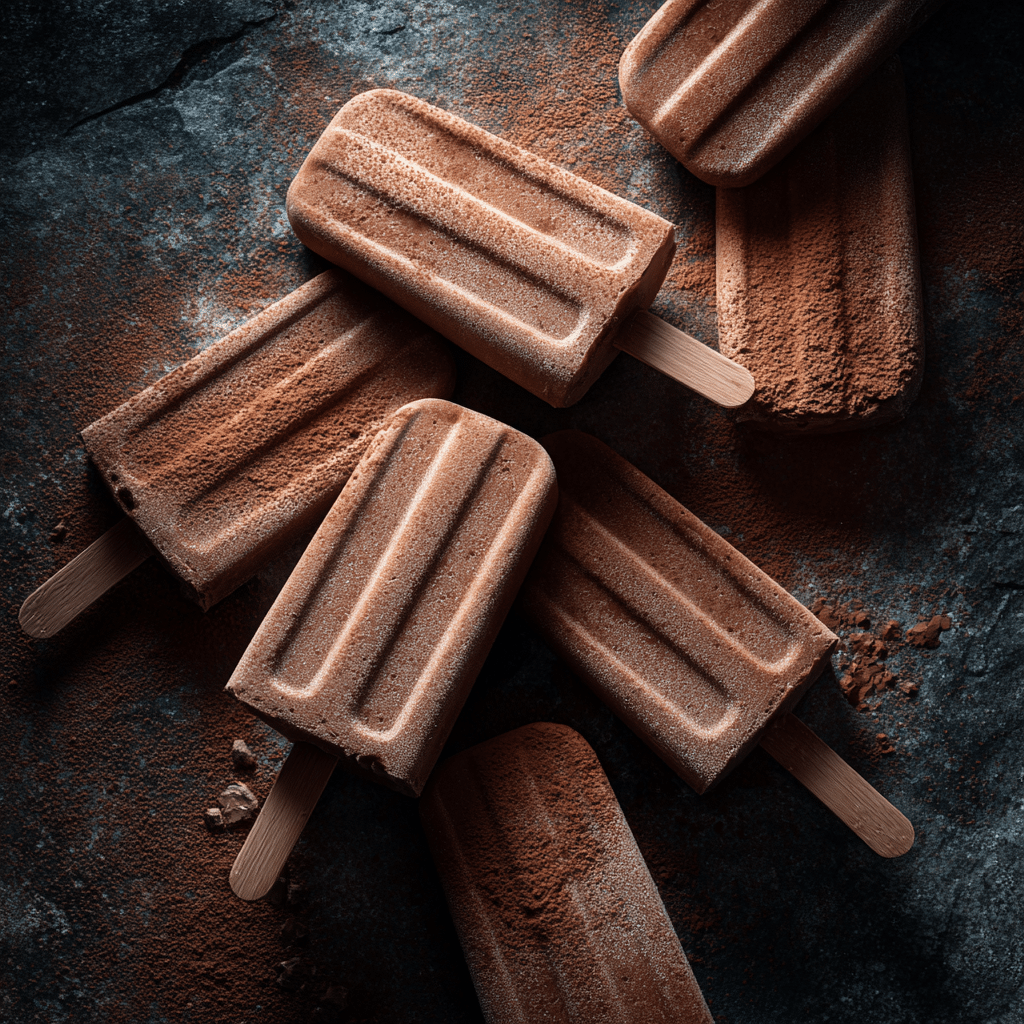
Chocolate Milk Ice Pops Recipe
If you’re searching for a cool treat that combines simplicity, nostalgia, and irresistible chocolatey flavor, these Chocolate Milk Ice Pops are exactly what you need. Creamy, delightfully smooth, and perfectly sweetened, these frozen chocolate milk popsicles capture the essence of childhood summers and bring joy with every bite. They’re incredibly easy to make, requiring just a few ingredients, and they’re loved by kids and adults alike. Whether you’re looking for a fun dessert or a refreshing snack, these Chocolate Milk Ice Pops always hit the spot with their rich, creamy texture and chocolaty goodness.
Ingredients You’ll Need
These ingredients are refreshingly straightforward, making the magic of Chocolate Milk Ice Pops come to life without any fuss. Each one plays a crucial role in delivering that luscious creaminess and signature chocolate flavor everyone loves.
- Milk: Choose whole milk for the creamiest texture, but you can use your favorite milk for a lighter version.
- Cocoa powder: Opt for unsweetened cocoa powder to control the chocolate intensity and avoid artificial flavors.
- Sugar: Just the right amount adds sweetness to balance the bitterness of the cocoa.
- Vanilla extract: A touch of vanilla elevates the chocolate flavor and adds warmth to the mix.
- Pinch of salt: Enhances the overall flavor and cuts through the sweetness, making every lick more satisfying.
How to Make Chocolate Milk Ice Pops
Step 1: Combine the Ingredients
Start by whisking together the milk, cocoa powder, sugar, vanilla extract, and a pinch of salt in a mixing bowl. Whisk until the sugar completely dissolves and the cocoa is fully incorporated into the milk, creating a smooth, silky chocolate milk base. This step is key for ensuring every ice pop has even chocolate flavor and creamy consistency.
Step 2: Taste and Adjust
Give your chocolate milk mixture a quick taste and adjust sweetness if needed. Depending on your preference or the bitterness of your cocoa, you might want to add a little more sugar or vanilla. Remember, once frozen, the flavor intensifies, so keep it slightly less sweet than you’d expect.
Step 3: Pour into Molds
Carefully pour the chocolate milk mixture into your popsicle molds, leaving a small gap at the top to allow the liquid to expand as it freezes. This simple action ensures your Chocolate Milk Ice Pops have perfect shape and will pop out easily when ready.
Step 4: Insert Sticks and Freeze
Place the popsicle sticks into the molds and set the entire tray in the freezer. Let them freeze for at least 4 to 6 hours, or overnight for best results. Patience here pays off with creamy, fully set popsicles that hold together beautifully.
How to Serve Chocolate Milk Ice Pops
Garnishes
While Chocolate Milk Ice Pops are fantastic on their own, adding some garnishes can take your serving to the next level. Sprinkle a few mini chocolate chips on top right after pouring the mixture before freezing, or dip the finished pops in melted chocolate and sprinkle crushed nuts for extra texture.
Side Dishes
Pair your Chocolate Milk Ice Pops with fresh fruit like sliced strawberries or bananas to complement the rich chocolate with natural sweetness. A small bowl of whipped cream or a drizzle of caramel sauce also makes a fantastic combo that delights both kids and adults.
Creative Ways to Present
For a fun twist, serve these ice pops in small dessert glasses filled with crushed cookies or brownie bits, then stand the popsicles upright for a playful and eye-catching presentation. You can also use fun-shaped molds to appeal to little ones or add layers of chocolate milk and vanilla milk for a striped surprise.
Make Ahead and Storage
Storing Leftovers
If you happen to make extra Chocolate Milk Ice Pops, storing them properly ensures they stay fresh and tasty. Wrap the pops individually in plastic wrap or place them in an airtight container to prevent freezer burn and absorption of other odors.
Freezing
These popsicles freeze incredibly well, so you can prepare them days ahead of time for parties or a quick cool-down on hot afternoons. Just make sure to freeze them completely flat in the molds so they set evenly.
Reheating
Since these are frozen treats, reheating isn’t really applicable. Instead, simply let them sit at room temperature for a few minutes if they’re too hard to bite, or run warm water over the mold outside to release the popsicles easily.
FAQs
Can I use non-dairy milk for Chocolate Milk Ice Pops?
Absolutely! Almond milk, oat milk, or coconut milk all work well to create deliciously creamy Chocolate Milk Ice Pops. Just choose your favorite and adjust sweetness as needed.
How long do Chocolate Milk Ice Pops last in the freezer?
When stored properly in an airtight container, these popsicles stay fresh and tasty for up to 2 weeks. Beyond that, flavor and texture might begin to degrade.
Can I add mix-ins to my Chocolate Milk Ice Pops?
Yes! Consider tossing in mini marshmallows, crushed cookies, or even small fruit pieces before freezing for added fun and texture.
What if I don’t have popsicle molds?
Don’t worry if you don’t have molds—ice cube trays with toothpicks or small paper cups with sticks work perfectly as alternatives for making these frozen treats.
Is there a way to make these less sweet?
Definitely. Simply reduce the amount of sugar in the recipe or choose a cocoa powder with a richer, less bitter flavor to keep your Chocolate Milk Ice Pops delicious but lightly sweetened.
Final Thoughts
Making Chocolate Milk Ice Pops is like capturing pure happiness in frozen form—it’s creamy, chocolatey, and incredibly easy to whip up. Whether you’re cooling off on a summer day or looking for a nostalgic treat, these pops never fail to bring smiles and satisfy cravings. Give them a try; I promise they’ll become a favorite go-to for your family and friends!