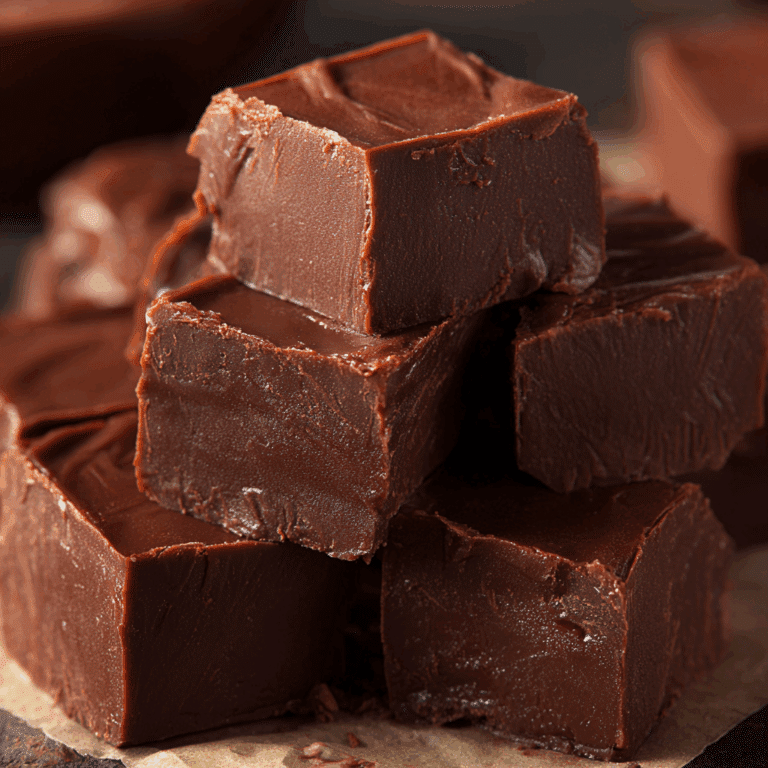
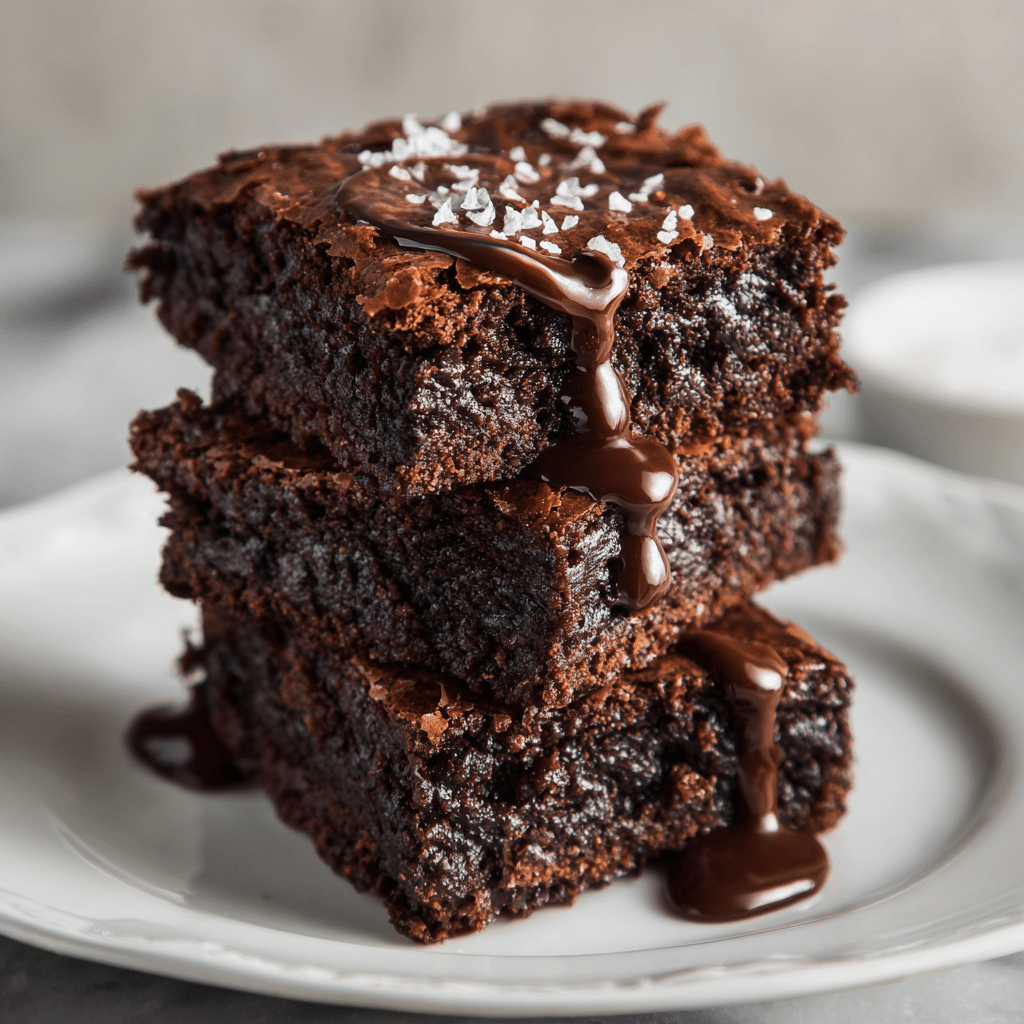
Chocolate Brownies Recipe
If you have a sweet tooth and crave a treat that is indulgently rich yet incredibly easy to make, this Chocolate Brownies Recipe is just the treasure you’ve been searching for. These brownies boast a wonderfully fudgy interior paired with a satisfyingly crisp top that creates the perfect textural duo. Whether you’re baking for a family gathering or need a cozy dessert fix, this recipe combines simple, everyday ingredients into a masterpiece of chocolaty delight that is sure to win hearts with every bite.

Ingredients You’ll Need
Gathering the right ingredients is the foundation of any delicious dessert, and this Chocolate Brownies Recipe relies on a handful of pantry staples that work harmoniously to deliver a moist, flavorful brownie. Each component plays its part, from lending richness to ensuring the perfect crumb and taste.
- Chocolate: Use good-quality chocolate to achieve that deep, intense cocoa flavor that defines a great brownie.
- Butter: Melted butter adds luscious moisture and helps create that tender crumb and shiny crust.
- Sugar: Granulated sugar not only sweetens but also helps in forming the desirable crispy top layer.
- Eggs: Eggs bind the ingredients together and add richness, contributing to the brownie’s fudgy texture.
- Flour: Just a touch of flour provides structure without sacrificing the moistness, keeping the brownie perfectly dense and chewy.
How to Make Chocolate Brownies Recipe
Step 1: Prep and Mix Your Ingredients
Start by melting your butter and chocolate together slowly — this can be done in a microwave in short bursts or over a double boiler. The goal is a smooth, glossy mixture free of lumps. Once combined and slightly cooled, whisk in the sugar, then beat in the eggs one at a time to create a silky batter that is the base of our Chocolate Brownies Recipe.
Step 2: Incorporate the Flour
Gently fold in the flour just until combined to avoid developing gluten, which can make brownies cakey. This simple step keeps our brownies dense and fudgy, preserving that irresistible texture we all love. Resist the urge to overmix here for the best results.
Step 3: Bake to Perfection
Pour the batter into a greased or parchment-lined baking pan, smoothing the top evenly. Bake in a preheated oven at 350°F (175°C) until the edges set but the center still jiggles slightly when nudged, which usually takes about 20 to 25 minutes. This timing ensures a moist, soft center beneath a delicately crisp top—signature to this iconic Chocolate Brownies Recipe.
Step 4: Cool Before Cutting
Allow the brownies to cool completely in the pan to firm up and make slicing easier. This step is key for clean cuts and is worth the wait for that neat, satisfying slice of chocolaty goodness.
How to Serve Chocolate Brownies Recipe
Garnishes
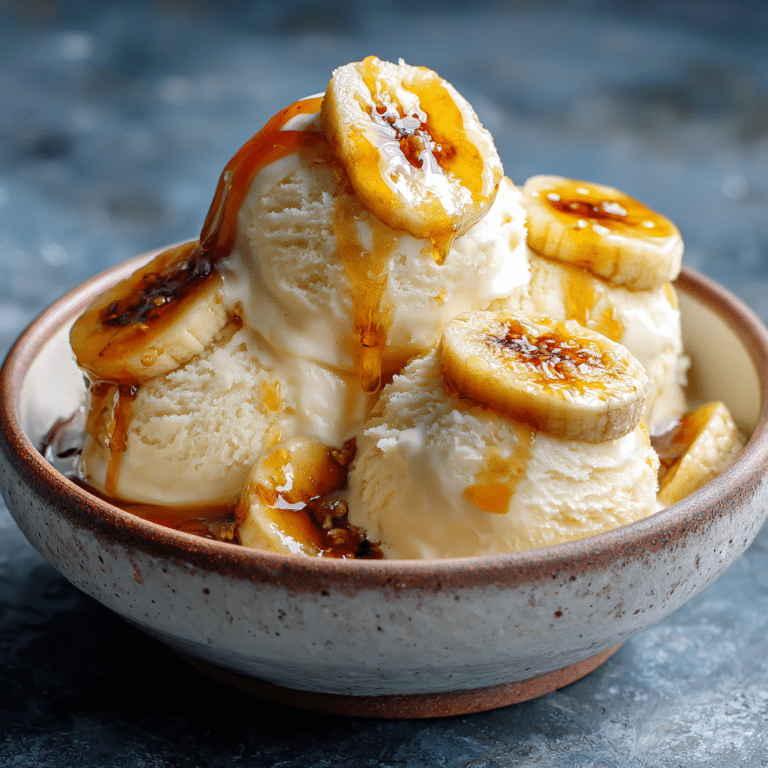
Sprinkling a light dusting of powdered sugar or finely chopped nuts on top adds a touch of elegance and texture. For an extra indulgent twist, a drizzle of melted chocolate or a scoop of vanilla ice cream creates a decadent presentation that elevates your homemade brownies to dessert perfection.
Side Dishes
Pair these brownies with fresh berries or a dollop of whipped cream for a refreshing contrast. A hot cup of coffee or a glass of cold milk also complements the rich chocolate flavor beautifully and rounds out a classic cozy treat.
Creative Ways to Present
For a fun party idea, cut brownies into small bite-sized squares and thread them onto skewers with marshmallows and strawberries. Alternatively, create brownie sandwiches with a layer of peanut butter or cream cheese frosting in between two brownies for a creative dessert delight your guests will remember.
Make Ahead and Storage
Storing Leftovers
Chocolate brownies are easy to store and often taste even better the next day. Keep them in an airtight container at room temperature for up to 3 days to maintain freshness and texture.
Freezing
If you want to prepare brownies in advance, wrap them tightly in plastic wrap and then aluminum foil to prevent freezer burn. They freeze well for up to 2 months and can be thawed overnight in the fridge or at room temperature for a quick indulgence when cravings strike.
Reheating
To refresh your brownies, warm a slice in the microwave for 10 to 15 seconds, just enough to melt the chocolate slightly without drying them out. This makes the brownies taste freshly baked and extra gooey again, perfect for an anytime treat.
FAQs
Can I use cocoa powder instead of chocolate in this Chocolate Brownies Recipe?
Yes, you can substitute cocoa powder for chocolate, but the texture and richness may differ. Using a mix of cocoa powder and butter often yields a fudgy brownie, but ensure to adjust the quantities and use good-quality cocoa for the best flavor.
How do I know when my brownies are done baking?
The edges should look set and start to pull away from the pan, while the center should still have a slight jiggle when you gently shake the pan. Overbaking will dry them out, so err on the side of a slightly underbaked center for perfect fudgy brownies.
Can I add nuts or other mix-ins to this recipe?
Absolutely! Chopped walnuts, pecans, or even chocolate chips make excellent additions. Fold them into the batter just before pouring into the pan for an added crunch and bursts of extra flavor.
Is this Chocolate Brownies Recipe suitable for beginners?
Yes, this recipe is straightforward and perfect for bakers of all skill levels. The simple ingredients and easy steps make it an excellent starting point for anyone wanting to master a classic chocolate dessert.
What’s the secret to getting a shiny, crispy top on brownies?
The sugar in the recipe, when mixed well with the melted butter and chocolate, creates that characteristic glossy crust. Beating the sugar and eggs well helps form tiny bubbles during baking, contributing to the shiny, crackly top layer everyone loves.
Final Thoughts
There is something incredibly comforting about making and sharing this Chocolate Brownies Recipe with people you love. Its straightforward approach and timeless appeal make it a kitchen favorite that never disappoints. I encourage you to dive in, whip up a batch, and savor every rich, fudgy bite—you’re going to love how simple ingredients can come together to create such a memorable treat.