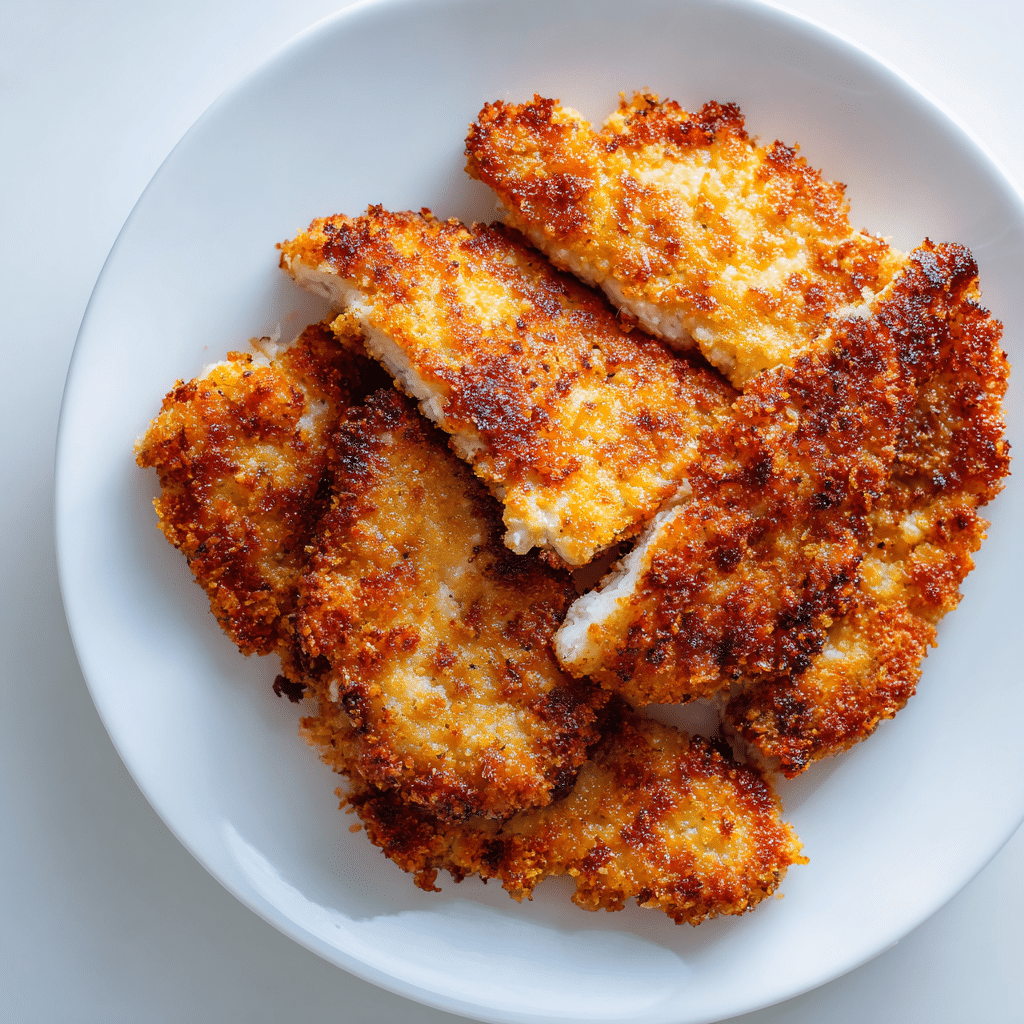
Simple Crispy Chicken Cutlets Recipe
If you’re craving a meal that’s both satisfyingly crunchy and incredibly simple to prepare, these Simple Crispy Chicken Cutlets are about to become your new kitchen go-to. Each tender chicken breast is transformed into a golden, flavorful cutlet with just a handful of basic ingredients, proving that sometimes less truly is more. Whether you’re whipping up a quick weeknight dinner or impressing friends with a minimalist dish, these cutlets deliver all the joy of crispy chicken without any fuss.
Ingredients You’ll Need
The beauty of Simple Crispy Chicken Cutlets lies in their straightforward ingredient list. Every component is thoughtfully chosen to create a perfect balance of flavor, texture, and color—keeping things simple while ensuring that each bite is a delight.
- Chicken Breast, thinly sliced: Ensures quick cooking and a tender bite that’s easy to enjoy.
- Breadcrumbs: Adds that signature crunch and golden color we all love.
- Egg: Acts as the perfect glue to hold the breadcrumbs onto the chicken cutlets.
- Salt & Black Pepper: Essential seasonings that enhance the natural flavor of the chicken.
How to Make Simple Crispy Chicken Cutlets
Step 1: Prepare the Chicken
Start by slicing the chicken breast as thinly as possible. Thin slices cook quickly and maintain a tender texture while offering a larger surface area for that crisp crust. If you don’t have thin slices, gently pounding the chicken to an even thickness works beautifully, too.
Step 2: Set Up Your Dredging Station
Beat the egg in a shallow bowl—this will help the breadcrumbs cling to the chicken. Season the chicken lightly with salt and pepper to ensure every bite bursts with flavor. Keep your breadcrumbs in a separate plate ready for coating.
Step 3: Coat the Chicken Cutlets
Dip each chicken piece into the beaten egg, making sure it’s fully coated, then press it firmly into the breadcrumbs. This extra attention ensures a thick, even crust that’ll crisp up just right in the pan.
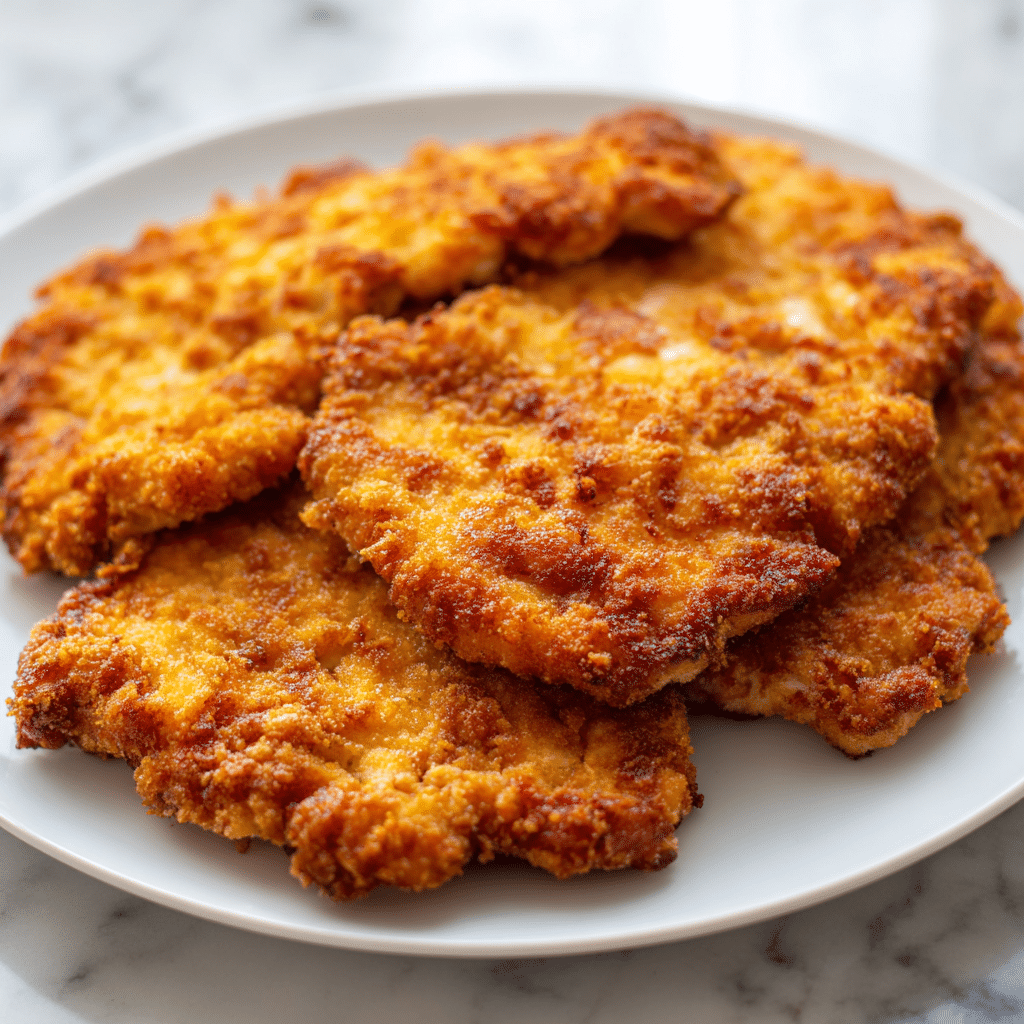
Step 4: Pan-Fry to Golden Perfection
Heat a good drizzle of oil over medium heat in a non-stick skillet. Once shimmering, add your breaded cutlets and cook for about 3 to 5 minutes per side. You’re aiming for a rich golden brown crust with juicy chicken inside. Flip carefully and avoid overcrowding the pan to keep that crust intact.
Step 5: Serve While Hot
The magic of Simple Crispy Chicken Cutlets is in their crunch, so it’s best to serve them immediately while they’re piping hot and perfectly crispy. This little timing trick keeps them irresistible bite after bite.
How to Serve Simple Crispy Chicken Cutlets
Garnishes
A sprinkle of fresh parsley or a squeeze of lemon juice on top brings a bright contrast to the savory crispiness. Simple herbs like thyme or basil can elevate the dish with their fragrant touch without overpowering the chicken.
Side Dishes
These cutlets pair wonderfully with a light salad, roasted veggies, or even a scoop of creamy mashed potatoes. The simplicity of the chicken cutlets means the sides can shine too, so don’t be afraid to add a splash of color and texture to your plate.
Creative Ways to Present
For a fresh twist, serve your Simple Crispy Chicken Cutlets on a bed of arugula drizzled with balsamic glaze or sandwich them inside a crusty roll with your favorite condiments. Kids and adults alike love turning these cutlets into a golden centerpiece for sliders or wraps.
Make Ahead and Storage
Storing Leftovers
Leftover cutlets can be stored in an airtight container in the fridge for up to 3 days. To keep some of that crispness, place a paper towel at the bottom of the container to absorb any moisture. It’s an easy way to enjoy these Simple Crispy Chicken Cutlets on a busy day without starting from scratch.
Freezing
If you want to stash some for later, freeze the cooked cutlets in a single layer on a baking sheet first, then transfer them to a freezer-safe bag. Frozen properly, they’ll keep well up to 2 months. Just thaw before reheating for a quick meal fix.
Reheating
To revive the crispy texture, reheat leftover chicken cutlets in a preheated oven or toaster oven at 350°F (175°C) for about 10 minutes. This method helps keep the crust crunchy while warming the chicken thoroughly, much better than microwaving, which can turn them soggy.
FAQs
Can I use chicken thighs instead of breasts?
Absolutely! Boneless, thinly sliced chicken thighs work great and tend to be a bit juicier. Just adjust cooking time slightly to ensure they’re cooked through and still crisp on the outside.
What kind of breadcrumbs work best?
Panko breadcrumbs are fantastic for that extra crunch, but regular breadcrumbs work fine too. If you want to add a touch of flavor, try seasoned breadcrumbs or add some Parmesan cheese to the mix.
Is it necessary to use egg for coating?
Egg helps the breadcrumbs stick better and creates a more cohesive crust, but if you’re avoiding eggs, you can use buttermilk or even a little mustard thinned with water as a substitute.
Can I bake the chicken cutlets instead of frying?
Yes, baking is a lighter alternative. Place the breaded cutlets on a greased baking sheet, mist lightly with oil, and bake at 425°F (220°C) for about 15-20 minutes, flipping halfway through to get a crispy finish.
How do I know when the cutlets are done?
They’re ready when the crust is golden brown and the internal temperature reaches 165°F (74°C). Slice into one if you’re unsure—the meat should be white and juicy, never pink or rubbery.
Final Thoughts
Simple Crispy Chicken Cutlets bring so much joy with their perfect crunch and tender chicken heartiness, all without hours in the kitchen. They’re a testament to how easy and delicious home cooking can be, and I encourage you to try this recipe tonight. Once you do, you’ll see why they’ve won a special spot on so many dinner tables!