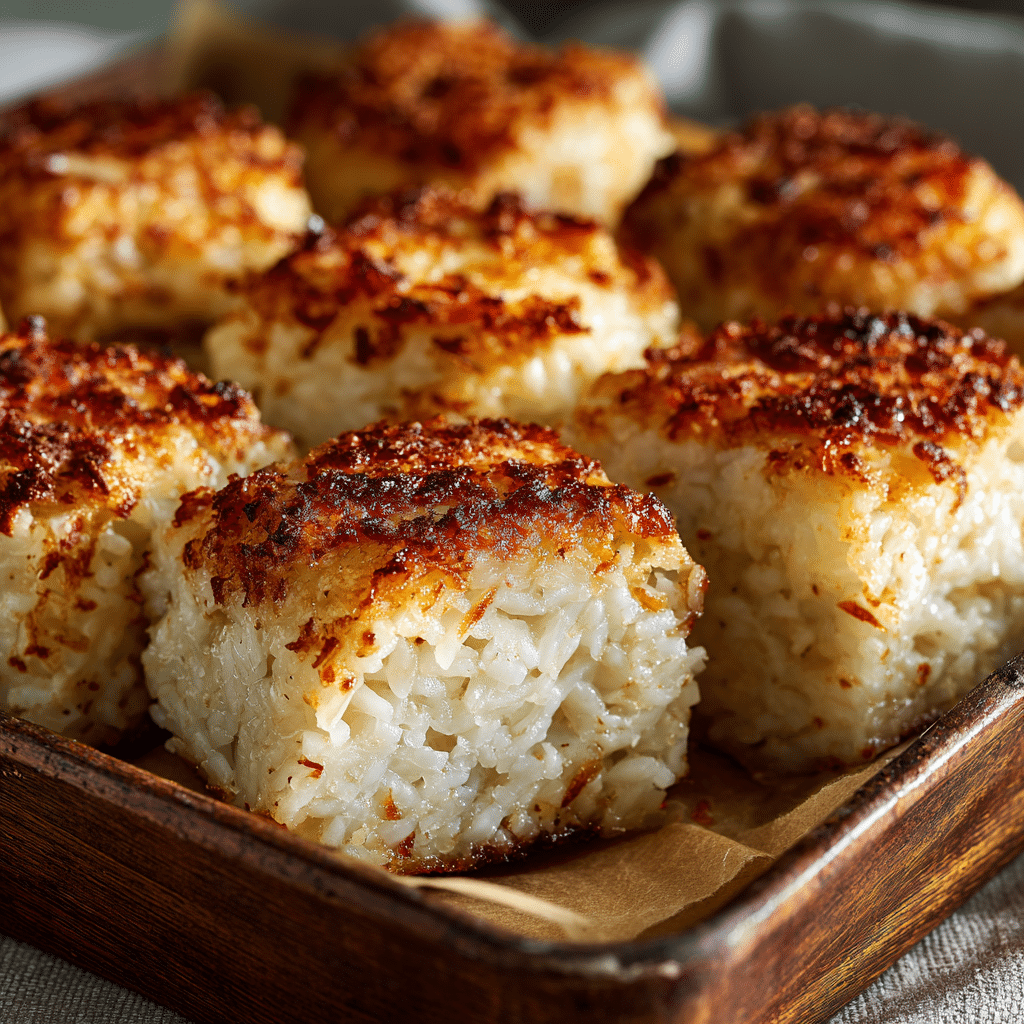
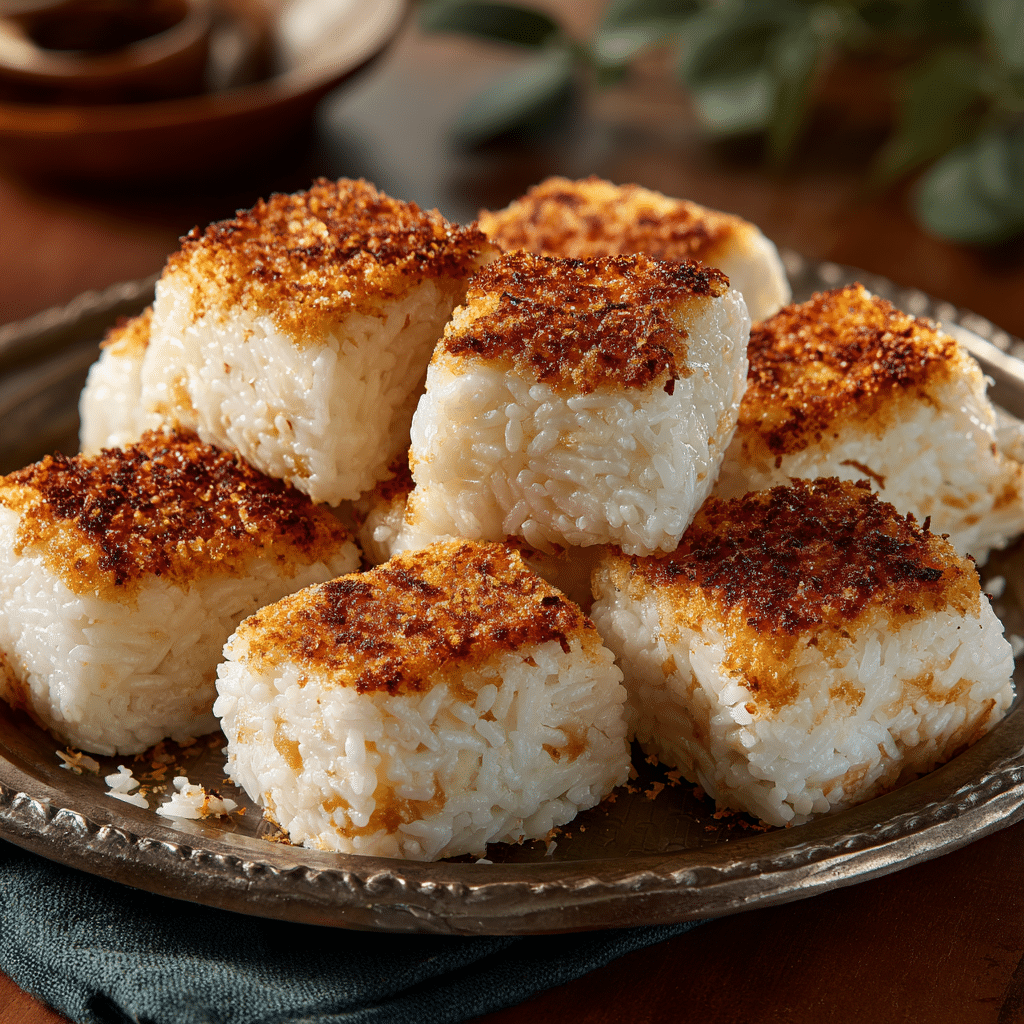
Creamy Rice-Stuffed Rice Balls Sheet Bake Recipe
If you love comforting dishes that bring a wow factor to the table without requiring hours in the kitchen, then you are going to adore this Creamy Rice-Stuffed Rice Balls Sheet Bake. Imagine perfectly sticky, flavorful sushi rice shaped into individual balls, each hiding a luscious, creamy center that oozes with every bite. Baking them together on a single sheet makes for a beautifully clustered presentation that’s as delightful to look at as it is to taste. It’s a dish where simple ingredients come together to create something truly extraordinary—warm, satisfying, and utterly crave-worthy.
Ingredients You’ll Need
This recipe is surprisingly straightforward, but each ingredient plays a crucial role in crafting that irresistible combination of texture and flavor. From the slight saltiness of the sushi rice to the rich creaminess of the filling, every element is essential in making the Creamy Rice-Stuffed Rice Balls Sheet Bake shine.
- Cooked sushi rice: The sticky texture is perfect for shaping into balls that hold together beautifully during baking.
- Salt: A pinch helps to enhance the natural flavors of the rice without overpowering the delicate balance.
- Cream cheese: This provides the dreamy, silky filling that melts into the rice balls and makes them divine.
- Soy sauce: Adds a savory depth and umami punch to the creamy filling, ensuring every bite is bursting with flavor.
- Cooked vegetables: Chopped finely, they add texture, color, and a subtle sweetness that complements the cream cheese perfectly.
How to Make Creamy Rice-Stuffed Rice Balls Sheet Bake
Step 1: Prepare the Rice and Filling
Start by seasoning your cooked sushi rice with a pinch of salt and gently fluffing it so the grains stay intact yet sticky. Next, mix cream cheese with a splash of soy sauce and finely chopped cooked vegetables to create a rich, flavorful filling that complements the rice without overpowering it.
Step 2: Shape the Rice Balls
Take a small handful of the rice and flatten it slightly in your palm. Add a spoonful of the creamy filling in the center, then carefully mold the rice around it to enclose it completely. Make sure the rice ball is compact so it holds together while baking, but don’t compress it too hard, or it will lose its delightful texture.
Step 3: Assemble in the Baking Dish
Arrange the rice balls snugly next to each other in a greased baking dish. This tight setup is what creates the striking clustered look you’ll love once baked and broken apart. Leaving no gaps helps the edges crisp nicely while the centers stay warm and creamy.
Step 4: Bake Until Golden and Warm
Place the baking dish in your preheated oven and bake for about 25 minutes until the outsides of the rice balls develop a light golden crust. The magic happens inside—the creamy centers become deliciously molten, ready to surprise you when you dig in.
How to Serve Creamy Rice-Stuffed Rice Balls Sheet Bake
Garnishes
A sprinkle of toasted sesame seeds or finely chopped fresh herbs like chives or scallions adds a pop of color and a subtle crunch that elevates the dish visually and texturally. A drizzle of soy sauce or a light brush of chili oil can also awaken the flavors wonderfully.
Side Dishes
Serve alongside a crisp green salad or some steamed bok choy for a refreshing contrast. Miso soup or pickled vegetables also pair beautifully, balancing the richness of the creamy rice balls with light, bright flavors.
Creative Ways to Present
For a fun twist, serve the rice balls family-style right in the baking dish and encourage everyone to break apart pieces with their chopsticks or forks. Alternatively, plate each rice ball with a tiny dollop of wasabi mayo or sriracha aioli for an adventurous kick.
Make Ahead and Storage
Storing Leftovers
Once cooled, store any leftover Creamy Rice-Stuffed Rice Balls Sheet Bake in an airtight container in the refrigerator. They keep well for up to 3 days, making for fantastic next-day meals or snacks.
Freezing
If you want to prep in advance, you can freeze unbaked rice balls arranged on a baking sheet, then transfer them to a freezer-safe bag once firm. When ready, bake from frozen with a few extra minutes added to the cooking time.
Reheating
To reheat, bake leftovers at a lower temperature around 325°F until warmed through, or microwave briefly for a quicker option. This will revive the creamy centers without drying out the rice.
FAQs
Can I use different types of rice?
Sushi rice works best due to its sticky texture that holds the rice balls together. Using other types like long-grain rice might make shaping difficult, but medium-grain rice could be a workable substitute if you don’t have sushi rice on hand.
What vegetables work well in the filling?
Finely diced cooked vegetables such as carrots, peas, corn, or bell peppers all add lovely sweetness and color. Just ensure they’re cooked through and chopped small enough to blend smoothly with the cream cheese.
Is this dish suitable for kids?
Absolutely! The creamy, mild filling combined with the soft rice makes for a comforting and approachable dish that most kids will enjoy. You can adjust seasonings to keep it mild or add fun dips to customize flavors.
Can I make this dish vegan?
Yes, by swapping cream cheese for a plant-based alternative and using tamari instead of soy sauce if you need gluten-free options, you can create a delicious vegan version of the Creamy Rice-Stuffed Rice Balls Sheet Bake.
How do I prevent the rice balls from falling apart?
Make sure the rice is freshly cooked and still warm when shaping, as the stickiness helps them hold together. Press gently and firmly when molding, and don’t overfill the centers to avoid leaks during baking.
Final Thoughts
This Creamy Rice-Stuffed Rice Balls Sheet Bake is one of those dishes that feels like a warm hug on a plate while looking absolutely stunning as well. It’s easy to make, comforting, and impressively tasty—perfect for family dinners or casual get-togethers. Give this recipe a try, and prepare for a new favorite that everyone will ask for again and again.