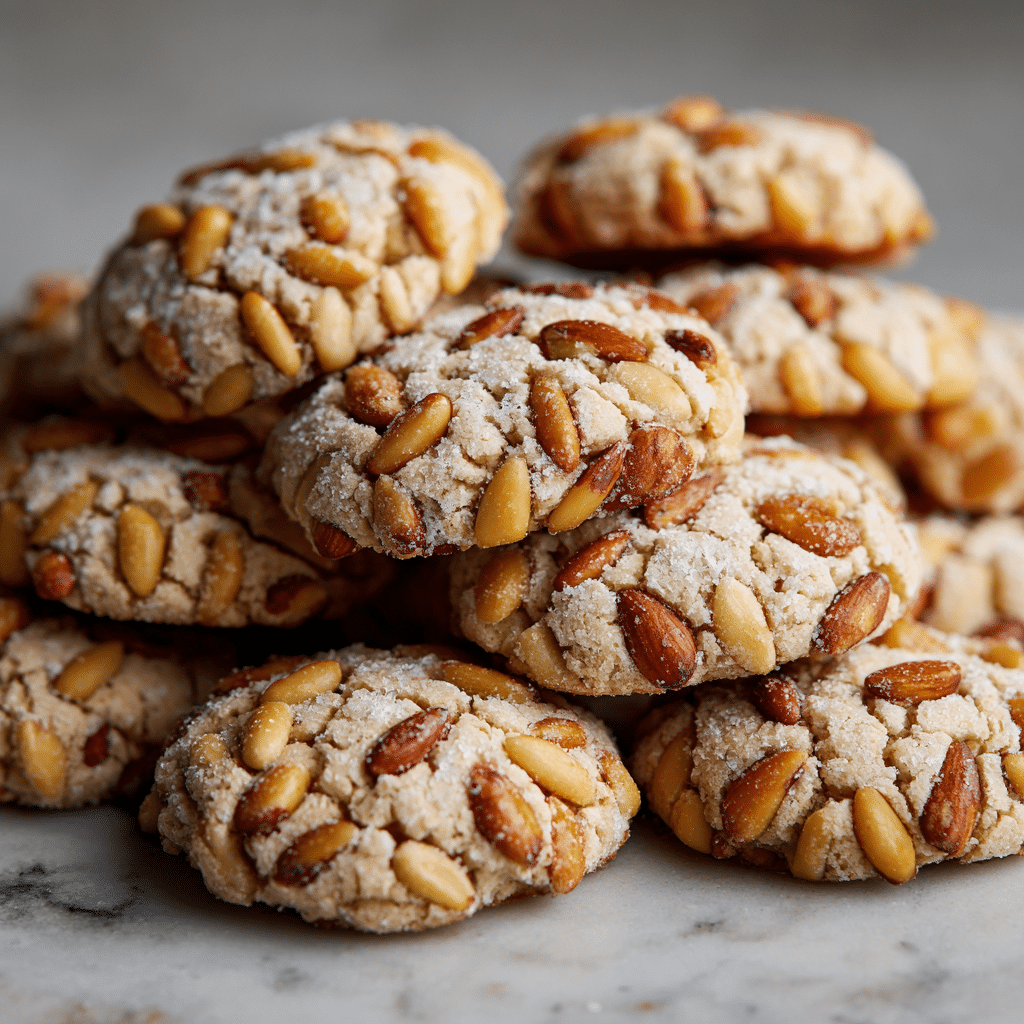
Pignoli Cookies Recipe
If you have a soft spot for delicate, nutty treats that wow with every bite, this Pignoli Cookies Recipe is an absolute must-try. These Sicilian almond delights come with a chewy almond paste center enveloped in a golden crust of toasted pine nuts, offering a luscious contrast of textures and that unmistakable rich flavor. Whether you’re baking for the holidays or just craving a charming little sweet, this recipe brings the perfect balance of simplicity and elegance straight to your kitchen.
Ingredients You’ll Need
Gathering the right ingredients is key to capturing the authentic taste and texture of Pignoli Cookies. Each component plays an important role, from the sweet almond paste that forms the heart of the cookie to the pine nuts that add that signature crunch and golden color.
- 7 ounces (198g) almond paste: The star ingredient that provides a rich, chewy almond flavor and moist texture.
- 1/2 cup (100g) granulated sugar: Adds just the right amount of sweetness to balance the nuttiness.
- 1 large egg white: Binds everything together and helps create a tender, soft bite.
- 1/4 teaspoon kosher salt: Enhances the natural flavors and balances sweetness wonderfully.
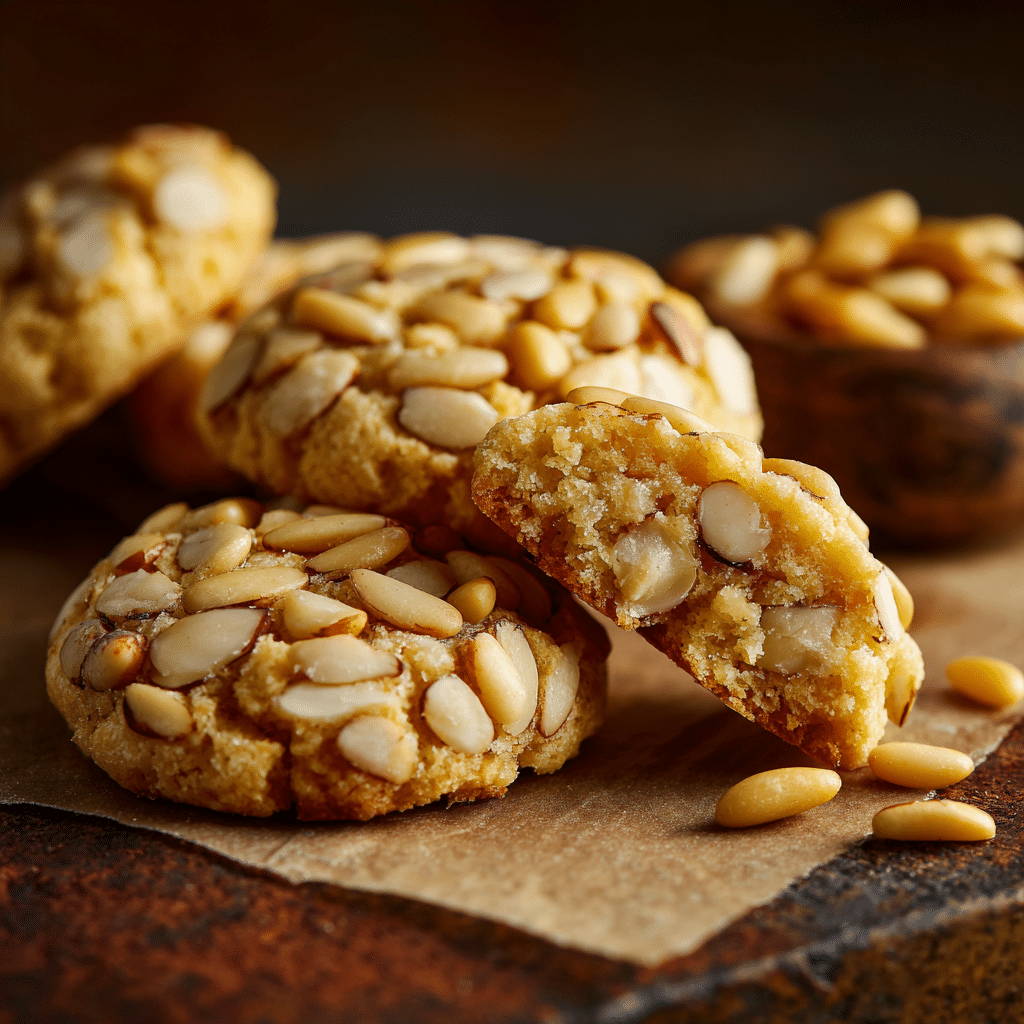
- 1 cup (140g) pine nuts: Coats the cookies with a toasty, buttery crunch and a beautiful golden finish.
How to Make Pignoli Cookies Recipe
Step 1: Preheat and Prepare
Start by arranging your oven rack in the center and preheating to 350°F (177°C). Line a baking sheet with parchment paper to prevent sticking and make cleanup a breeze. These simple prep steps set the stage for perfectly baked cookies with no fuss.
Step 2: Blend the Dough
Break the almond paste into small chunks before placing it in a food processor along with the granulated sugar, egg white, and kosher salt. Pulse together for about a minute until you achieve a thick, smooth paste. Be sure to pause halfway through and scrape down the sides—this helps get rid of any lumps and ensures a uniform, silky dough.
Step 3: Shape the Cookie Balls
Using a tablespoon or small scoop, portion out 12 evenly sized mounds of dough (about 25 grams each). Roll each into a smooth ball gently with your palms. If the dough feels too sticky, pop it in the fridge covered for 10 to 15 minutes to make shaping easier—it’s all about working smart, not hard!
Step 4: Coat With Pine Nuts
Spread the pine nuts in a shallow bowl and roll each dough ball through them, pressing slightly so the pine nuts stick uniformly around the surface. This crunchy coating is what makes these cookies unmistakable and simply irresistible.
Step 5: Bake to Perfection
Arrange the pine nut-coated balls on the baking sheet with about 2 inches of space to allow for slight spreading. Bake for 18 minutes or until the pine nuts and cookie edges turn a gorgeous golden brown. The aroma filling the kitchen at this point is seriously inviting!
Step 6: Cool and Enjoy
Once baked, let the cookies cool fully on the baking sheet to set properly. Since they’re delicate when warm, this step prevents breakage and helps maintain their perfect shape. After cooling, they’re ready to delight you bite after bite.
How to Serve Pignoli Cookies Recipe
Garnishes
These cookies shine on their own but can also be adorned with a light dusting of powdered sugar or a blend of fine citrus zest for an extra fresh note. A small drizzle of honey on the side could also harmonize beautifully with the almond and pine nut flavors.
Side Dishes
Pair your Pignoli Cookies with a strong cup of espresso or a fragrant herbal tea like chamomile or mint. They also work wonderfully alongside a platter of fresh fruits or creamy mascarpone to balance out their sweet chewiness.
Creative Ways to Present
To elevate the presentation, arrange your Pignoli Cookies on a vintage platter sprinkled lightly with crushed pistachios or edible flowers for a pop of color. Or wrap a few in a delicate parchment bag tied with twine for gifting — they’re an instant crowd-pleaser!
Make Ahead and Storage
Storing Leftovers
Store leftover cookies in an airtight container at room temperature for up to a week. Keeping them sealed ensures they stay moist and crisp without drying out or becoming too soft.
Freezing
You can freeze baked Pignoli Cookies for up to 3 months by placing them in a single layer on a parchment-lined tray, freezing until firm, then transferring to a freezer-safe airtight container or zip-top bag. This way, you can enjoy their nutty goodness whenever a craving hits.
Reheating
To revive frozen cookies, allow them to thaw at room temperature and then warm them briefly in a 300°F (150°C) oven for 5 minutes to refresh the crispness of the pine nut crust. Avoid microwaving to prevent sogginess.
FAQs
Can I substitute almond paste with marzipan in this recipe?
It’s best not to substitute almond paste with marzipan here because marzipan is much sweeter and has a gummy texture that alters the cookie’s intended chewiness and balance.
Do I need a food processor to make the dough?
While a food processor helps create a smooth dough quickly, you can also use a stand mixer with a paddle attachment by breaking up the almond paste and mixing with the sugar, salt, and egg white until smooth.
How sticky is the dough to handle?
The dough can be a bit sticky due to the almond paste and egg white, so chilling it briefly or rolling directly in pine nuts without too much handling can make shaping much easier.
Why are my Pignoli Cookies cracking?
Some light cracking is normal because of their delicate texture. If cracks become excessive, ensure you don’t overbake and that the dough is well-mixed and moist enough before shaping.
Are Pignoli Cookies gluten free?
Yes! This recipe naturally contains no flour or gluten ingredients, making Pignoli Cookies a delicious gluten-free treat.
Final Thoughts
There’s truly something magical about this Pignoli Cookies Recipe—the way simple ingredients come together to create that perfect balance of chewy, sweet, and nut-crisp delight is a joy to experience. Whether baked for a festive celebration or a quiet afternoon treat, these cookies are sure to become a beloved staple in your baking repertoire. So don’t wait—grab your ingredients and give them a try. I promise, once you taste these golden gems, you’ll be reaching for the recipe again and again!