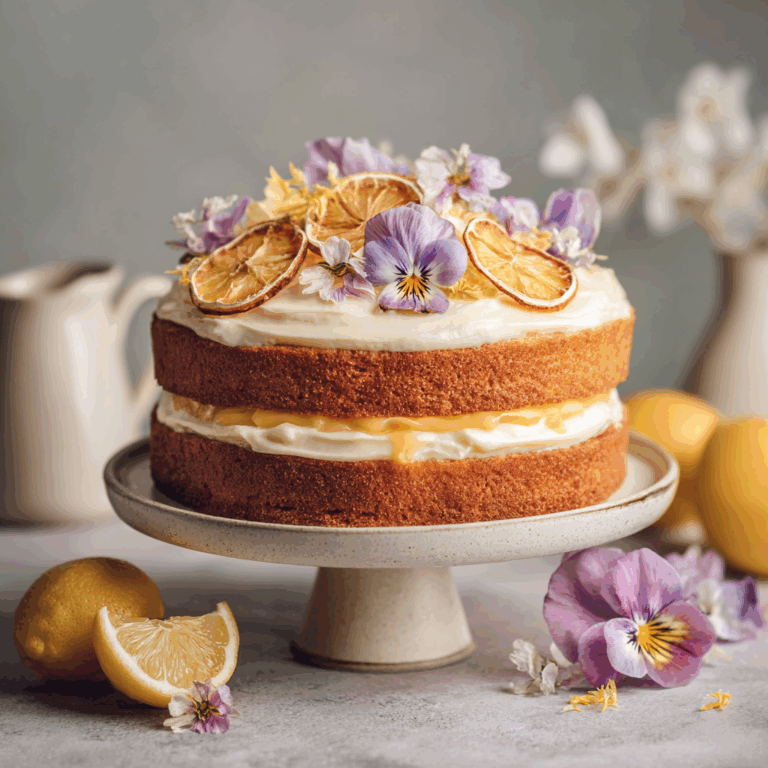
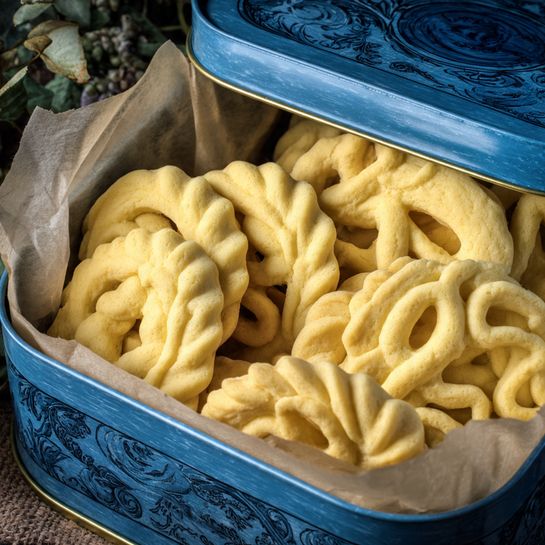
Butter Cookies (Danish Style) Recipe
If you’re looking to bring a little piece of Danish tradition into your kitchen, these Butter Cookies (Danish Style) are an absolute gem. Rich and buttery yet crisp on the outside and delightfully tender within, these cookies strike the perfect balance every time. What I love most is how simple ingredients come together to create such a classic treat that feels both elegant and comforting. Whether it’s teatime, a special gathering, or just a sweet moment any day, these cookies never fail to impress and brighten up the table.

Ingredients You’ll Need
This recipe relies on a handful of simple, high-quality ingredients that each play a vital role in the final cookie. From the creamy texture brought by soft butter to the sweetness and smooth crumb thanks to powdered sugar, every component is essential and easy to find.
- Unsalted butter (1 cup, softened): The heart of the cookie, providing richness and that melt-in-your-mouth texture.
- Powdered sugar (¾ cup): Ensures a smooth, delicate sweetness and helps create a tender crumb.
- All-purpose flour (2 cups): Gives structure while keeping the cookies light and crisp.
- Vanilla extract (1 teaspoon): Adds warm, aromatic flavor that enhances the buttery goodness.
How to Make Butter Cookies (Danish Style)
Step 1: Beat the Butter and Sugar
Start by beating the softened unsalted butter and powdered sugar together using an electric mixer. This step should take about 3 to 5 minutes until the mixture becomes light, fluffy, and creamy. This aeration is what creates the delicate crumb that makes these cookies so special.
Step 2: Add Vanilla Extract and Flour
Next, stir in the vanilla extract until it’s fully combined. Then gradually fold in the all-purpose flour. Be gentle here; you want to mix just enough to bring the dough together without overworking it, which keeps the cookies tender and crumbly.
Step 3: Shape the Cookies
Transfer the dough into a piping bag fitted with a star nozzle or your favorite piping tip. Pipe small rosettes or elegant shapes onto a baking sheet lined with parchment paper. If you prefer, shaping small balls or simple rounds by hand works just as well—either way, you’ll have charming little cookies that look as good as they taste.
Step 4: Bake to Perfection
Preheat your oven to 350°F (177°C). Place the baking sheet in the oven and bake for 12 to 15 minutes, watching closely until the edges turn a light golden brown. This subtle coloration signals that your Butter Cookies (Danish Style) have reached their ideal crispiness without drying out.
Step 5: Cool and Enjoy
Once baked, allow the cookies to rest on the baking sheet for about 5 minutes before transferring them to a wire rack. Cooling this way prevents breakage and lets the cookies set beautifully, ready to be savored.
How to Serve Butter Cookies (Danish Style)
Garnishes
Adding a pinch of sea salt right before baking can elevate the flavor wonderfully, creating a lovely contrast with the sweetness. You can also dust a little extra powdered sugar on top for a delicate finish, or dip half the cookie in melted chocolate for an indulgent twist.
Side Dishes
Butter Cookies (Danish Style) pair perfectly with a warm cup of tea or coffee, making them ideal for afternoon breaks. They also complement fruit preserves or a dollop of whipped cream if you want a dessert pairing that’s simple yet elegant.
Creative Ways to Present
Try arranging these cookies in a decorative tin or on a beautiful serving platter surrounded by fresh berries or mint leaves. For gift-giving, stack them with parchment paper between layers and tie with a ribbon—instantly charming and irresistible.
Make Ahead and Storage
Storing Leftovers
Once completely cooled, store your Butter Cookies (Danish Style) in an airtight container at room temperature. They’ll stay fresh and maintain their delightful texture for up to a week, making it easy to enjoy them over several days.
Freezing
If you want to keep these cookies around longer, freezing is a great option. Place them in a single layer on a baking sheet to freeze, then transfer to a freezer-safe container with parchment paper between layers. Thaw at room temperature when ready to enjoy, and they’ll taste just like fresh-baked.
Reheating
To revive the crispness, gently warm frozen or refrigerated cookies in a 300°F (150°C) oven for about 3 to 5 minutes. This quick reheat brings back that perfect buttery crunch without drying them out.
FAQs
Can I use salted butter for these cookies?
While salted butter can work, it’s best to use unsalted butter so you can control the salt level yourself and achieve the classic Butter Cookies (Danish Style) taste.
Is it necessary to pipe the dough?
Piping adds a beautiful decorative touch and light texture, but shaping the dough by hand into small rounds is perfectly fine and still yields delicious cookies.
Can I add flavors like almond or lemon?
Absolutely! Adding almond extract or a bit of lemon zest can give your Butter Cookies (Danish Style) a lovely twist that complements the buttery base nicely.
How do I prevent these cookies from spreading too much?
Make sure your butter is softened but not melted and avoid over-mixing the dough. Chilling the dough before baking can also help keep the shape intact.
What’s the best way to store these cookies for gifting?
Layer them in a sturdy tin or box with parchment or wax paper between layers to prevent sticking and breaking. They’ll stay fresh and look fantastic as a thoughtful homemade gift.
Final Thoughts
I can’t recommend these Butter Cookies (Danish Style) enough—they’re one of those recipes that bring warmth and joy with each bite. Simple yet elegant, buttery and crisp, they invite you to slow down and savor something truly special. I hope you give this recipe a try, and it becomes a treasured favorite on your baking list too!