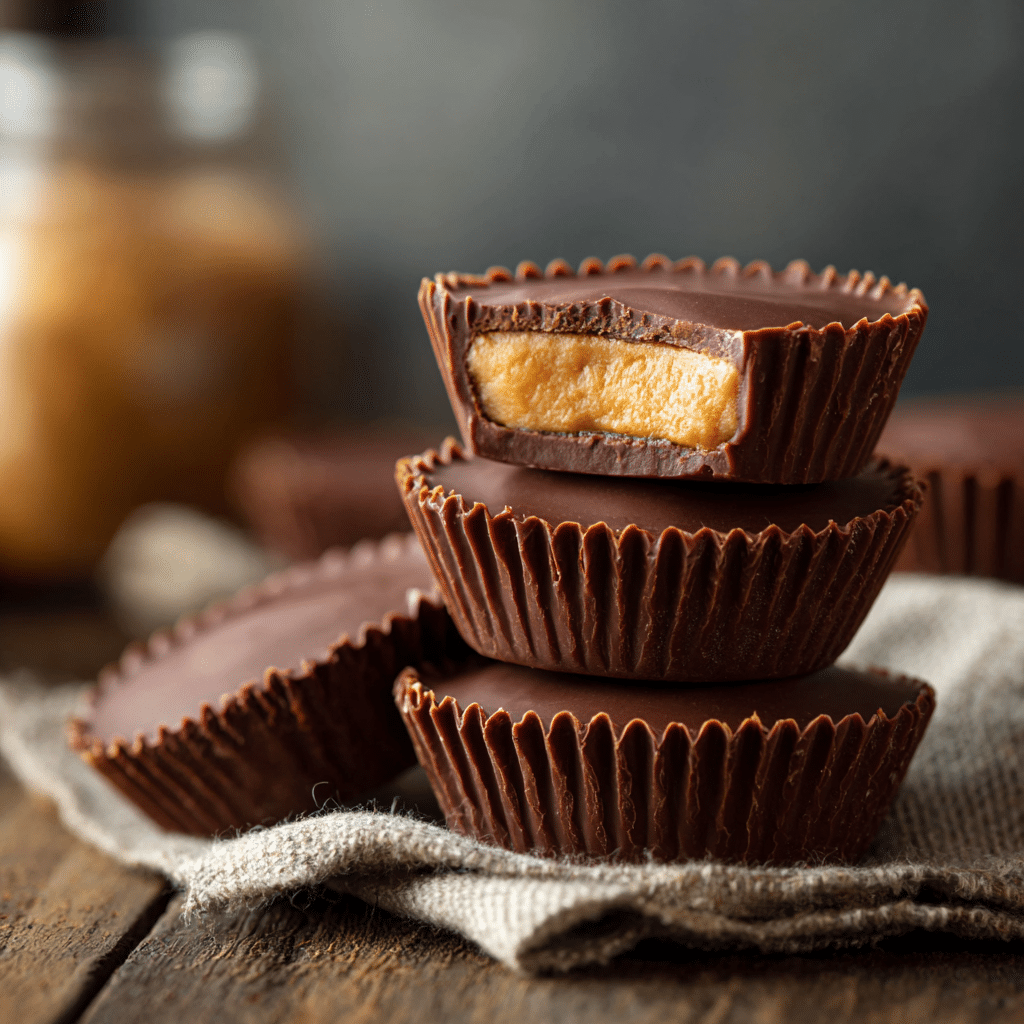
Peanut Butter Cups Recipe
There is something incredibly satisfying about biting into rich, creamy Peanut Butter Cups, where smooth peanut butter melds perfectly with decadent chocolate in every bite. These homemade Peanut Butter Cups are a delightful twist on the classic candy you probably loved growing up, but with the simple, wholesome ingredients you can trust. Making them yourself not only fills your kitchen with an irresistible aroma but also gives you total control over sweetness and texture, turning a nostalgic treat into a fresh favorite.
Ingredients You’ll Need
The magic behind Peanut Butter Cups lies in their simplicity. Each ingredient plays a crucial role in achieving that perfect balance of creamy, sweet, and smooth layers that melt in your mouth. Here’s what you’ll need to get started:
- 1 cup chocolate chips: Choose your favorite type—milk, dark, or semi-sweet—to customize your chocolate flavor.
- 1/2 cup peanut butter: Creamy peanut butter works best here, giving that luscious, rich texture.
- 2 tablespoons powdered sugar: This sweetens the peanut butter just enough and helps it set nicely without graininess.
How to Make Peanut Butter Cups
Step 1: Melt the Chocolate
Begin by gently melting the chocolate chips until they’re silky and smooth. The best way is in a microwave-safe bowl, heating in 20-second intervals and stirring in between to avoid burning. This forms the luscious base and top layers that make the Peanut Butter Cups truly irresistible.
Step 2: Create the Chocolate Base
Pour about half of the melted chocolate into your candy liners or muffin tin, creating an even layer at the bottom. This chocolate layer will give your cups their sturdy shell. Pop the tray into the freezer for 5 minutes to set that chocolate perfectly.
Step 3: Prepare the Peanut Butter Filling
While the chocolate chills, mix the peanut butter with powdered sugar until well combined and smooth. This mixture should be creamy but firm enough to hold its shape once layered on the chocolate base.
Step 4: Add the Peanut Butter Layer
Remove the chocolate bases from the freezer, then gently spoon the peanut butter filling evenly over each chocolate layer. Be careful not to press too hard, or you might disturb the chocolate underneath.
Step 5: Top with Remaining Chocolate
Finally, pour the remaining melted chocolate over the peanut butter layer, ensuring it covers completely to seal in the goodness. Return the cups to the freezer or refrigerator until fully set and firm, generally about 15 minutes.
How to Serve Peanut Butter Cups

Garnishes
You can elevate your Peanut Butter Cups by adding a sprinkle of sea salt or crushed peanuts on top before the final chocolate layer sets. This little touch adds texture and a salty-sweet contrast that’s downright addictive.
Side Dishes
Peanut Butter Cups shine as a standalone treat, but pairing them with a scoop of vanilla ice cream or a hot cup of coffee transforms them into a luxurious dessert experience perfect for sharing with friends or family.
Creative Ways to Present
Instead of classic cupcake liners, try using mini silicone molds for fun shapes like hearts or stars. Wrapping finished cups in colorful foil or cellophane with ribbon makes charming gifts that friends and loved ones will treasure.
Make Ahead and Storage
Storing Leftovers
If you have any Peanut Butter Cups left (which is rare!), store them in an airtight container in the refrigerator to keep the chocolate firm and the peanut butter fresh. They’ll stay delicious for about a week.
Freezing
For longer storage, freeze your Peanut Butter Cups by placing them on a baking sheet until solid, then transferring them to a freezer-safe container. Frozen, they can last up to three months without losing flavor or texture.
Reheating
When you’re ready to enjoy frozen Peanut Butter Cups, simply let them thaw at room temperature for 10 to 15 minutes. Avoid microwaving, as this can cause the chocolate to melt unevenly and the peanut butter to become too soft.
FAQs
Can I use crunchy peanut butter instead of creamy?
Absolutely! Crunchy peanut butter adds a delightful texture, giving your Peanut Butter Cups a little extra crunch. Just be sure to mix it well with the powdered sugar to keep the filling firm.
What type of chocolate works best for Peanut Butter Cups?
Milk chocolate is classic and sweet, dark chocolate offers a richer taste, and semi-sweet provides a nice balance. Choose based on your preference, or even try mixing varieties for a unique flavor twist.
How can I make these Peanut Butter Cups dairy-free?
Use dairy-free chocolate chips and ensure your peanut butter doesn’t contain any animal-derived ingredients. Many brands offer vegan-friendly options that work wonderfully for this recipe.
Is powdered sugar necessary in the peanut butter filling?
Powdered sugar sweetens and stabilizes the peanut butter filling, giving it that perfect texture. You can experiment with honey or maple syrup, but they may produce a softer filling that is trickier to set.
How long do homemade Peanut Butter Cups last?
Stored properly in the refrigerator, these treats can last up to a week. For longer enjoyment, freezing is your best bet, extending their freshness up to three months.
Final Thoughts
Making Peanut Butter Cups at home is such a joyful and rewarding experience. Whether you’re making them to impress guests, satisfy a sweet tooth, or simply enjoy a nostalgic snack, the process is straightforward and the results simply heavenly. Grab those simple ingredients, and I promise these luscious layers of peanut butter and chocolate will become your new favorite indulgence in no time!