Chocolate Cake Pops Recipe
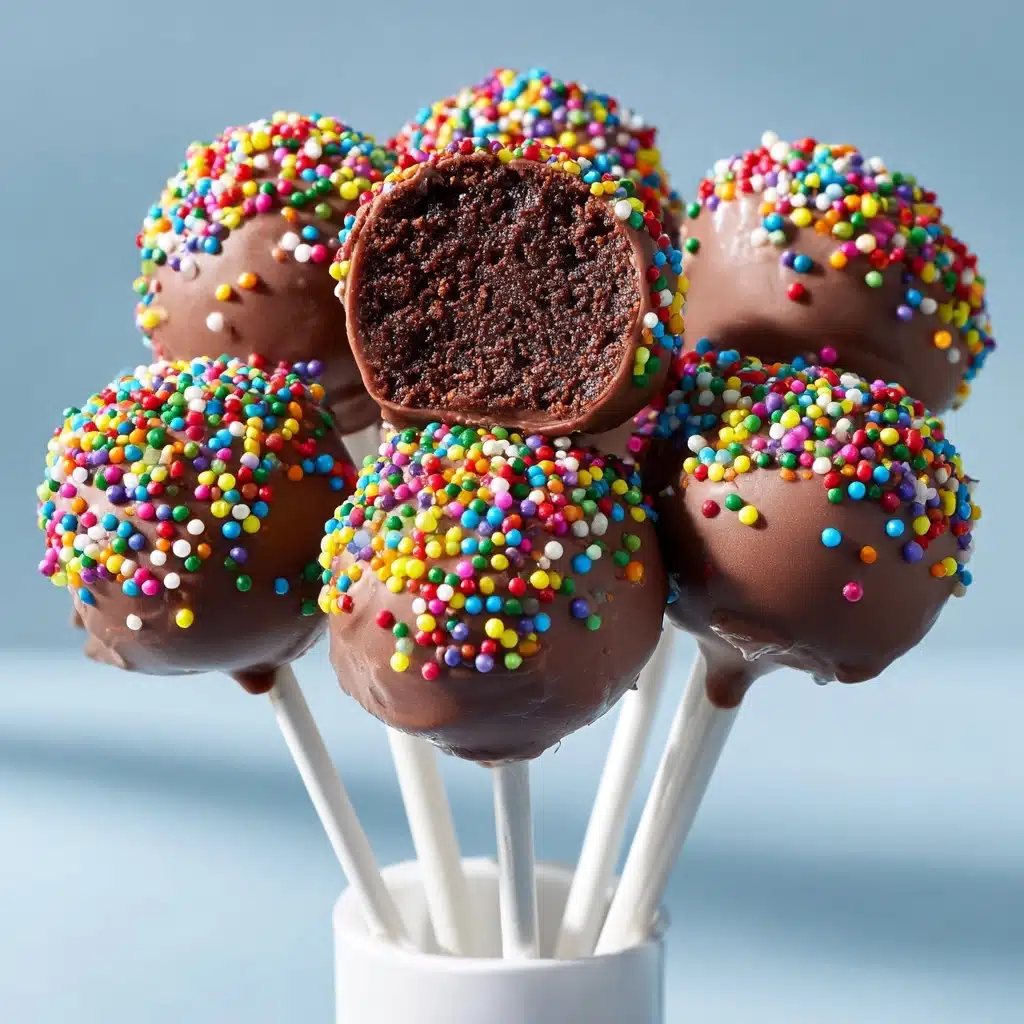
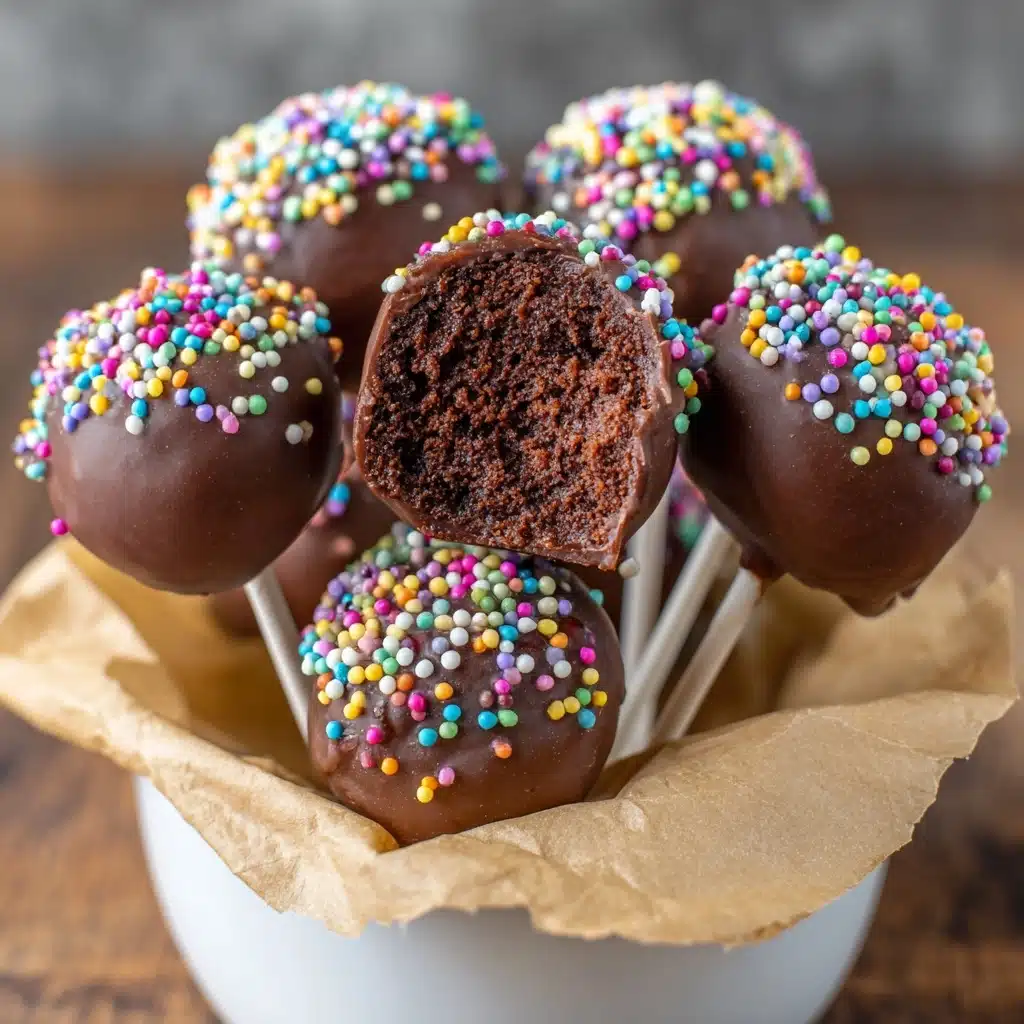
Chocolate Cake Pops are one of those delightful treats that bring back childhood memories while feeling so fresh and festive. Imagine moist, fudgy chocolate cake crumbled and mixed with creamy, tangy cream cheese frosting, then rolled into perfect little balls dipped in glossy melted chocolate. Each bite is a wonderful balance of rich cake and smooth coating, making these Chocolate Cake Pops an irresistible party snack or a sweet surprise for any day of the week. They’re surprisingly easy to whip up, proving that impressive desserts don’t have to be complicated.
Ingredients You’ll Need
These ingredients come together to create the perfect blend of texture and flavor—each one playing an essential role to make your Chocolate Cake Pops shine. From the box cake mix simplifying your base to the cream cheese frosting adding that luscious moisture, every component works in harmony.
- Chocolate Cake Mix: The foundation for your cake pops, choose your favorite brand or variety for that rich chocolate flavor.
- Additional ingredients per box instructions: Typically eggs, oil, and water or milk—milk adds extra richness!
- 12 oz Chocolate Melting Wafers: These smooth, easy-melt wafers form the beautiful chocolate shell around your cake balls.
- Sprinkles: For a fun, colorful decoration that adds playful texture and visual appeal.
- Salted Butter (½ cup, softened): Adds creamy richness to the frosting and balances sweetness.
- Plain Cream Cheese (8 oz, softened): Brings a silky tang that brightens the chocolate and keeps the cake pops moist.
- Vanilla Extract (2 tsp): Enhances all the flavors with a fragrant, warm note.
- Powdered Sugar (3 cups): The magic ingredient that transforms butter and cream cheese into smooth, sweet frosting.
- 24 Cake Pop Sticks: These are essential for holding and dipping your pops with ease.
How to Make Chocolate Cake Pops
Step 1: Bake Your Chocolate Cake
Start by baking the chocolate cake according to the box instructions. I love swapping water for milk in the mix—it adds a little extra richness to every bite. After baking, let the cake cool completely on a rack. This step is crucial because warm cake won’t crumble properly when making your cake pop mixture.
Step 2: Prepare the Cream Cheese Frosting
While the cake cools, whip up your cream cheese frosting. Beat softened butter, cream cheese, and vanilla extract until smooth. Gradually add powdered sugar in stages, mixing well each time until you achieve a creamy, luscious frosting. This frosting is the secret ingredient that makes these pops moist and decadent.
Step 3: Combine Cake and Frosting
Crumble the cooled cake into a large bowl and add about one cup of the frosting. Use your mixer to blend them together gently. You want a pliable mixture that holds its shape when rolled, so add more frosting if needed—usually about 1.5 cups total should do the trick. Then pop the mixture into the fridge for about 30 to 45 minutes to firm up.
Step 4: Shape the Cake Pops
Once chilled, scoop out roughly 1.5 tablespoons of the cake mixture and roll it into smooth balls. Line them on a parchment-lined baking sheet. Chill these balls again while you prepare for the next steps to ensure they stay firm.
Step 5: Insert Sticks and Chill
Melt a small amount of the chocolate wafers. Dip the tip of a cake pop stick into the melted chocolate, then insert it halfway into each cake ball. This helps secure the sticks firmly. Place them back on the parchment and chill in the fridge for 30-45 minutes or freezer for 20-30 minutes to set.
Step 6: Coat with Chocolate
Re-melt the remaining chocolate wafers, if necessary. Dip each cake pop fully into the melted chocolate, allowing any excess to drip off. Place them back on the parchment paper immediately and add sprinkles before the chocolate hardens for that perfect festive touch. Let the Chocolate Cake Pops set completely at room temperature or chill for a bit if you want a nice crunch on the outside.
How to Serve Chocolate Cake Pops
Garnishes
Sprinkles are a classic choice to top your Chocolate Cake Pops, adding a pop of color and crunch. You can also get creative with crushed nuts, mini chocolate chips, or edible glitter for extra sparkle. These garnishes not only look stunning but add delightful texture with every bite.
Side Dishes
Serve these pops alongside fresh fruit like strawberries or raspberries for a light contrast to the rich chocolate. A dollop of whipped cream or a scoop of vanilla ice cream also pairs wonderfully for a more indulgent dessert plate.
Creative Ways to Present
Arrange your Chocolate Cake Pops in a decorative styrofoam block covered in a pretty cloth or place them in a festive mug or jar tied with a ribbon. For parties, use themed cupcake liners as holders or display them on a tiered stand to wow your guests with their chocolaty charm.
Make Ahead and Storage
Storing Leftovers
Your Chocolate Cake Pops keep beautifully in an airtight container in the fridge for up to a week. Keeping them cool preserves the frosting’s firmness and the chocolate coating’s shine.
Freezing
If you want to prepare ahead or save extras, wrap each pop individually in plastic wrap and freeze them in a sealed container for up to three months. Thaw in the fridge before serving to keep their shape and texture intact.
Reheating
There’s no need to heat these desserts since they’re best enjoyed chilled, but if you prefer a slightly softer texture, let them sit at room temperature for about 15 minutes or warm them briefly in a low-temperature microwave for 5 to 10 seconds. Just be careful not to melt the chocolate shell!
FAQs
Can I use homemade chocolate cake instead of box mix?
Absolutely! Homemade chocolate cake can add a personal touch to your cake pops. Just make sure the cake is moist and completely cooled before combining with frosting to get the right texture.
What if I don’t have cream cheese? Can I substitute it?
You can substitute cream cheese with an equal amount of butter or mascarpone cheese, but cream cheese adds a distinctive tang and moisture that’s hard to replicate exactly. Adjust sweetness accordingly if using alternatives.
How do I prevent the cake pops from falling off the sticks?
Dipping the stick tip into melted chocolate before inserting into the cake ball creates a glue that holds them in place once chilled. Also, chilling between steps helps set everything firmly.
Why is my chocolate coating streaky or not smooth?
This usually happens if the chocolate is overheated or mixed with moisture. Melt chocolate in short bursts and stir well between intervals. Also, use high-quality melting wafers for the best smooth finish.
Can I make these gluten-free?
Yes! Just swap the box cake mix with a gluten-free chocolate cake mix and confirm all other ingredients, like sprinkles and frosting components, are gluten-free. The rest of the process remains the same.
Final Thoughts
Chocolate Cake Pops are such a joy to make and even more delightful to share. They’re a perfect balance of fun, flavor, and nostalgia wrapped into bite-sized perfection. Whether for a party, a gift, or just because you deserve a little treat, I can’t recommend giving this recipe a try enough. Your sweet tooth will thank you!