4 cups (500 g) bread flour (or all-purpose) Recipe
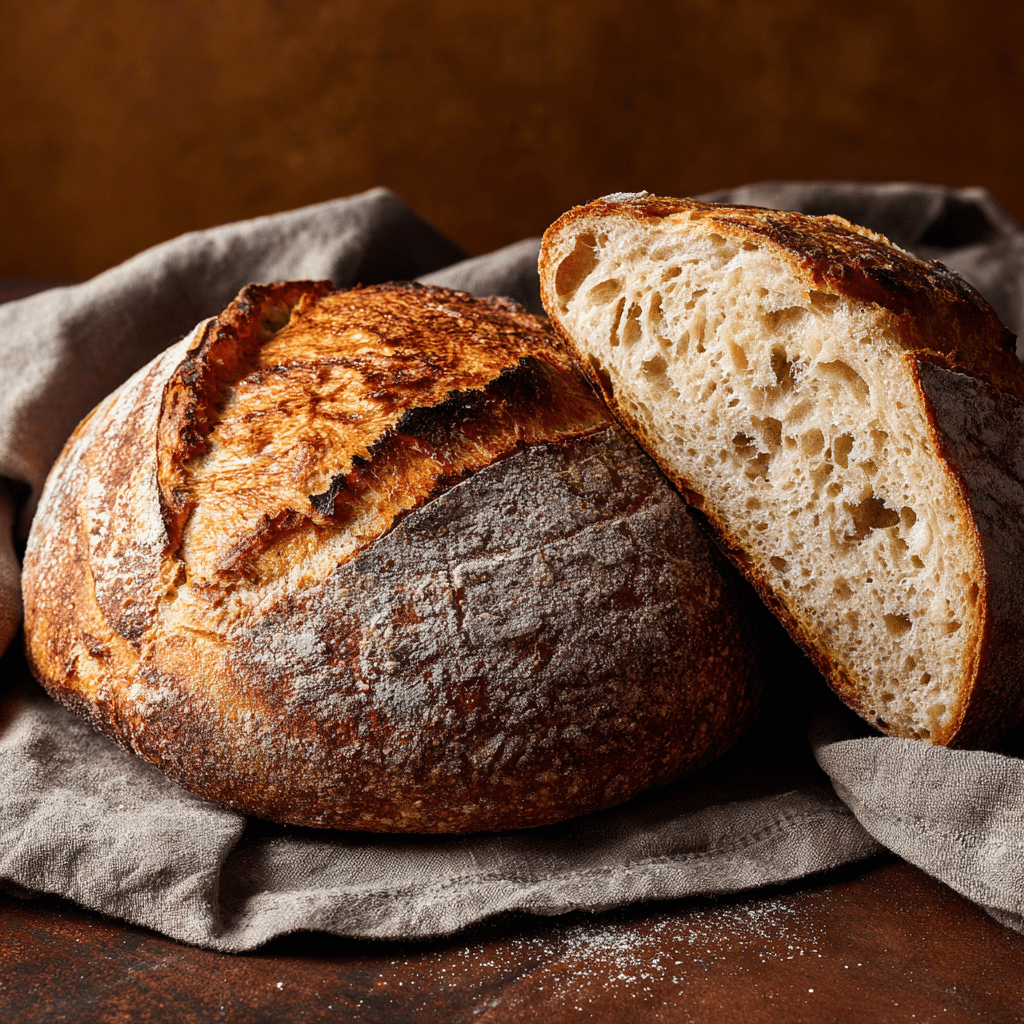
If you’ve ever dreamed of baking rustic, artisan bread right at home, then this recipe using 4 cups (500 g) bread flour (or all-purpose) is about to become your new best friend. With just a handful of simple ingredients and a bit of patience, you can create a crusty, flavorful loaf with a tender crumb that’s perfect for breakfast, sandwiches, or alongside your favorite meals. The beauty lies in the slow fermentation and the quality of the flour, which gives this bread its wonderful texture and taste, making every bite a small celebration.
Ingredients You’ll Need
While this recipe calls for very few ingredients, each one plays a key role in building the bread’s flavor and texture. Keeping these essentials at hand means you’re always ready for a baking session that fills your kitchen with amazing aromas and rewards you with a perfect loaf.
- 4 cups (500 g) bread flour (or all-purpose): The foundation of your bread, providing structure and chewiness.
- 1 ½ tsp salt: Enhances flavor and controls yeast activity for optimal rising.
- ½ tsp instant yeast: The magic behind the rise, activating the dough’s airy texture.
- 1 ¾ cups (420 ml) warm water (about 40°C / 105°F): Hydrates flour and wakes up the yeast—be sure it’s just warm, not hot.
- 1 tsp honey or sugar (optional): A little sweetness to encourage yeast fermentation and deeper flavor.
- 1 tbsp cornmeal or semolina: For dusting the pan to prevent sticking and adding a slight crunch.
- A few ice cubes: To create steam in the oven, helping develop a magnificent crust.
How to Make 4 cups (500 g) bread flour (or all-purpose)
Step 1: Mix the Dough
Start by combining the 4 cups (500 g) bread flour (or all-purpose) with salt and yeast in a large bowl. Using a wooden spoon, stir to blend everything evenly before adding your warm water and optional honey. The dough will look quite shaggy and sticky—this is exactly what you want. Resist the urge to overmix; this bread gains its structure through slow fermentation rather than aggressive kneading. Cover the bowl with plastic wrap or a towel, and let it rest for 12 to 18 hours at room temperature. This slow rise builds incredible flavor and texture, as the dough doubles in size and bubbles form on the surface.
Step 2: Shape the Dough
After the long rest, your dough will smell yeasty and feel airy. Lightly flour your workspace and gently turn the dough out without deflating it. Fold the edges towards the center to create a rough ball, which you will place seam-side down on a flour-dusted towel or parchment-lined bowl. Cover again, allowing another rise of 1 to 2 hours, until the dough nearly doubles once more. This gentle handling retains the beautiful air pockets for a light crumb.
Step 3: Preheat the Oven
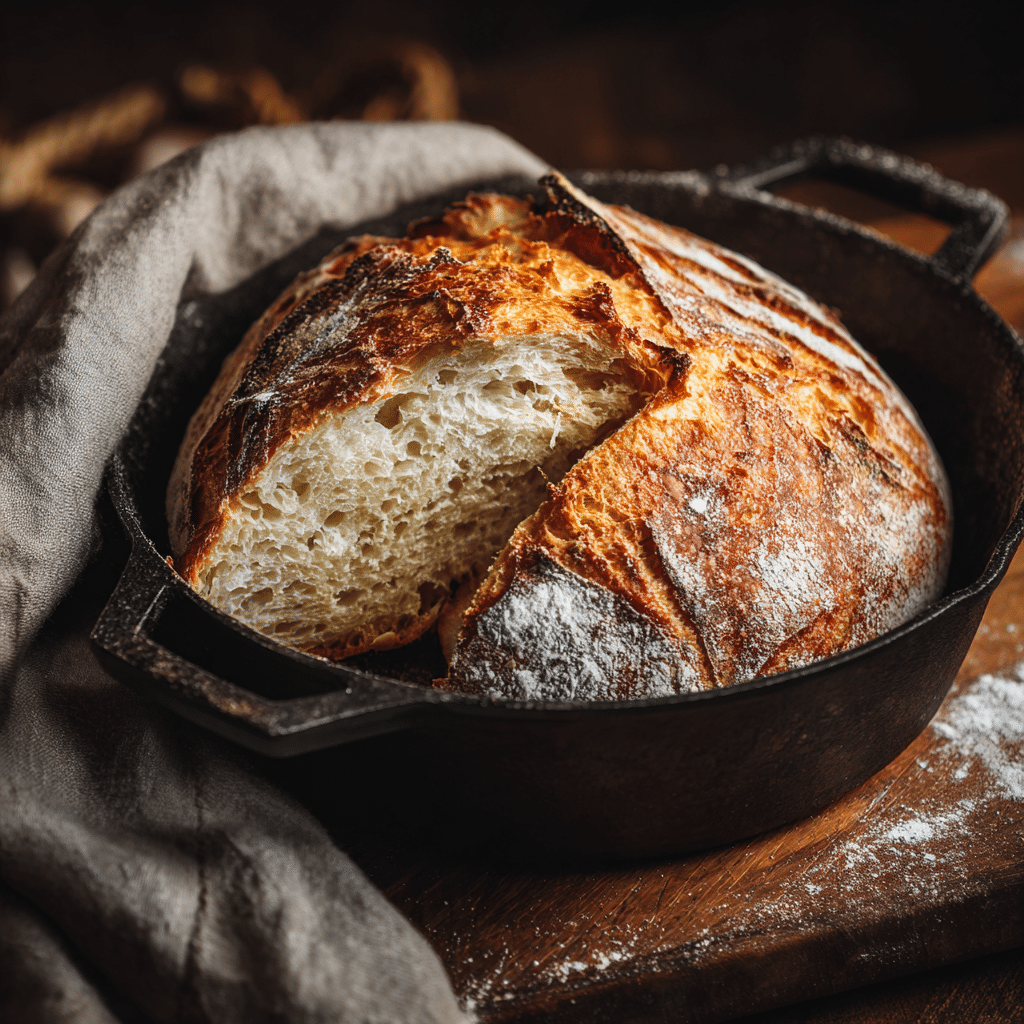
While the dough is rising, place your Dutch oven with its lid inside your regular oven and preheat everything to 450°F (230°C). Preheating the pot to blazing hot is essential to achieve that crisp, crackly crust we all love. Let it heat for at least 30 minutes—this ensures steam and heat distribution during baking.
Step 4: Bake the Bread
Carefully remove the Dutch oven, placing a parchment paper under the dough to lift it safely into the pot. Score the top lightly if you like, then cover with the lid and bake for 30 minutes. After that, take off the lid and bake an additional 15 to 20 minutes until the crust turns a deep golden brown and crackles—the audible “singing” of a perfect crust. Adding ice cubes inside the oven creates extra steam, which nurtures that beautiful exterior.
Step 5: Cool Completely
Once baked, transfer your loaf to a wire rack and allow it to cool for at least an hour. This resting phase sets the crumb’s structure and lets moisture redistribute evenly, so your bread slices perfectly and tastes freshly baked every time.
How to Serve 4 cups (500 g) bread flour (or all-purpose)
Garnishes
A dusting of flour or a few sesame seeds on top just before baking can add a lovely rustic look and hint of texture. When serving, a generous spread of salted butter, a drizzle of honey, or a sprinkle of sea salt onto warm slices elevates the simple bread into an unforgettable treat.
Side Dishes
This bread pairs beautifully with savory soups like creamy tomato basil or hearty stews. It also shines alongside fresh olive oil and balsamic vinegar for dipping. For a meal, it’s perfect on the side of fresh salads or roasted vegetables, making every bite more satisfying.
Creative Ways to Present
Turn your loaf into sandwiches layered with roasted veggies and melty mozzarella, or use it for bruschetta topped with ripe tomatoes and basil. Toast slices for breakfast and pile them high with avocado or soft cheeses. The versatility of 4 cups (500 g) bread flour (or all-purpose) bread means you can customize your presentation to any occasion or craving.
Make Ahead and Storage
Storing Leftovers
Wrap your cooled bread in a clean cloth or paper bag to keep the crust crisp. Avoid plastic wrapping, which can trap moisture and soften the crunchy exterior. Stored this way, your bread stays fresh for a couple of days at room temperature.
Freezing
Slice your loaf ahead and freeze the slices individually or in batches for up to three months. This makes it easy to grab a piece whenever you want without defrosting the whole loaf. Toast straight from frozen for that freshly baked feeling.
Reheating
Reheat leftover bread by wrapping it loosely in foil and warming in a 350°F (175°C) oven for 10-15 minutes. This revives the crust and warms the crumb without drying it out.
FAQs
Can I substitute 4 cups (500 g) bread flour (or all-purpose) with whole wheat flour?
You can, but whole wheat flour absorbs more water and results in denser bread. It’s best to replace only part of the bread flour or adjust the water accordingly for a lighter texture.
Do I have to use instant yeast, or can I use active dry yeast?
Active dry yeast works fine but should be dissolved in warm water first and allowed to foam before mixing with other ingredients. Instant yeast is more convenient as it can be mixed directly with flour.
Why is the dough so sticky? Should I add more flour?
The stickiness is intentional and a sign of high hydration, which creates an open crumb and chewy texture. Adding more flour might make the bread denser and less airy.
What if I don’t have a Dutch oven?
You can bake the bread on a preheated baking stone or heavy baking sheet and add a pan of hot water to the oven to provide steam. Covering with an inverted metal bowl during the initial baking phase can also mimic the effect.
Can I speed up the fermentation process?
While you can raise the temperature slightly to quicken yeast activity, the flavor and texture benefit greatly from the slow fermentation. Rushing it might lead to less depth in taste and a tougher crumb.
Final Thoughts
Baking bread with 4 cups (500 g) bread flour (or all-purpose) is not only incredibly rewarding but also accessible, even if you’re new to bread baking. This recipe invites a slow, comforting rhythm in your kitchen, and the result is a stunning loaf that tastes like love in every crumb. I encourage you to give this method a try—you might just discover your favorite homemade bread yet.